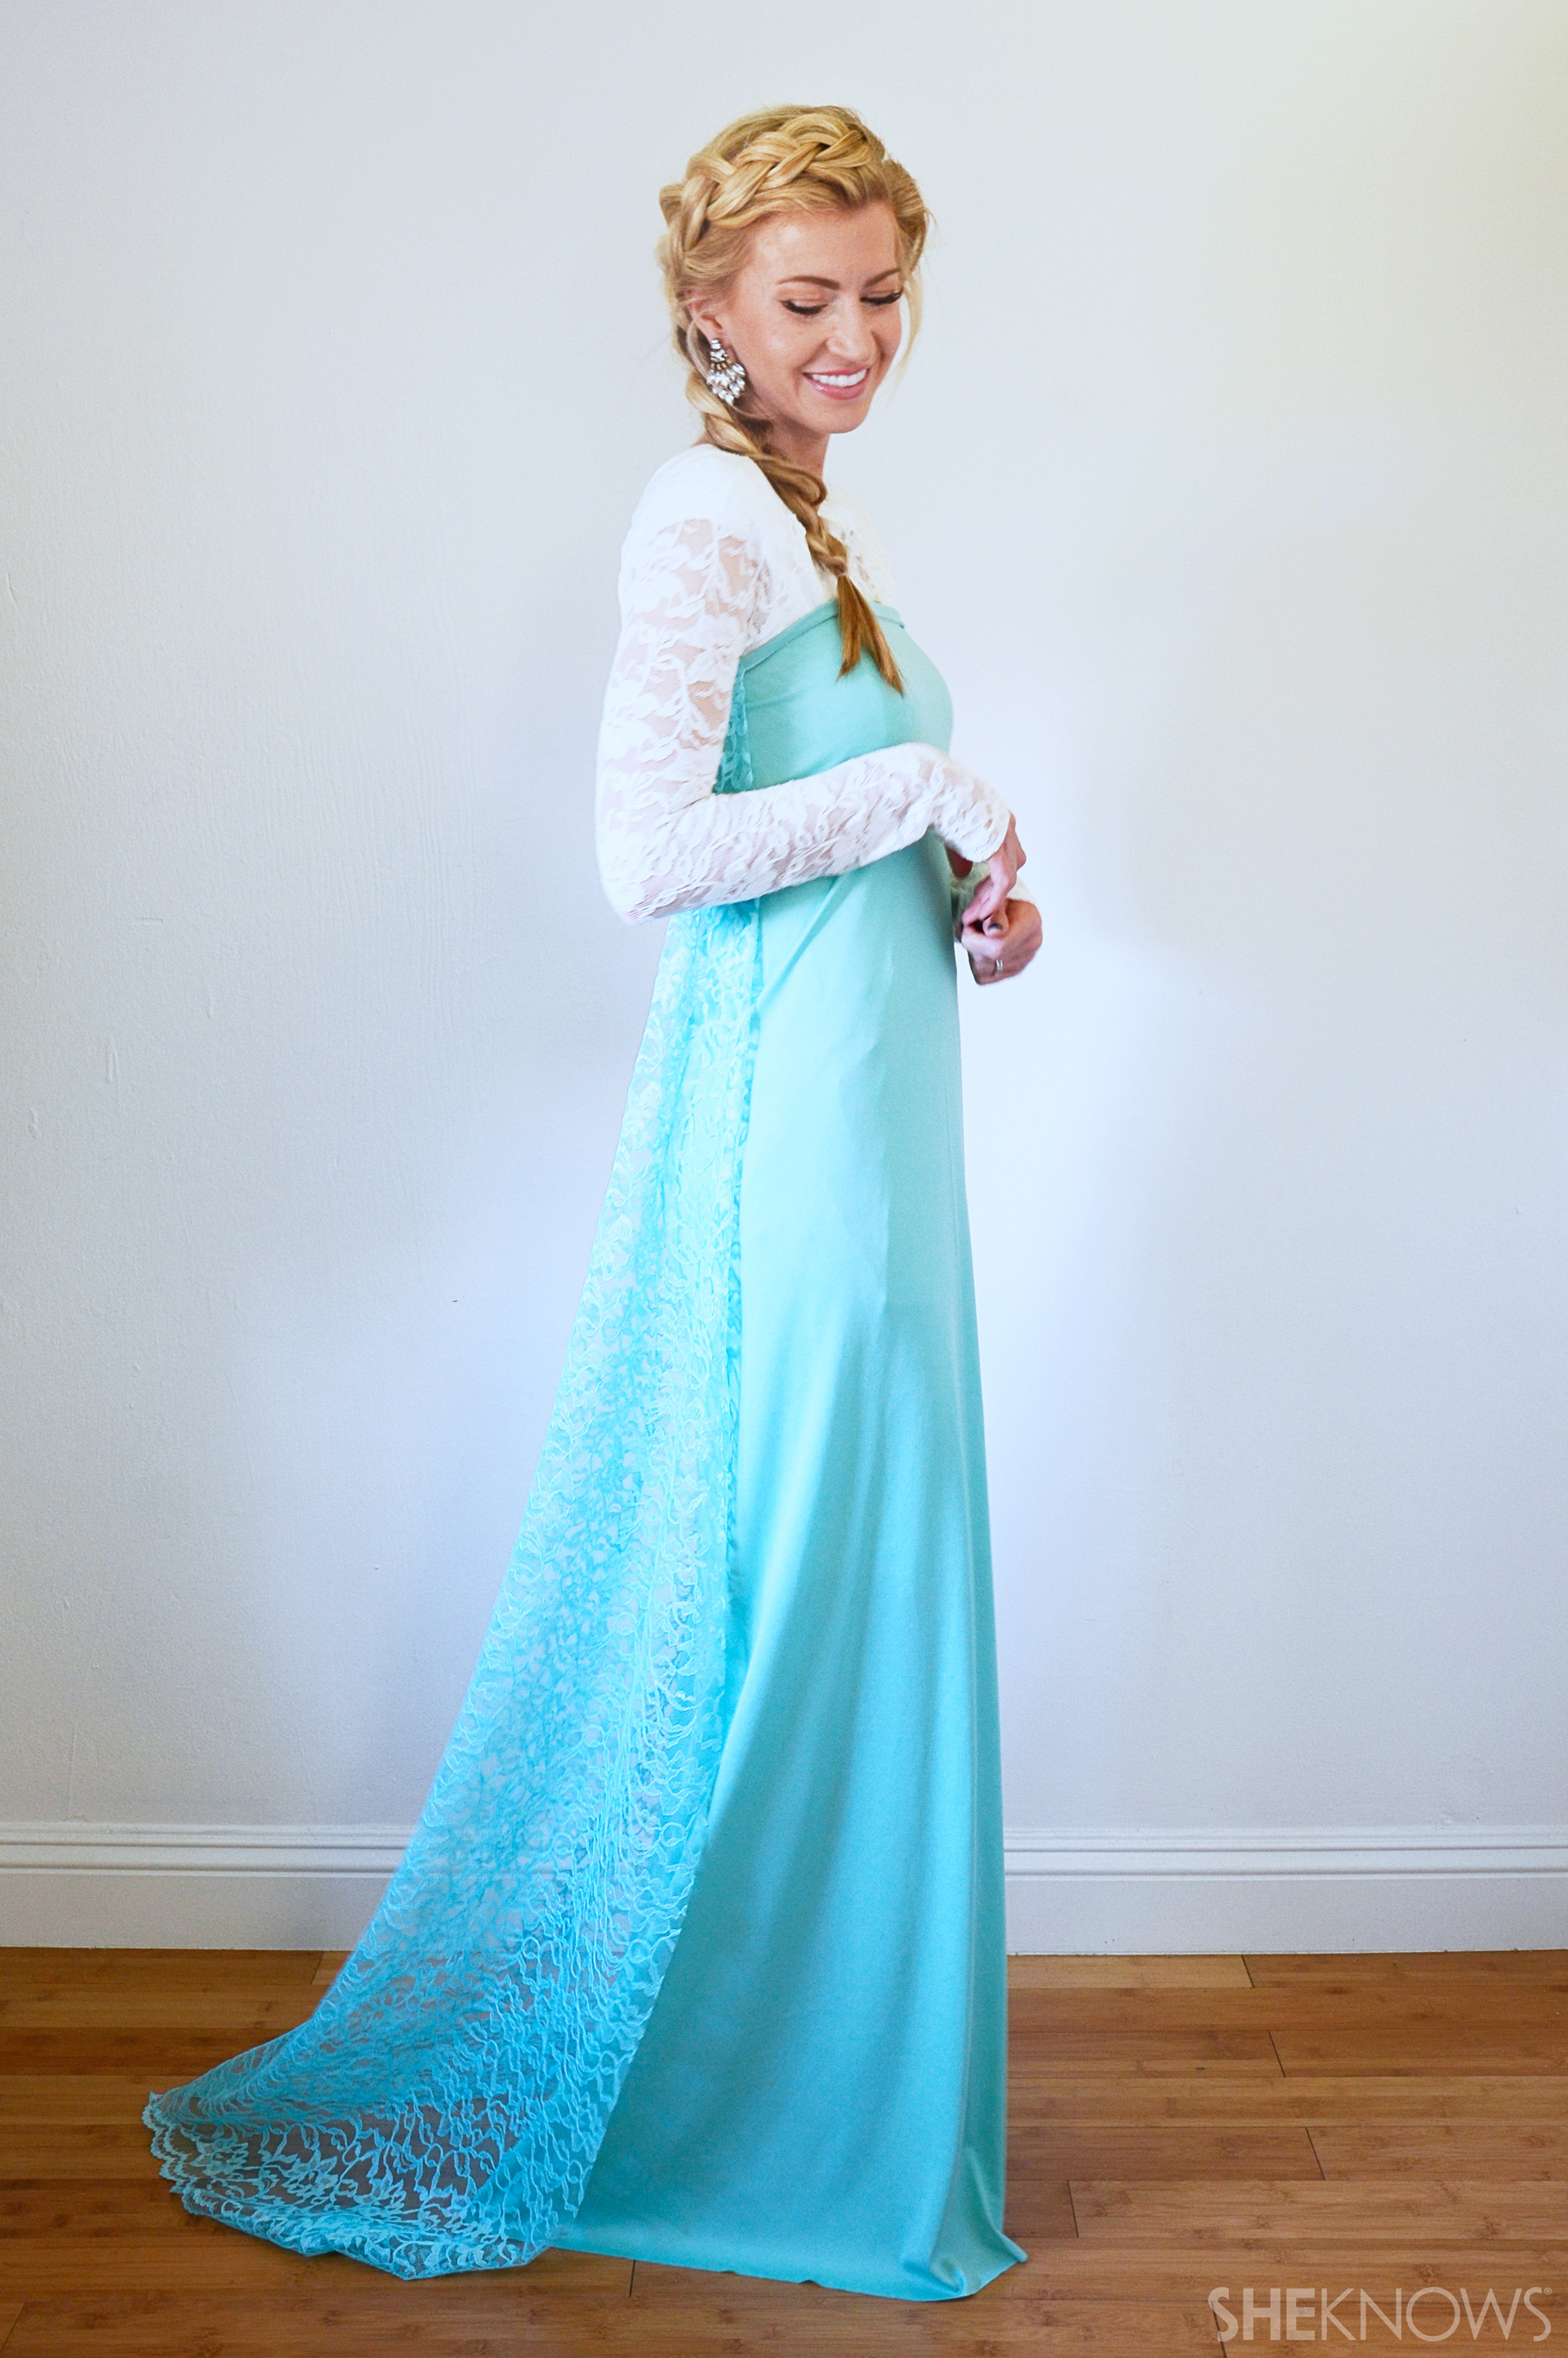
DIY Elsa dress Halloween costume
![Easy DIY Elsa Dress Halloween Costume]()
Materials:
- Lace shirt (cream, blue or nude)
- 2 yards stretchy light blue knit
- 2 yards teal lace
- Matching thread
- Double needle (optional)
- Sparkly earrings
- White or flesh-colored shoes
Directions:
Step 1. Fold your 2 yards of knit fabric in half, with the stretch of the fabric going across the fabric, as shown. Measure right above your bust (where the top of the tube dress will sit) and divide this number in half. Use this as the top measurement of your tube dress, as shown, then cut the rest of the dress as shown, making it as flared at the hem as you'd like.
![Elsa's dress]()
Step 2. Fold your 2 yards of lace in half, as shown. Cut a cape-like shape, making the measurement of the top wide enough to fit across your back and end under your armpits.
Step 3. Take your dress and fold it in half with right sides of the fabric together and sew it from the top to the bottom with a straight stitch, as shown. Turn right side out and press your seam flat with an iron.
![Elsa's dress last step]()
Step 4. Take the top of your dress and fold the top over, as shown. Pin in place, and then pin the lace cap to the folded edge as well. Sew all the way around the opening with a straight double stitch (using your double needle). [Using the double needle will allow for some stretch so you can pull it over your bust and avoid having to use elastic. Alternatively you can use a zigzag stitch, although it doesn't allow for quite as much stretch.]
Step 5. Cut the dress to your desired length, and cut a slit if you'd like.
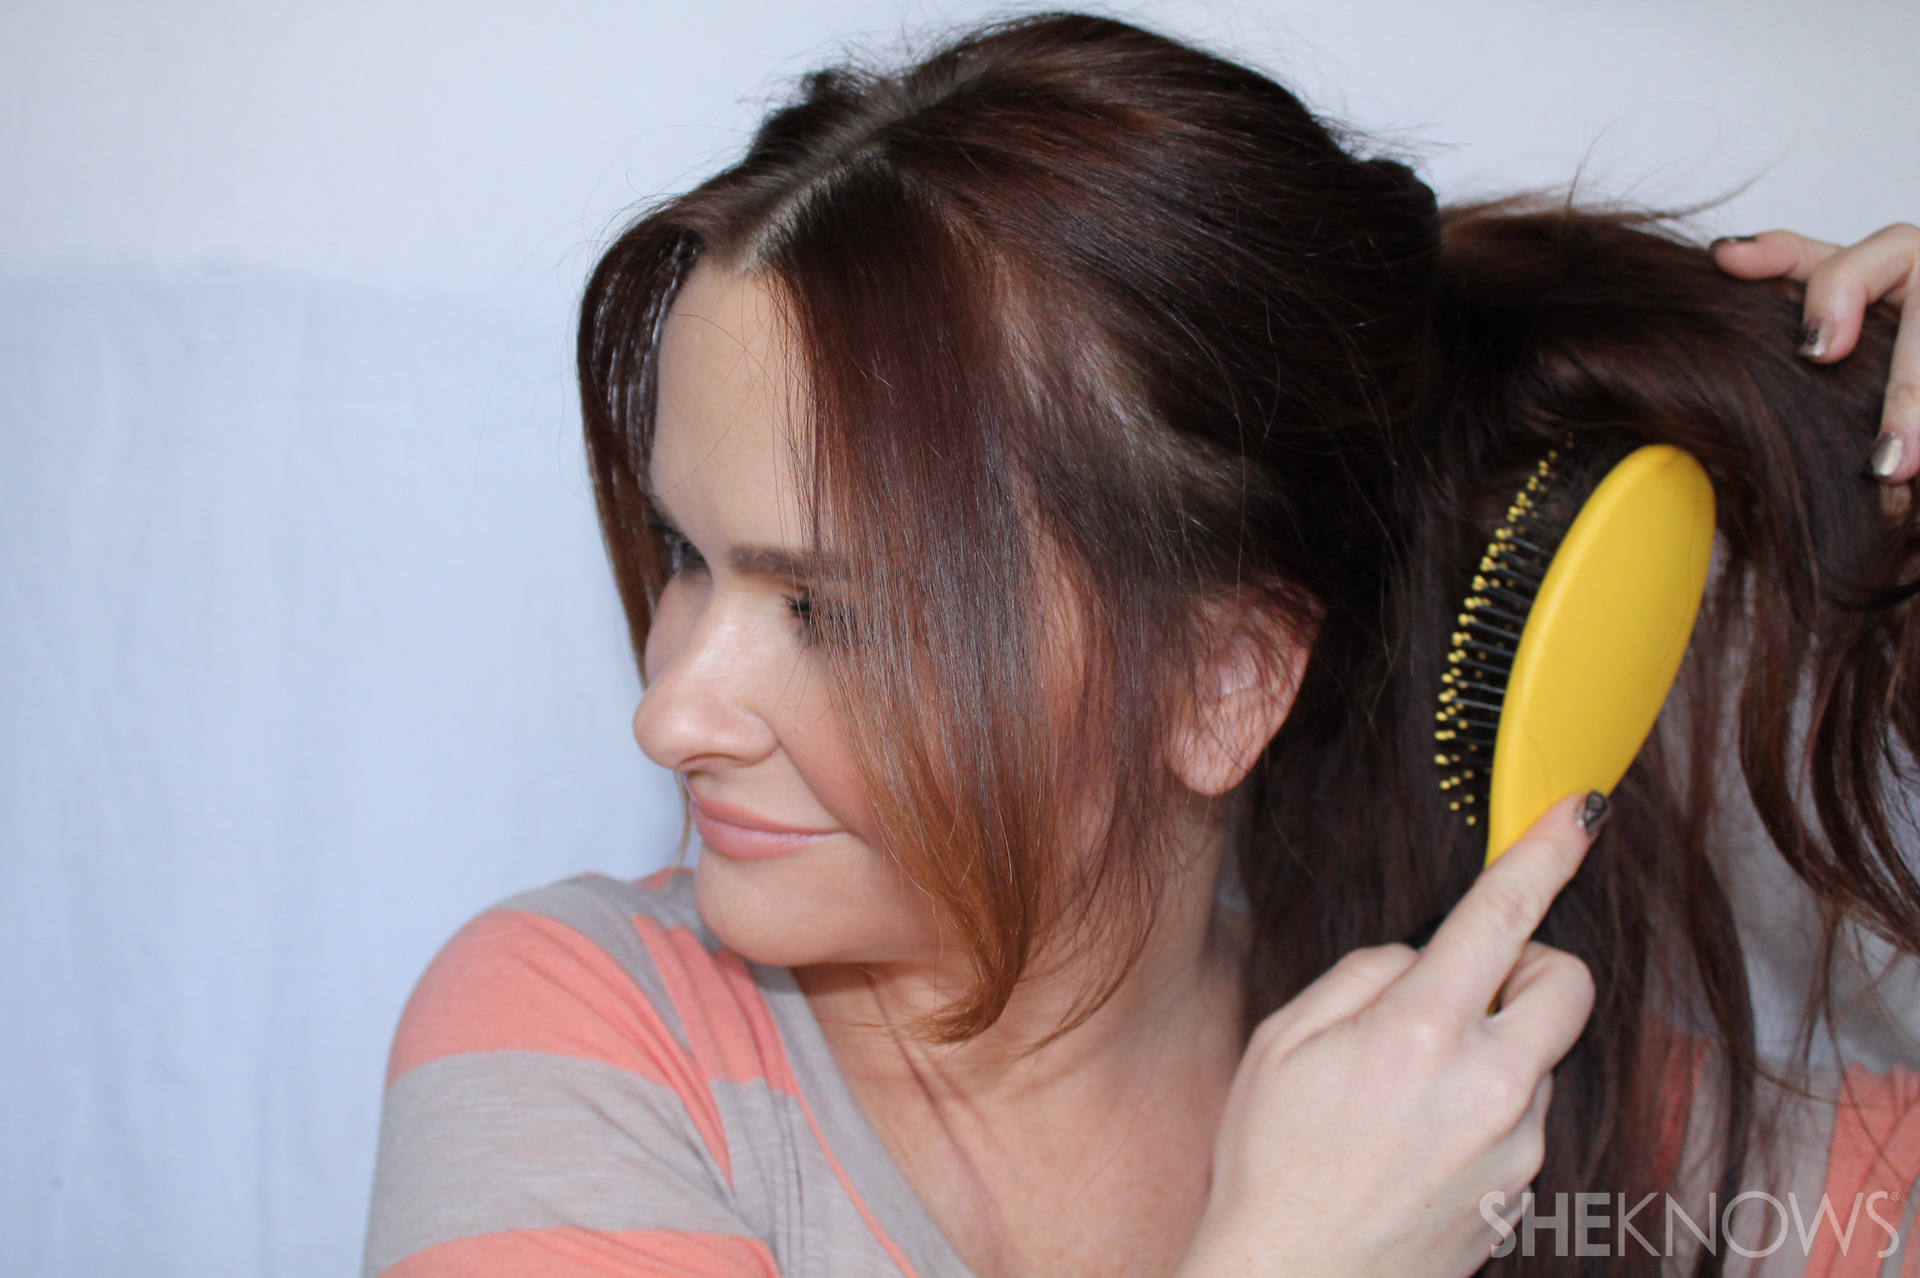
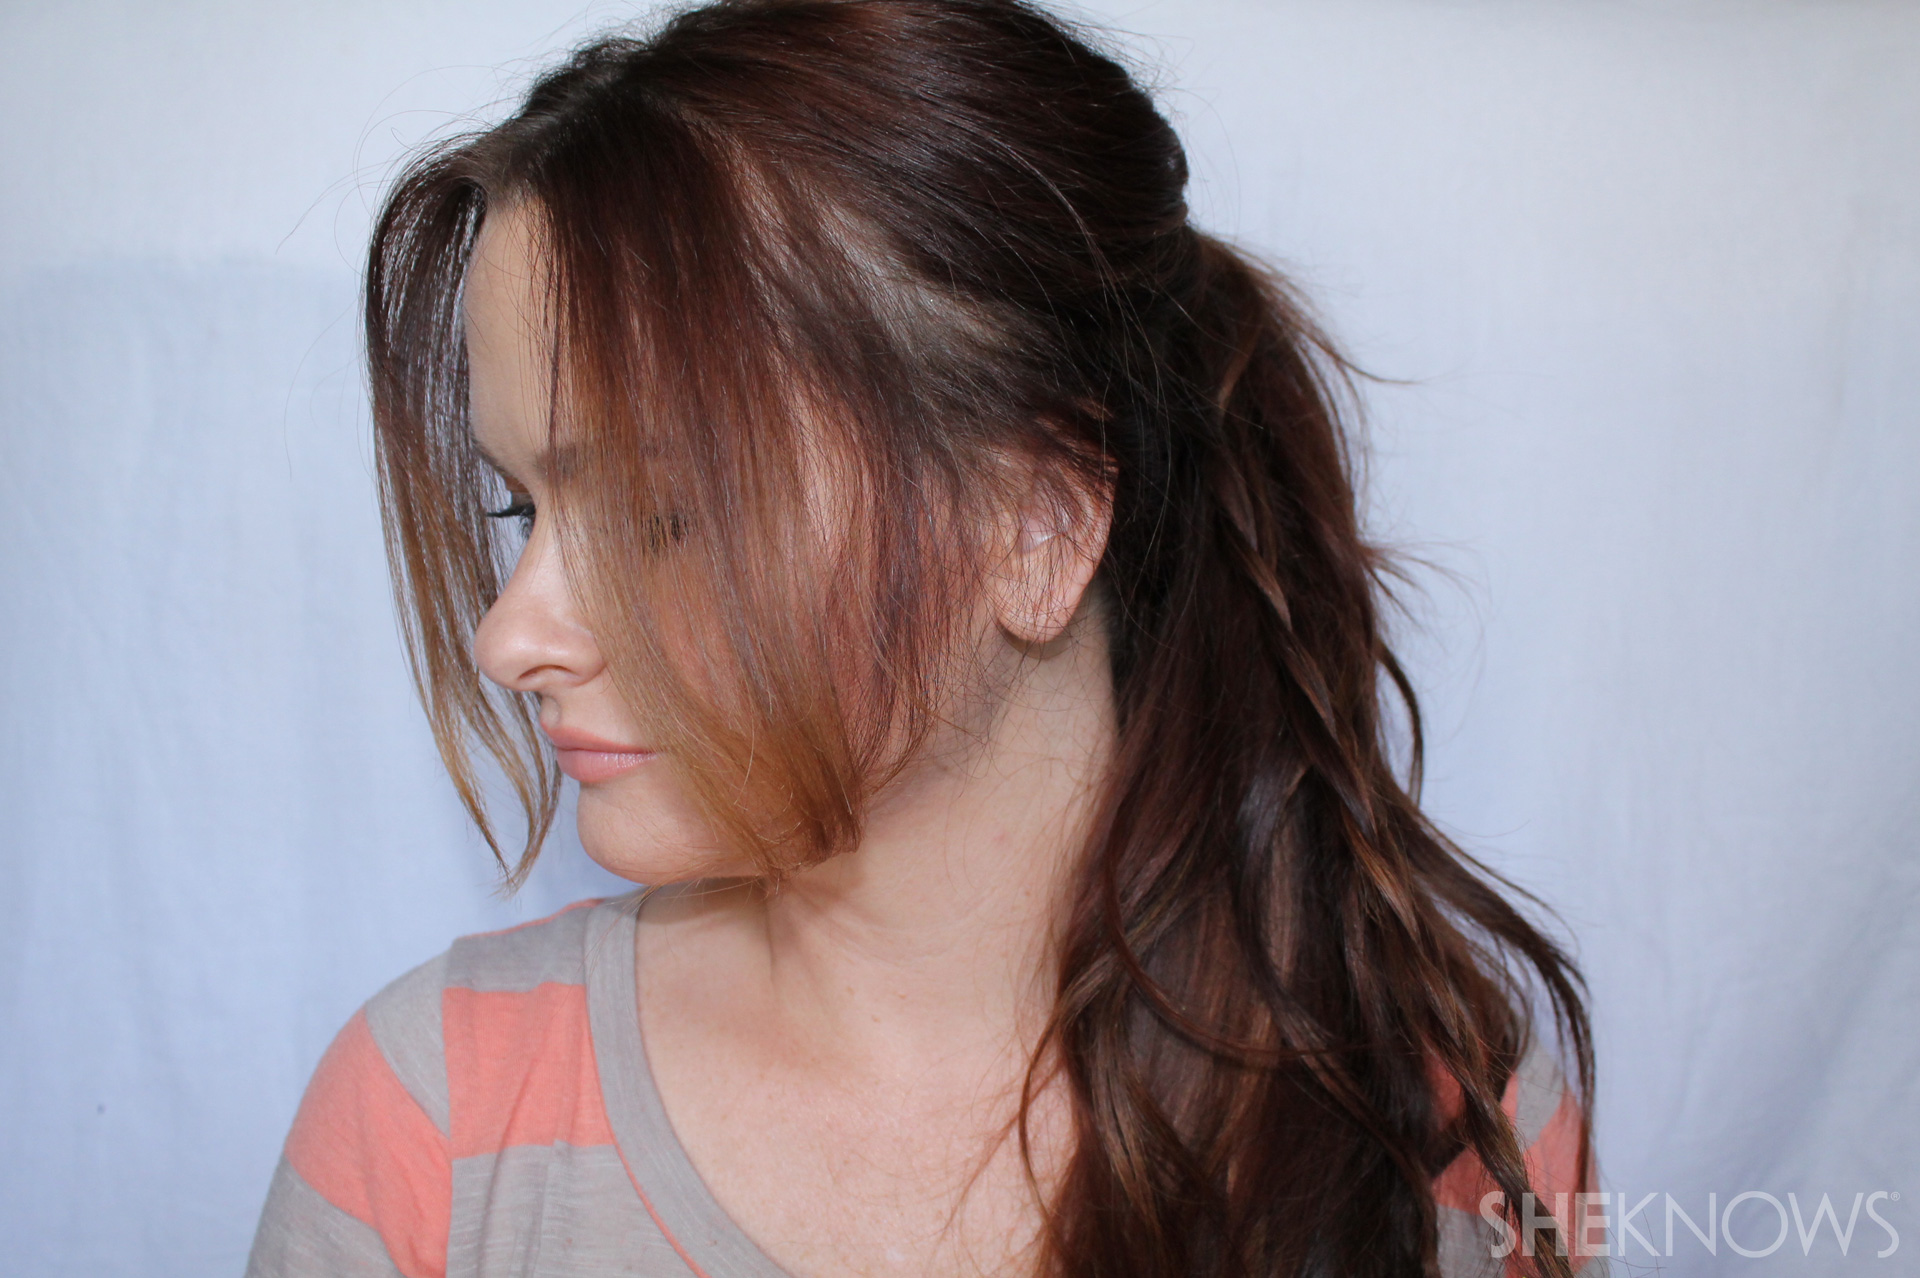
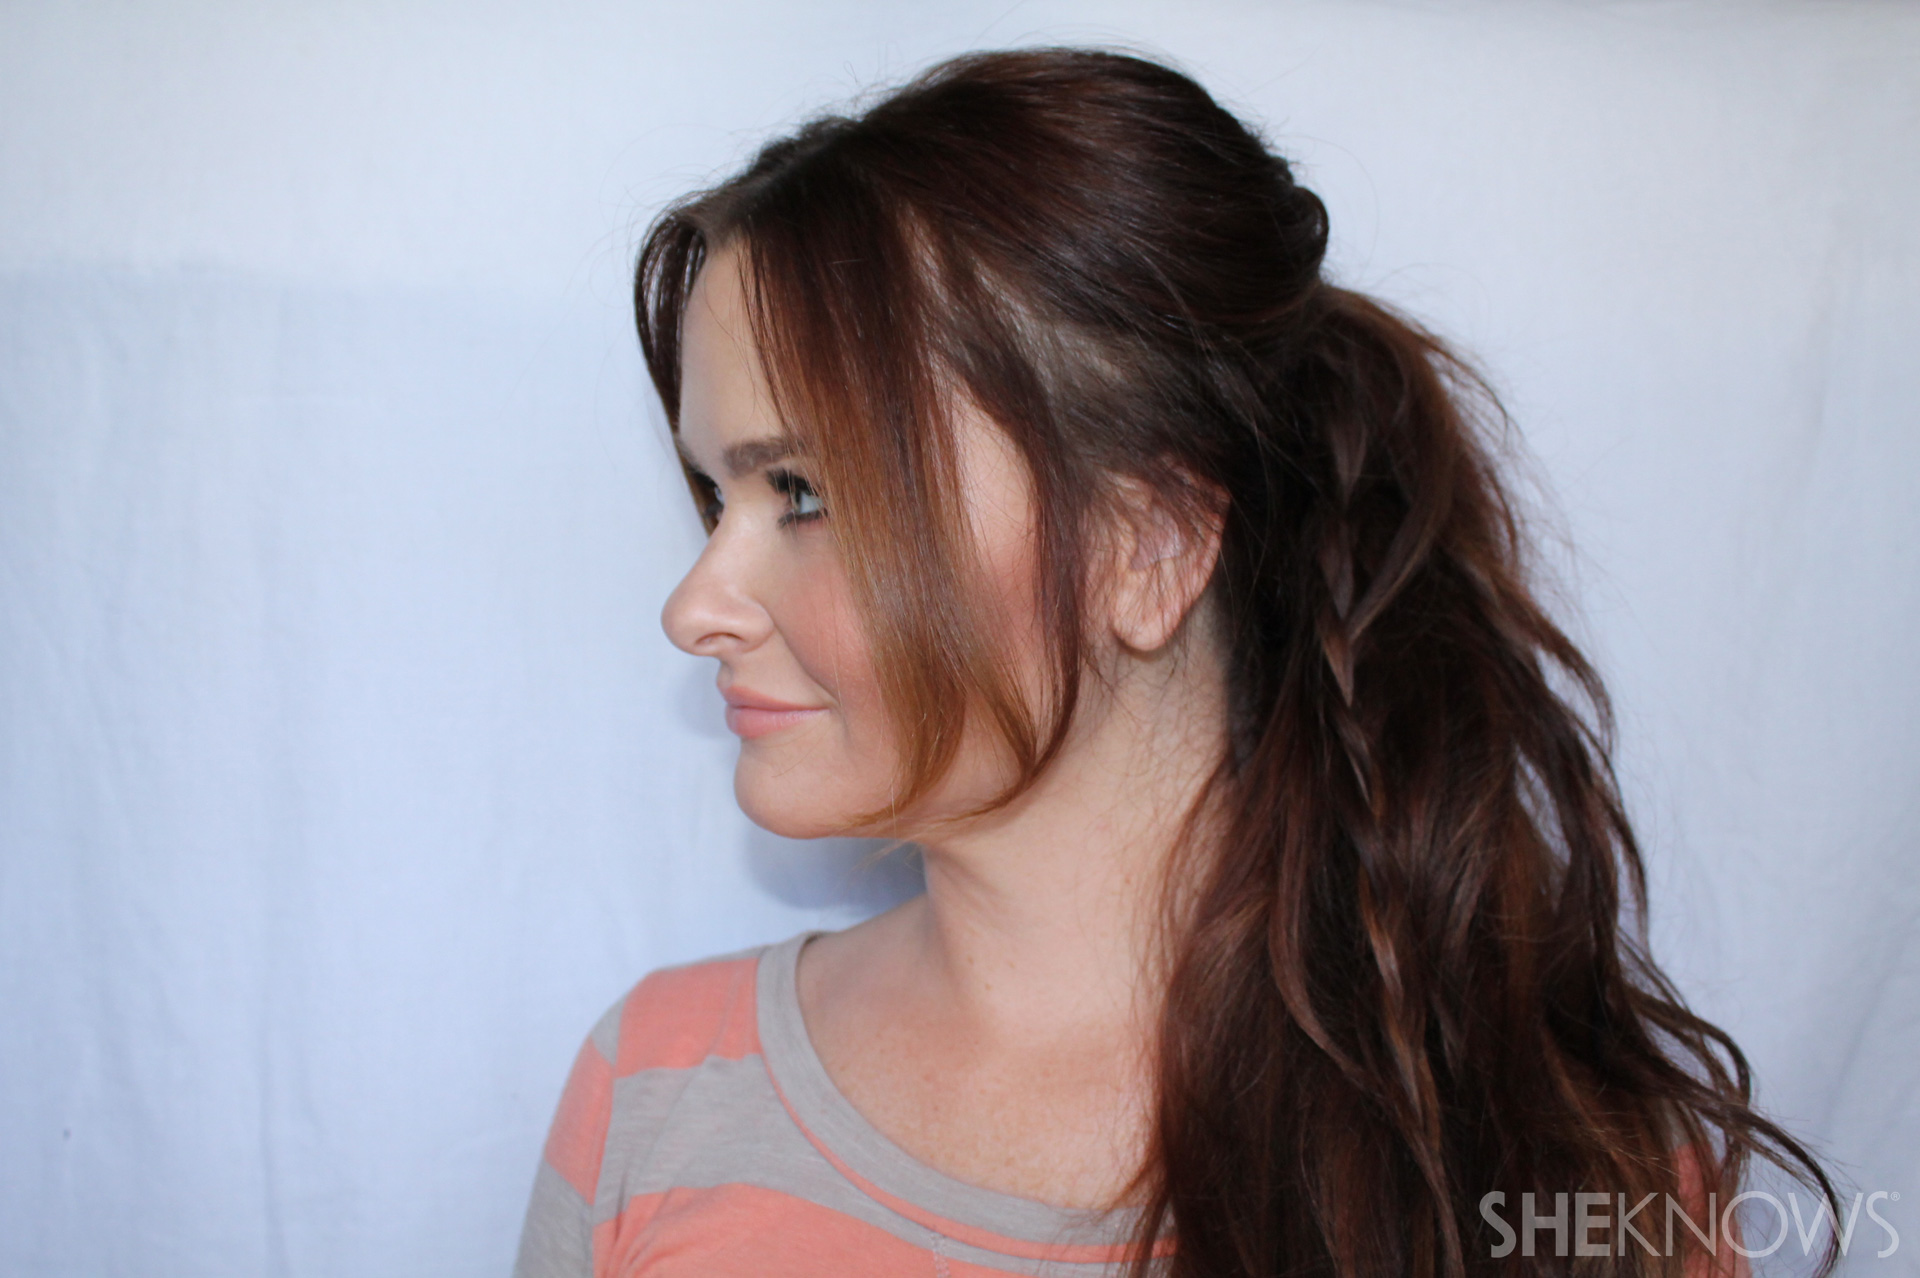
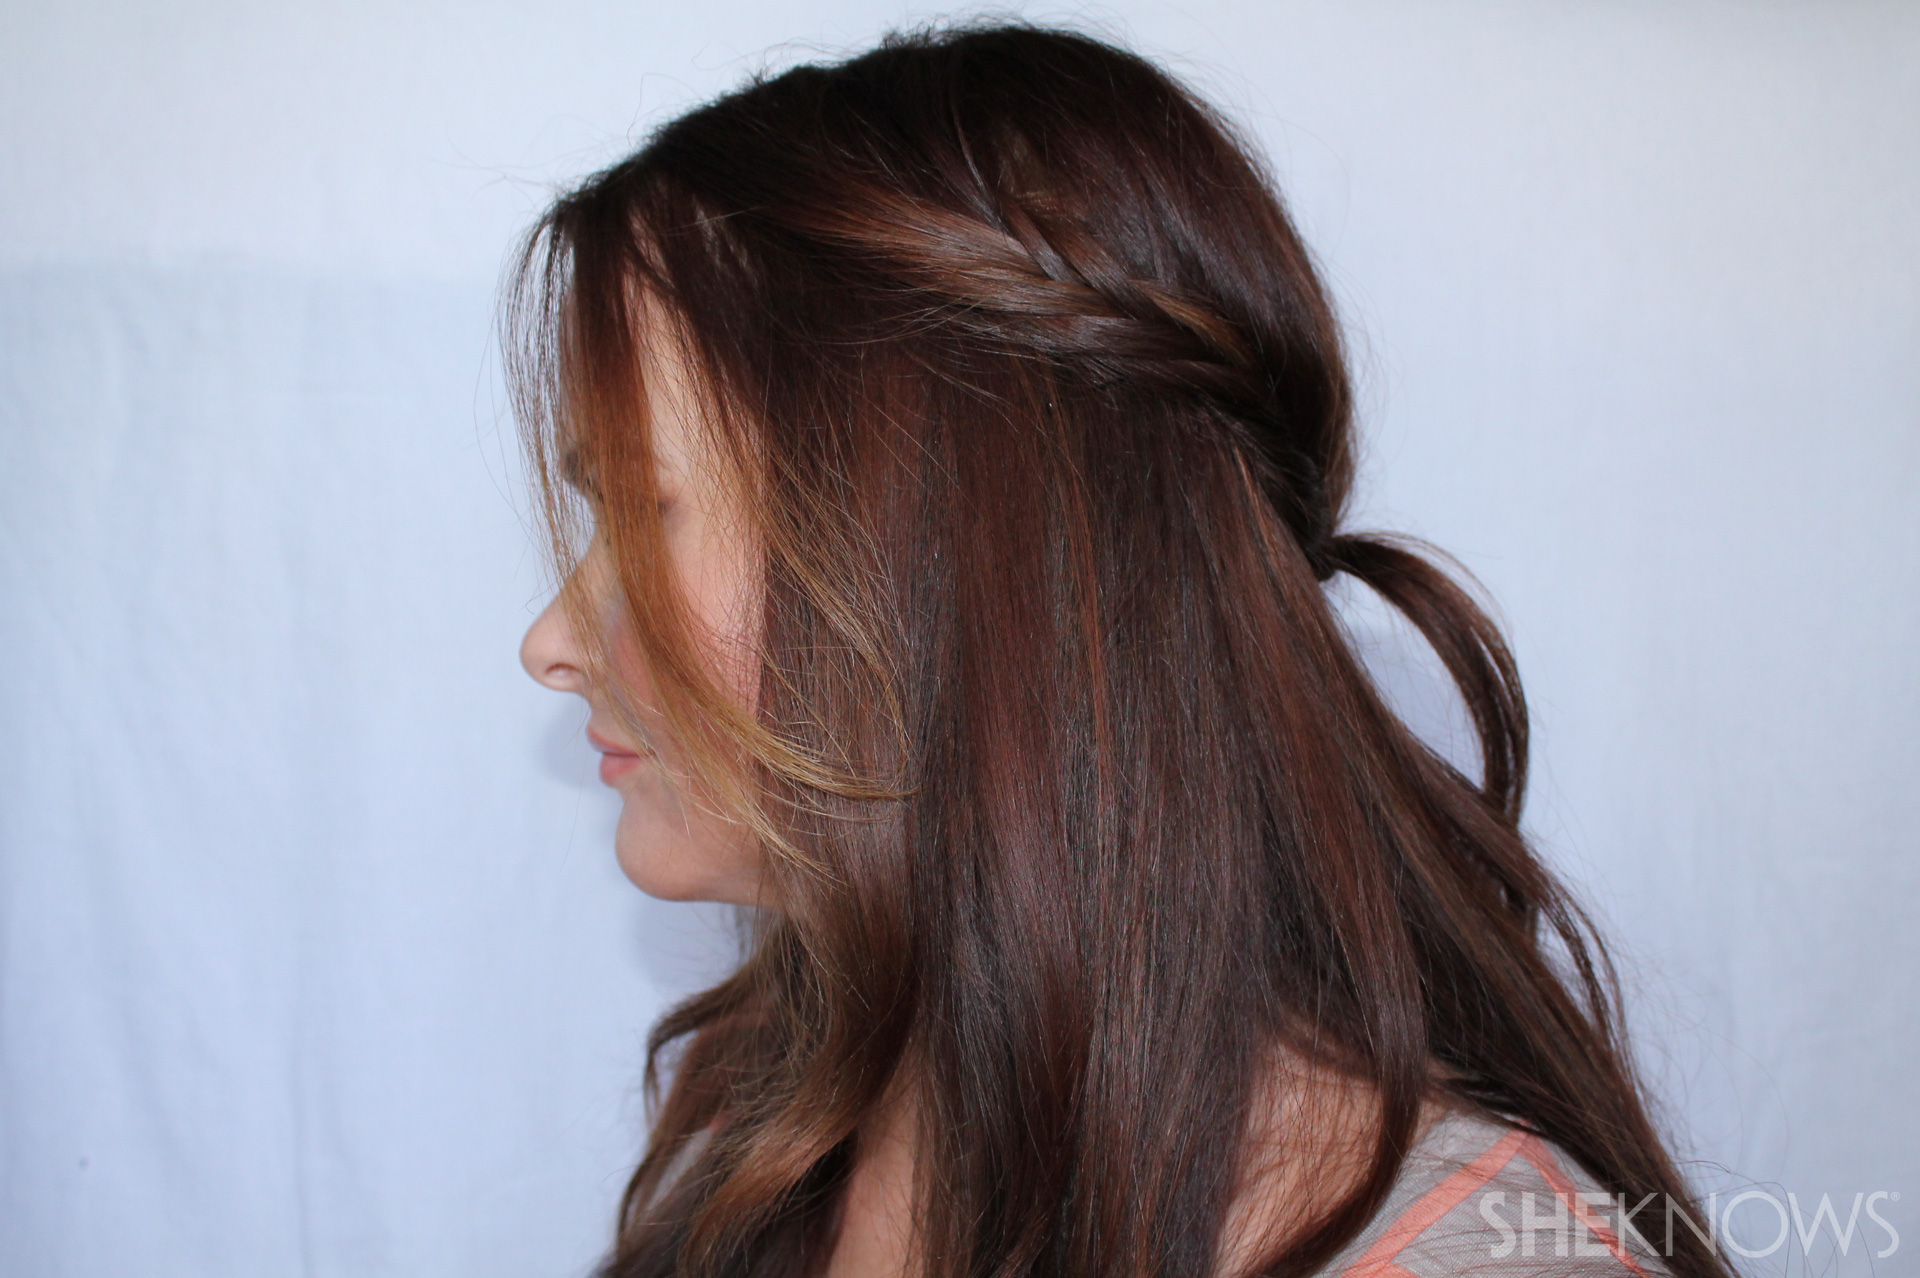
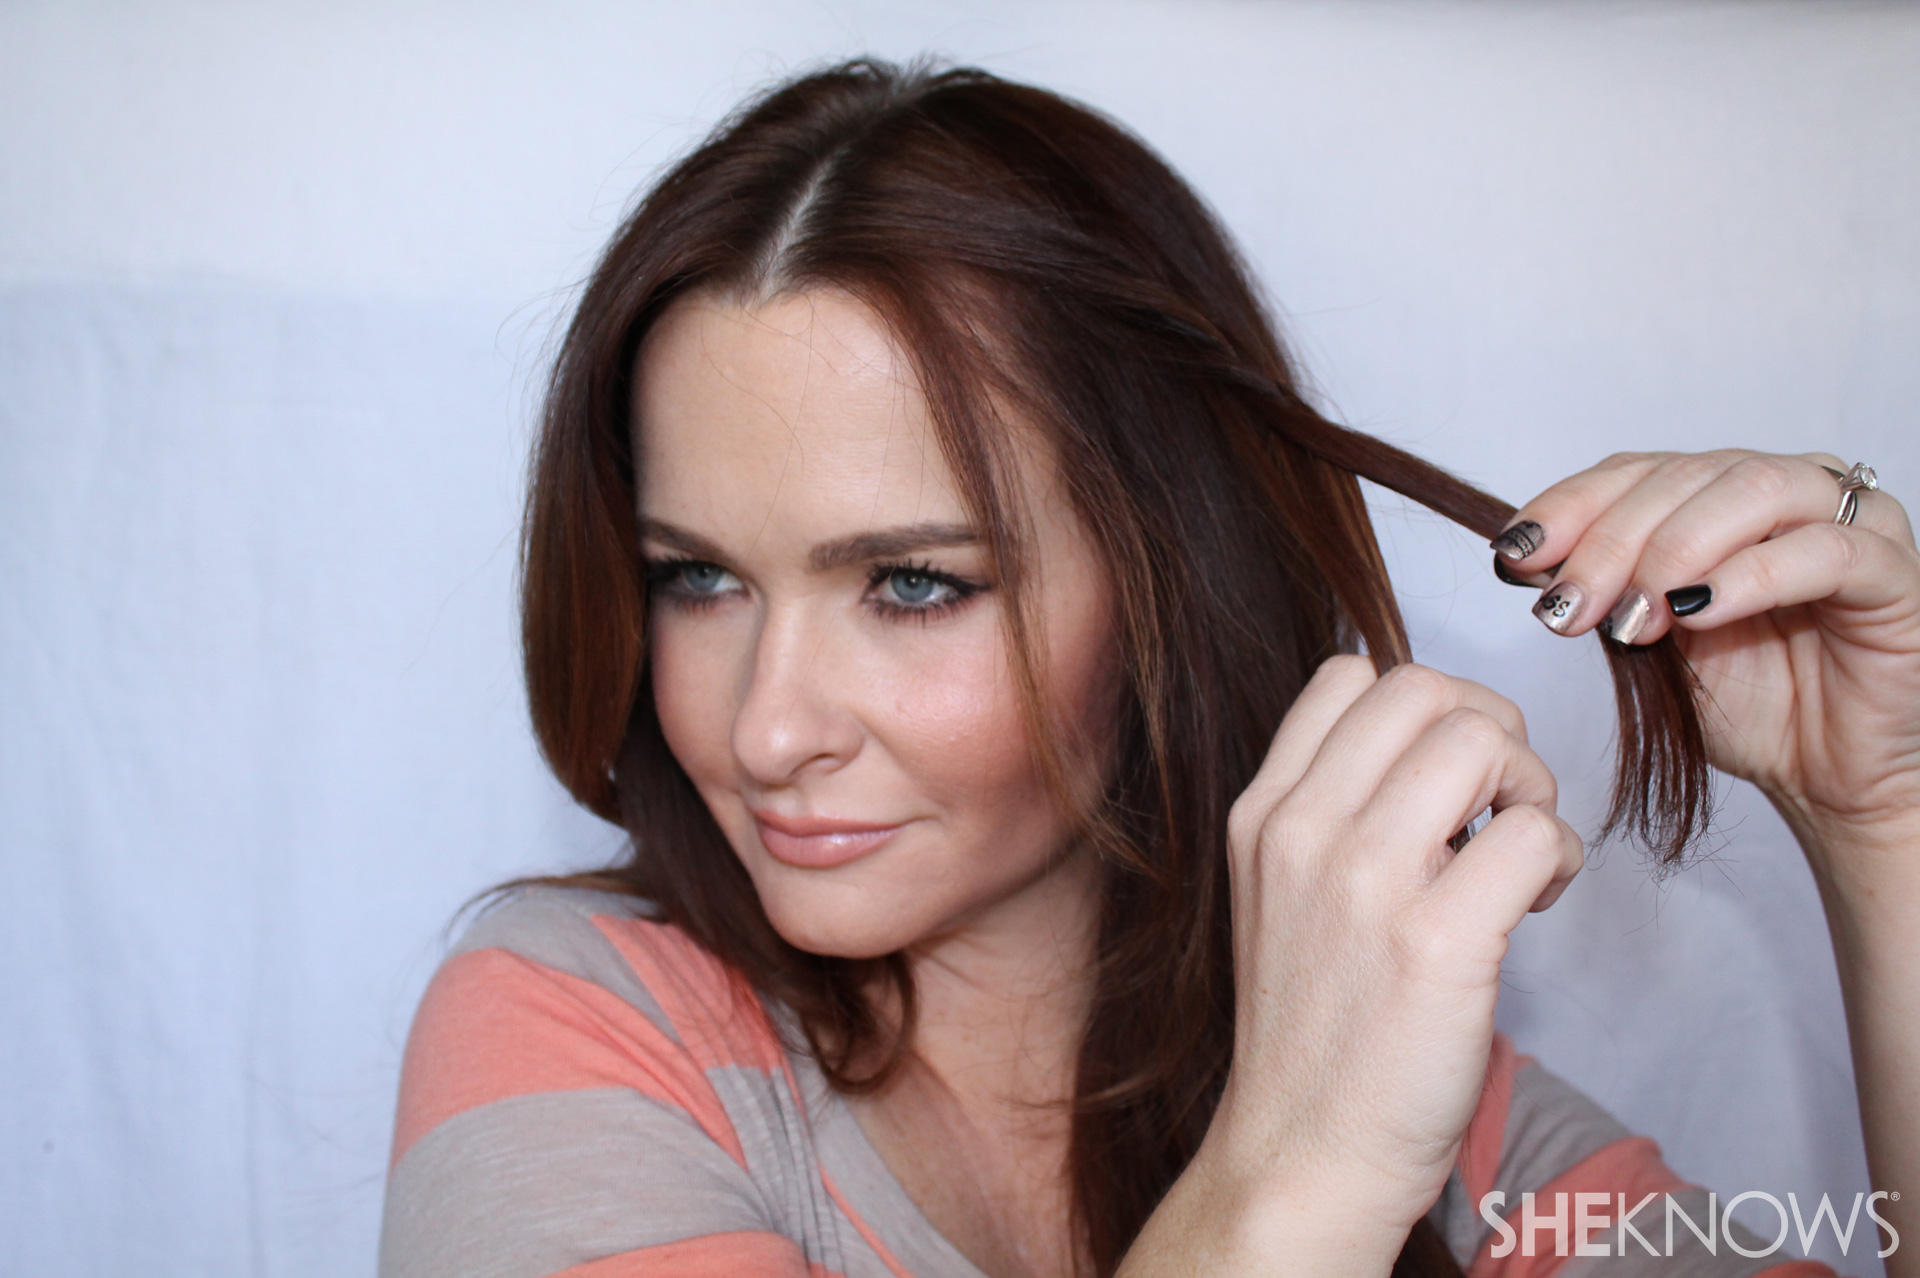
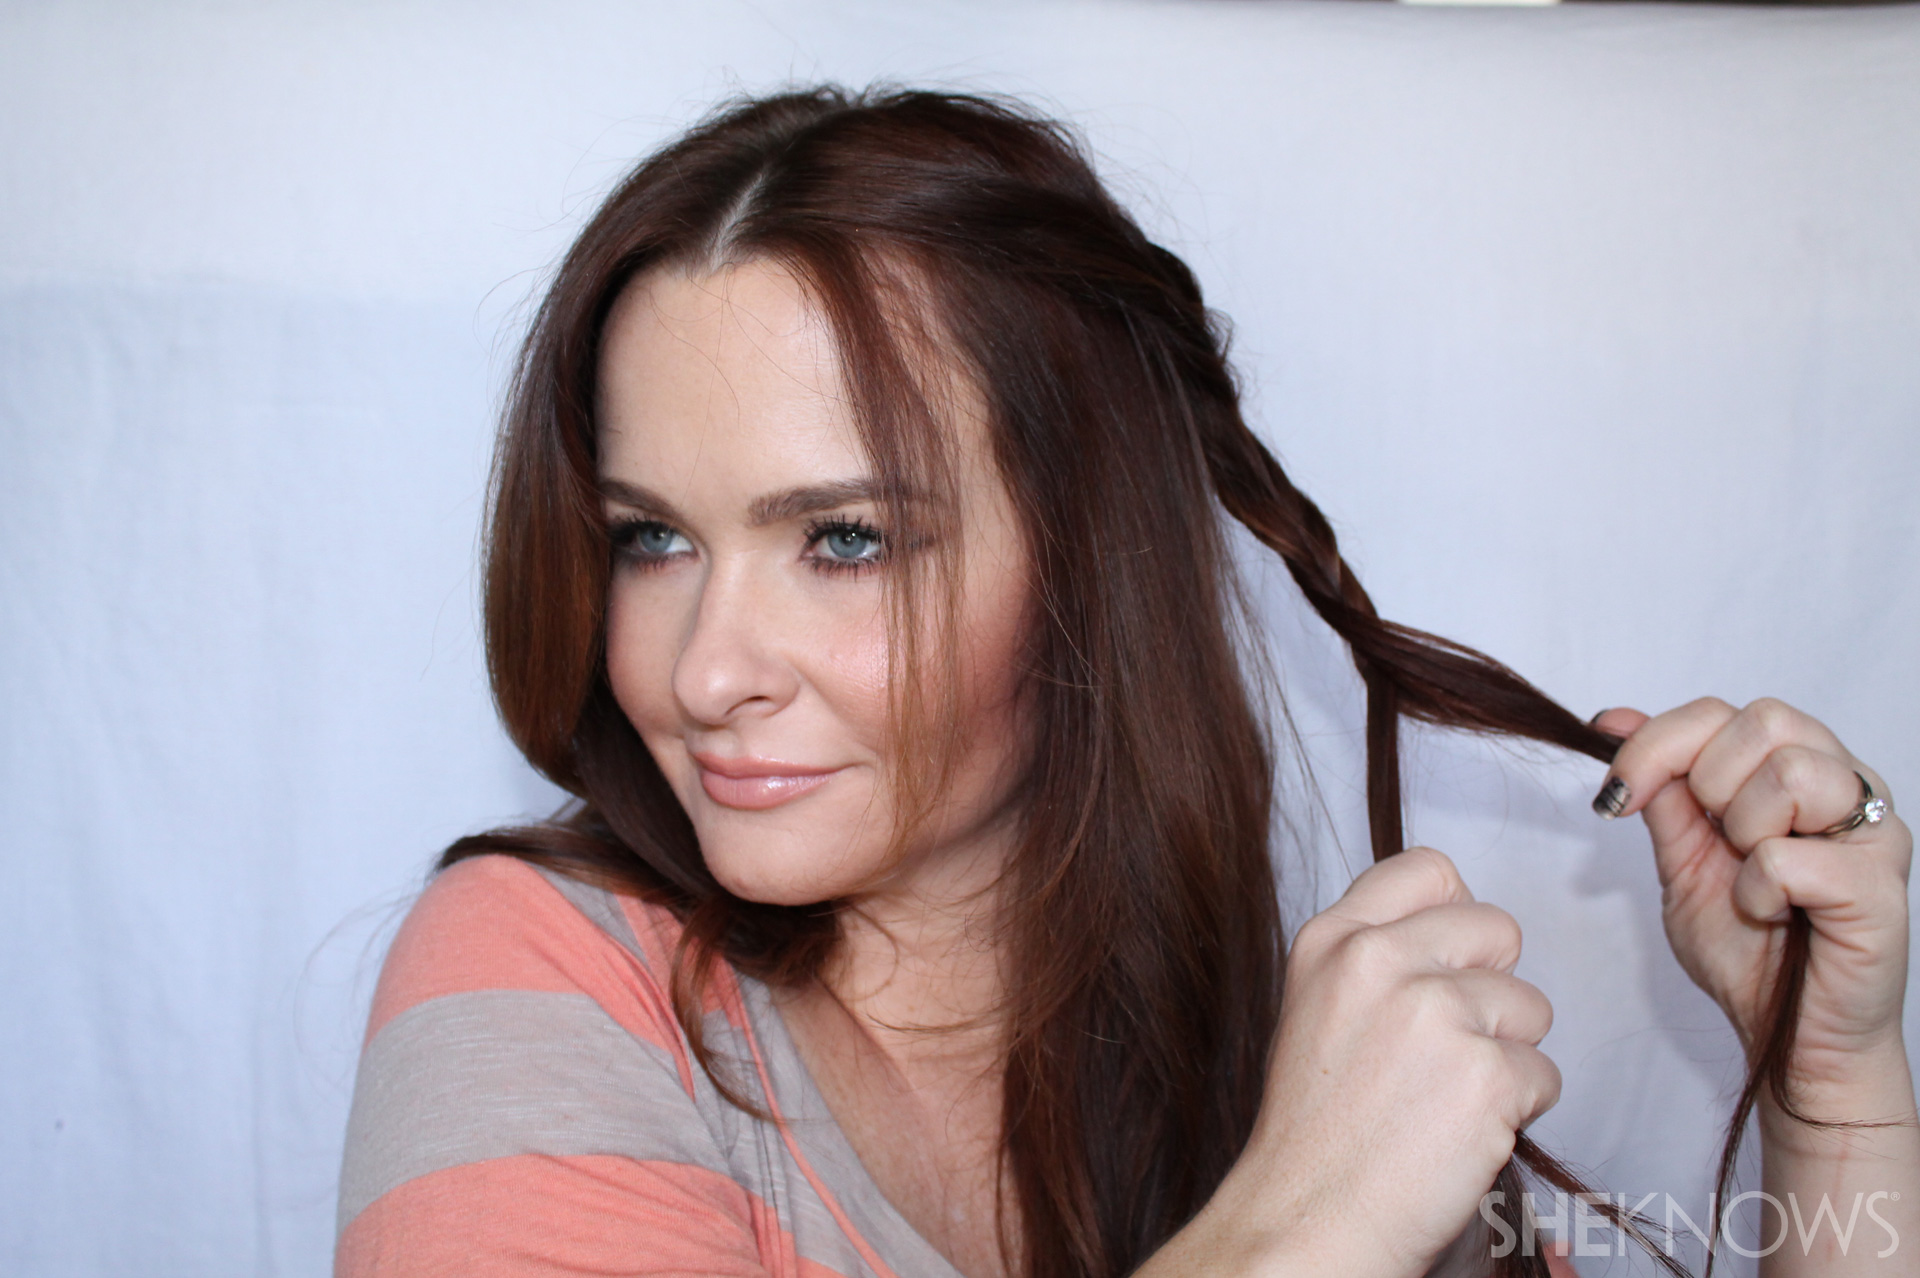
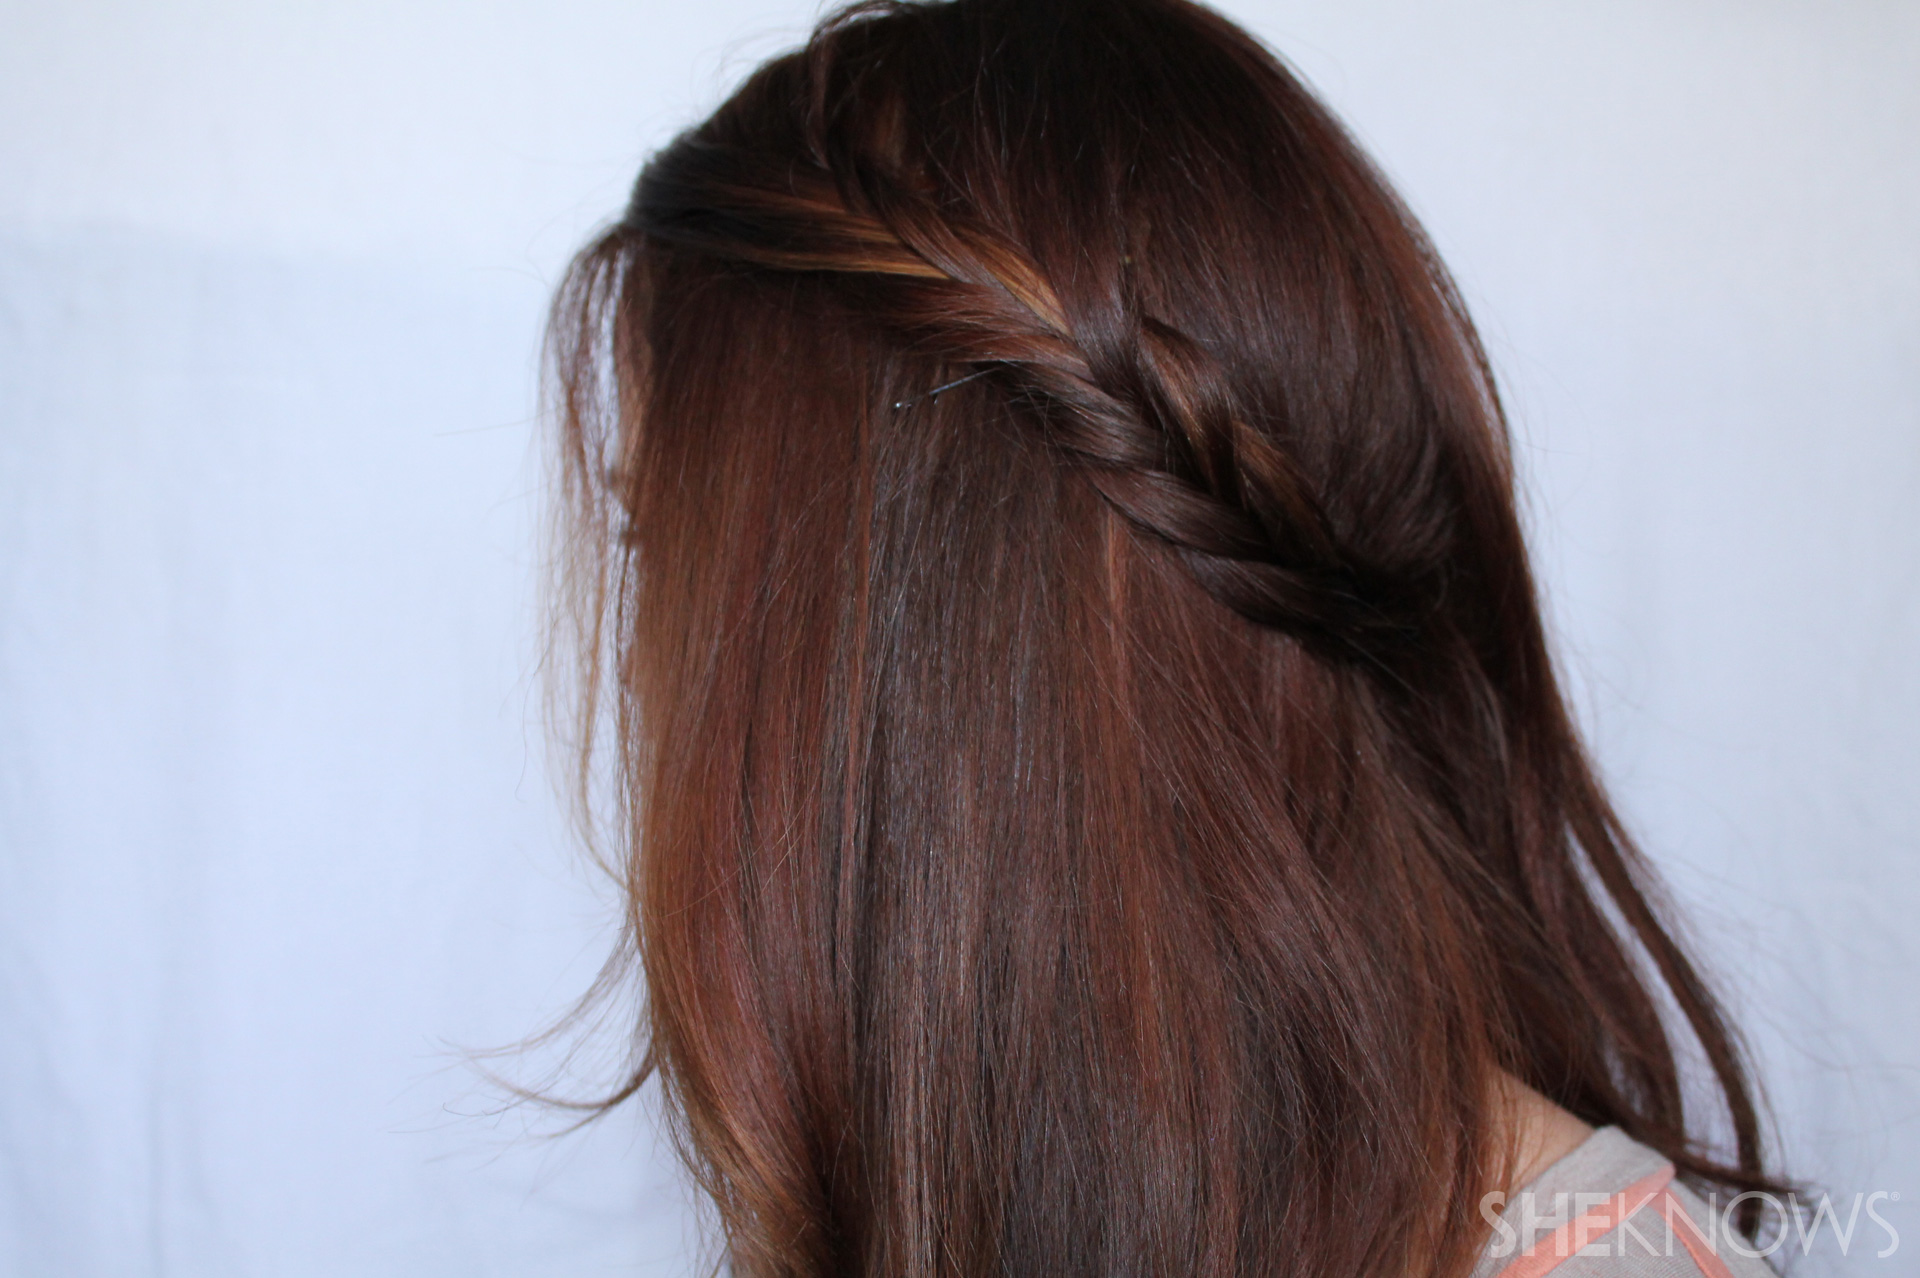
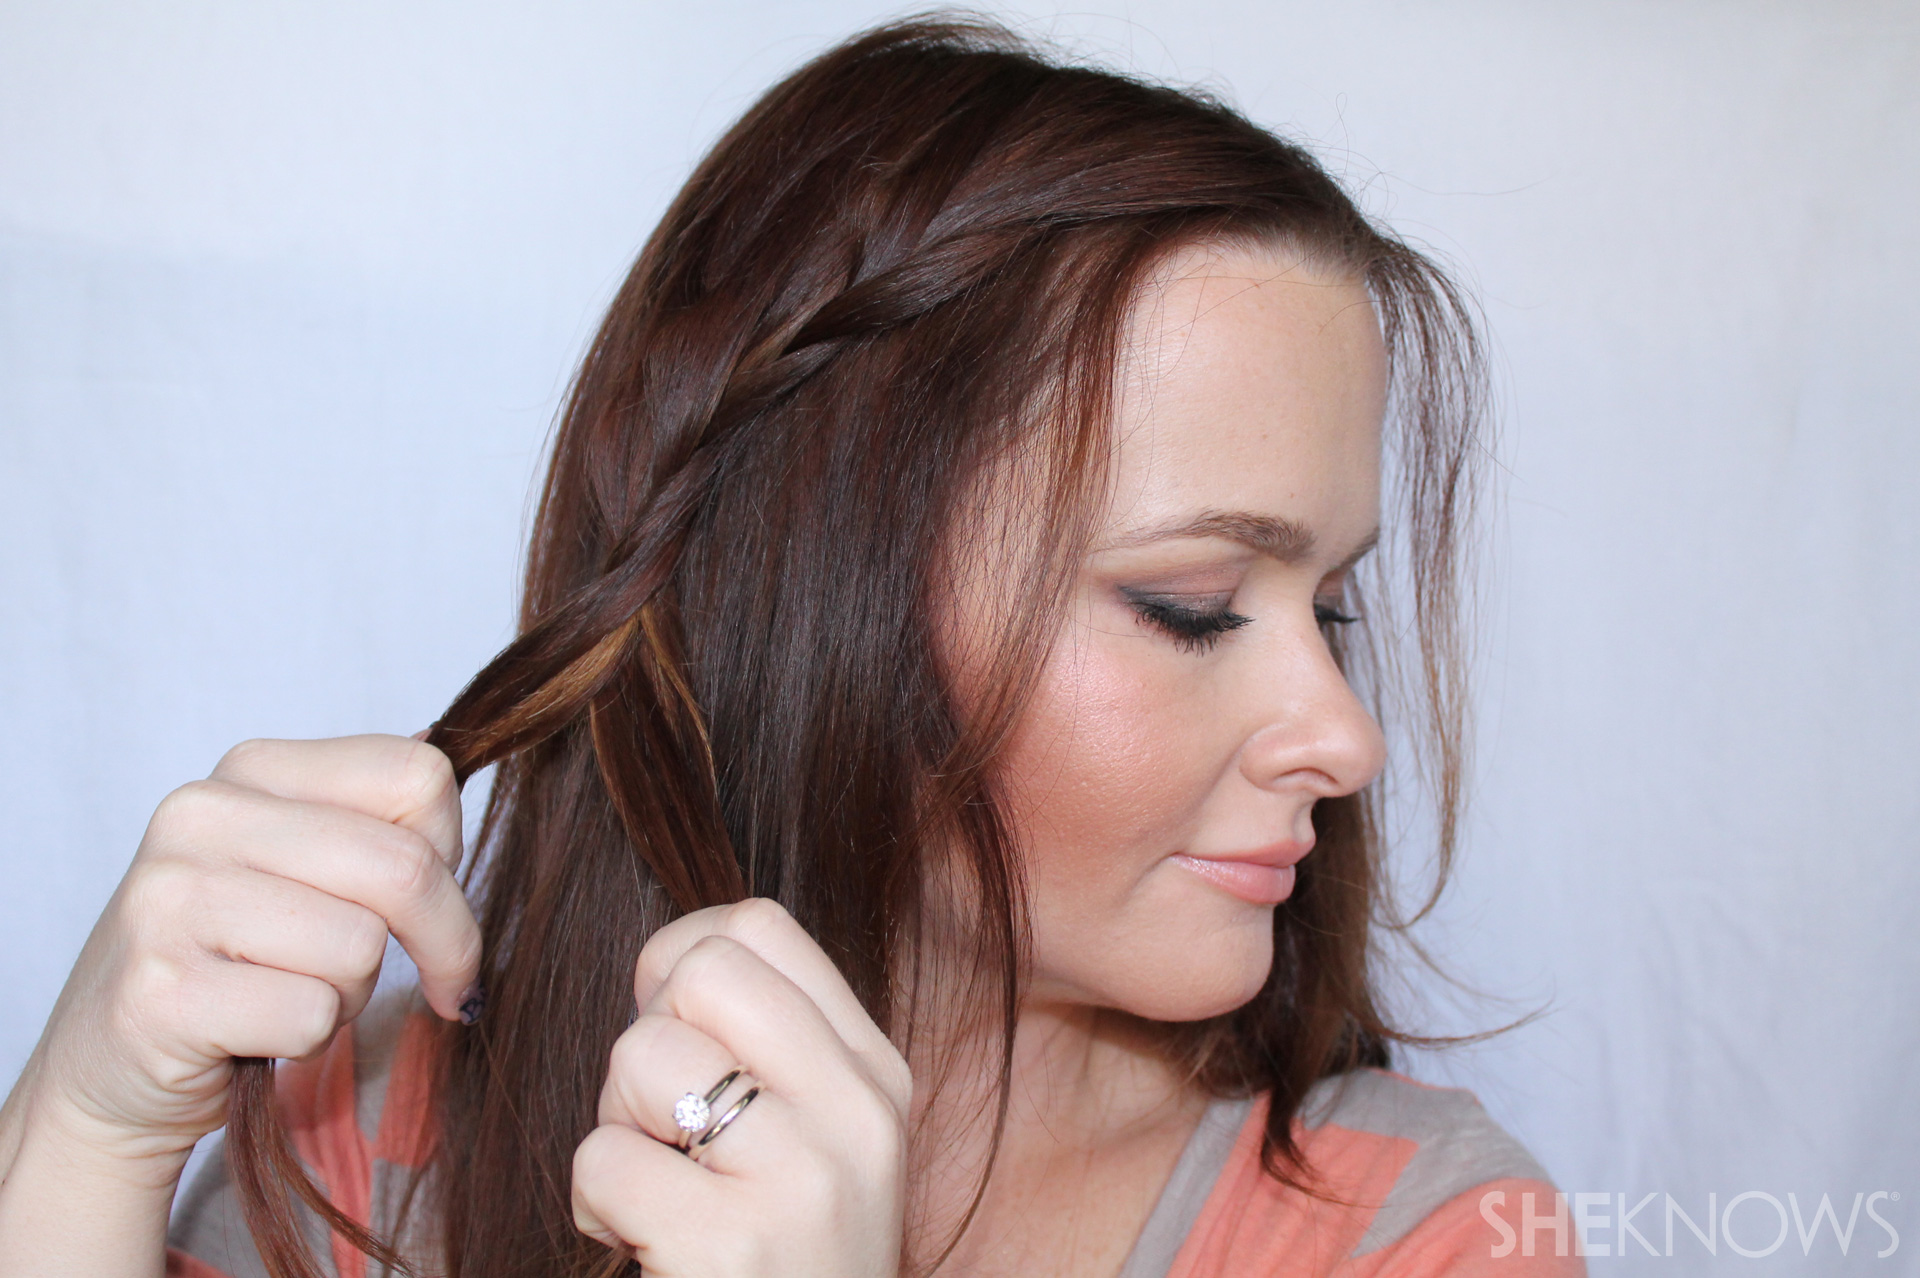
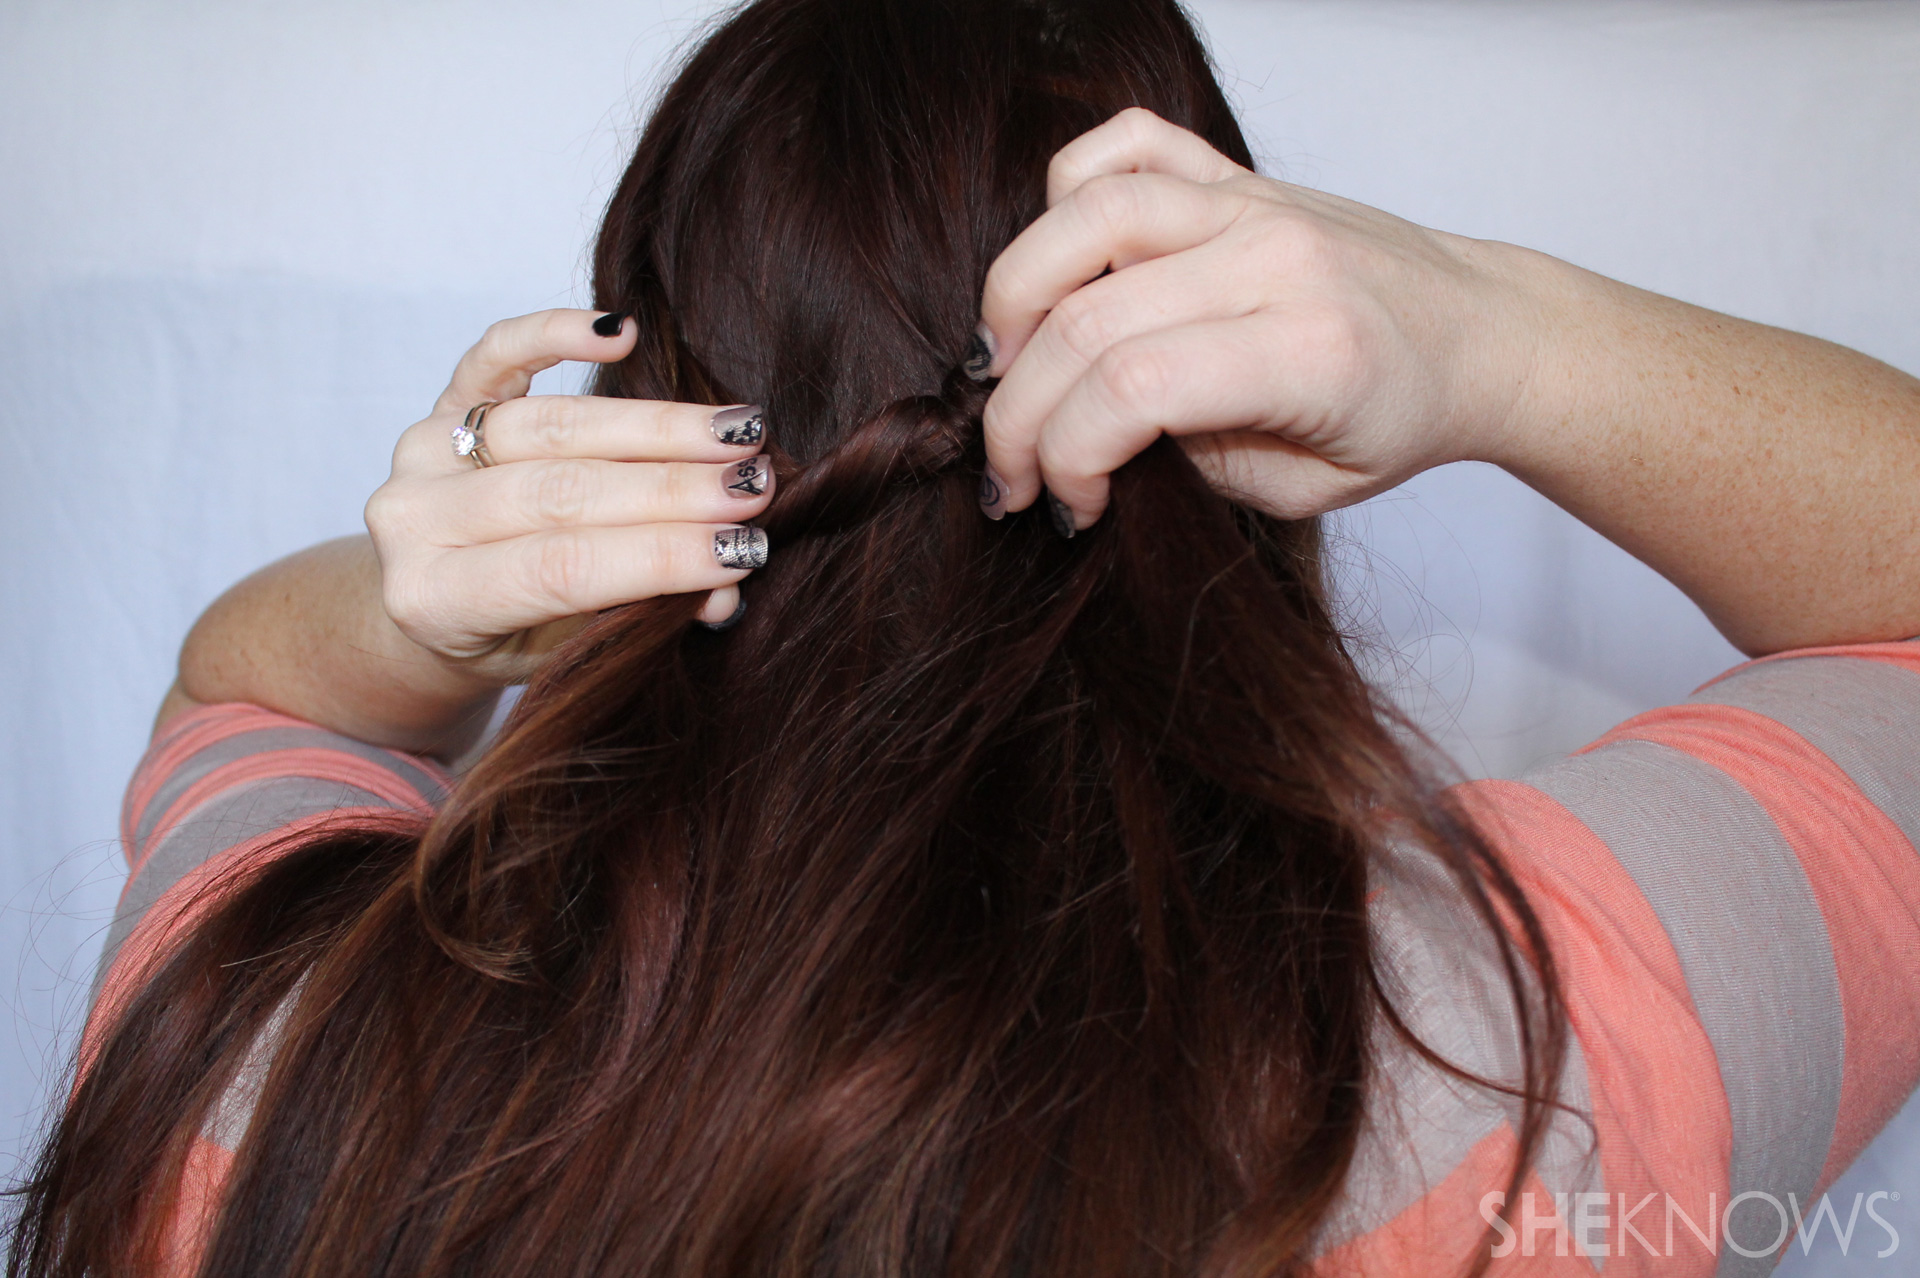
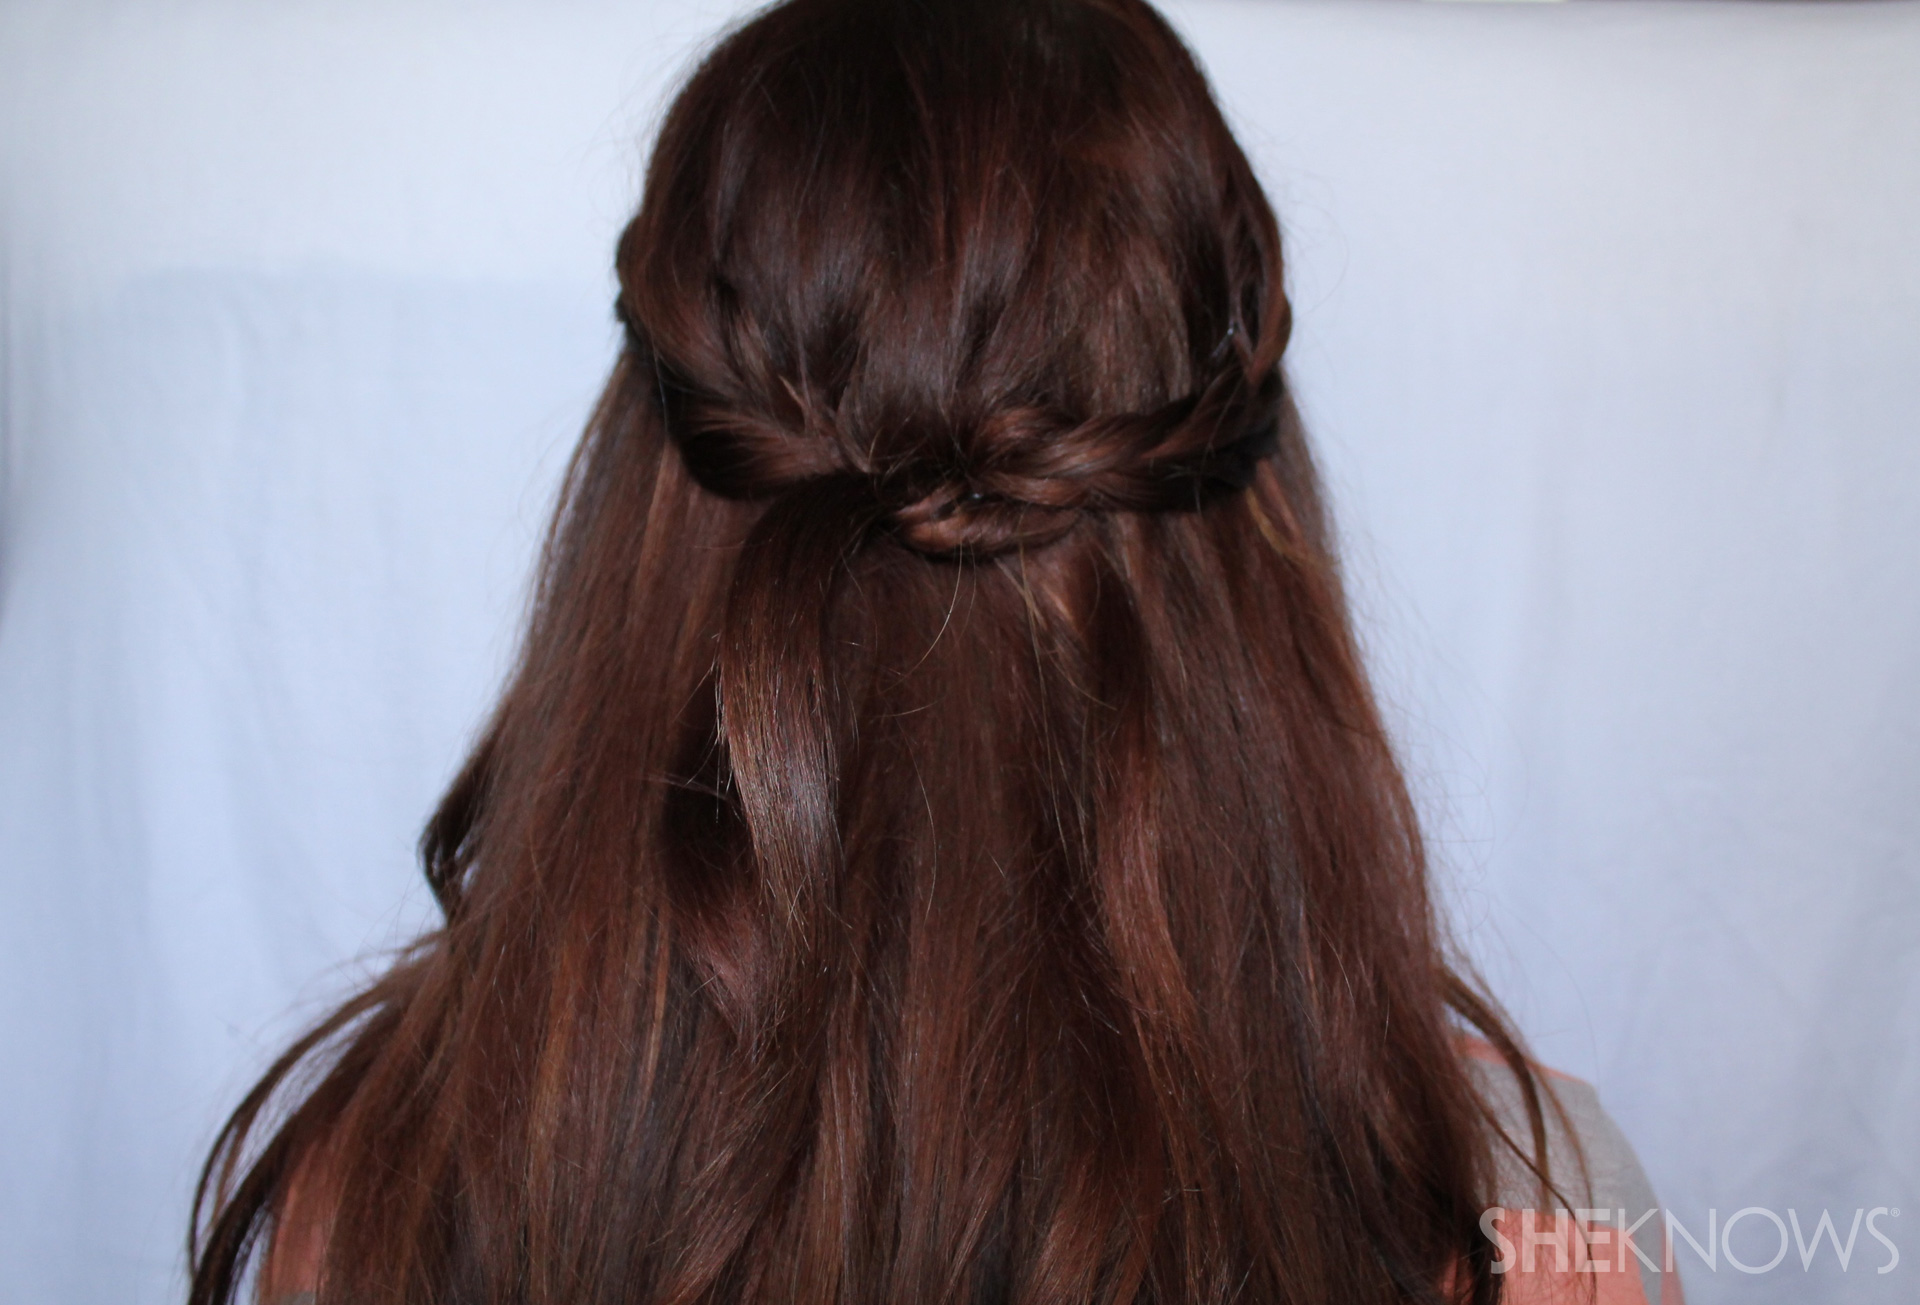
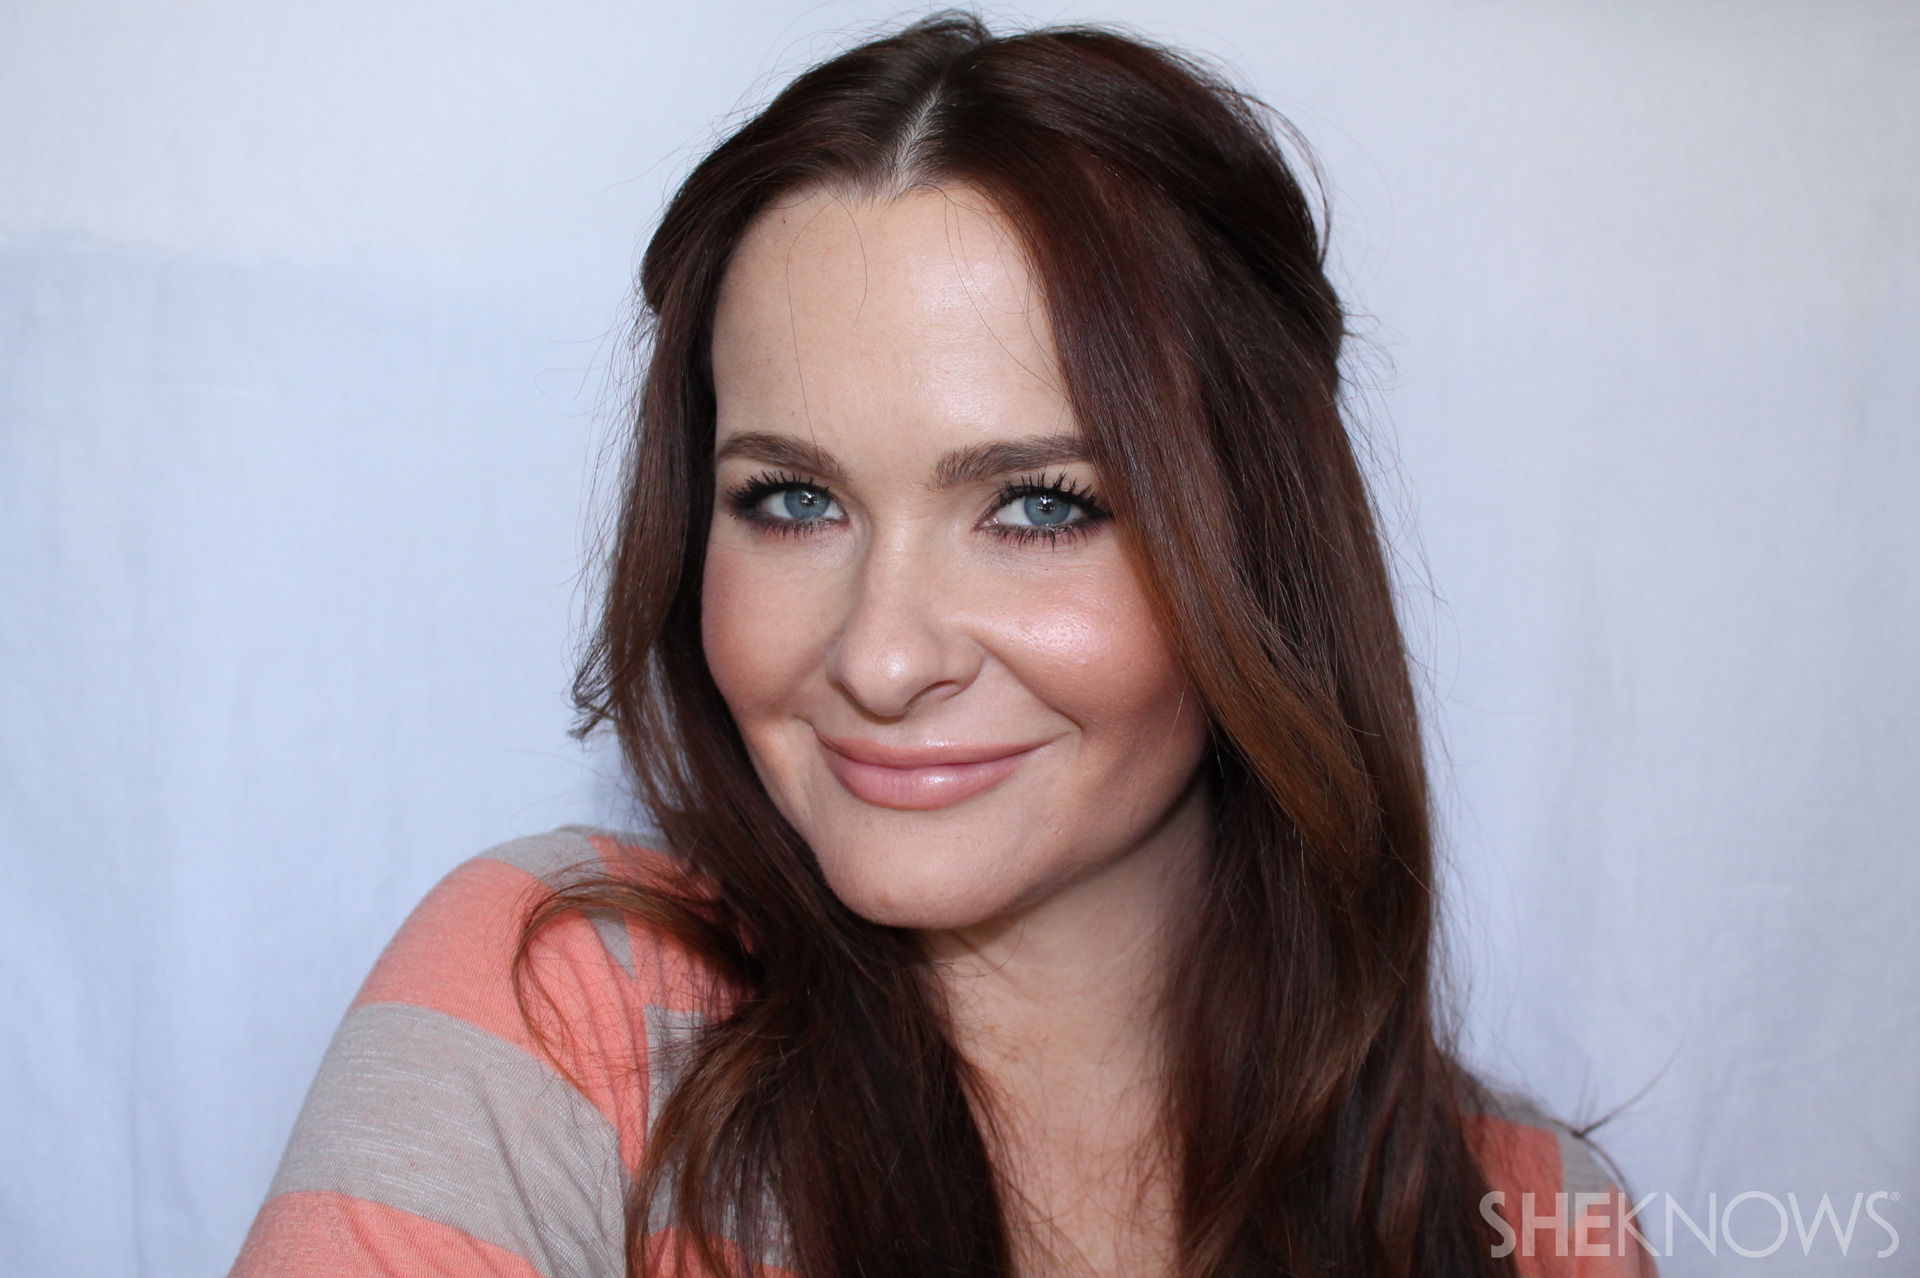
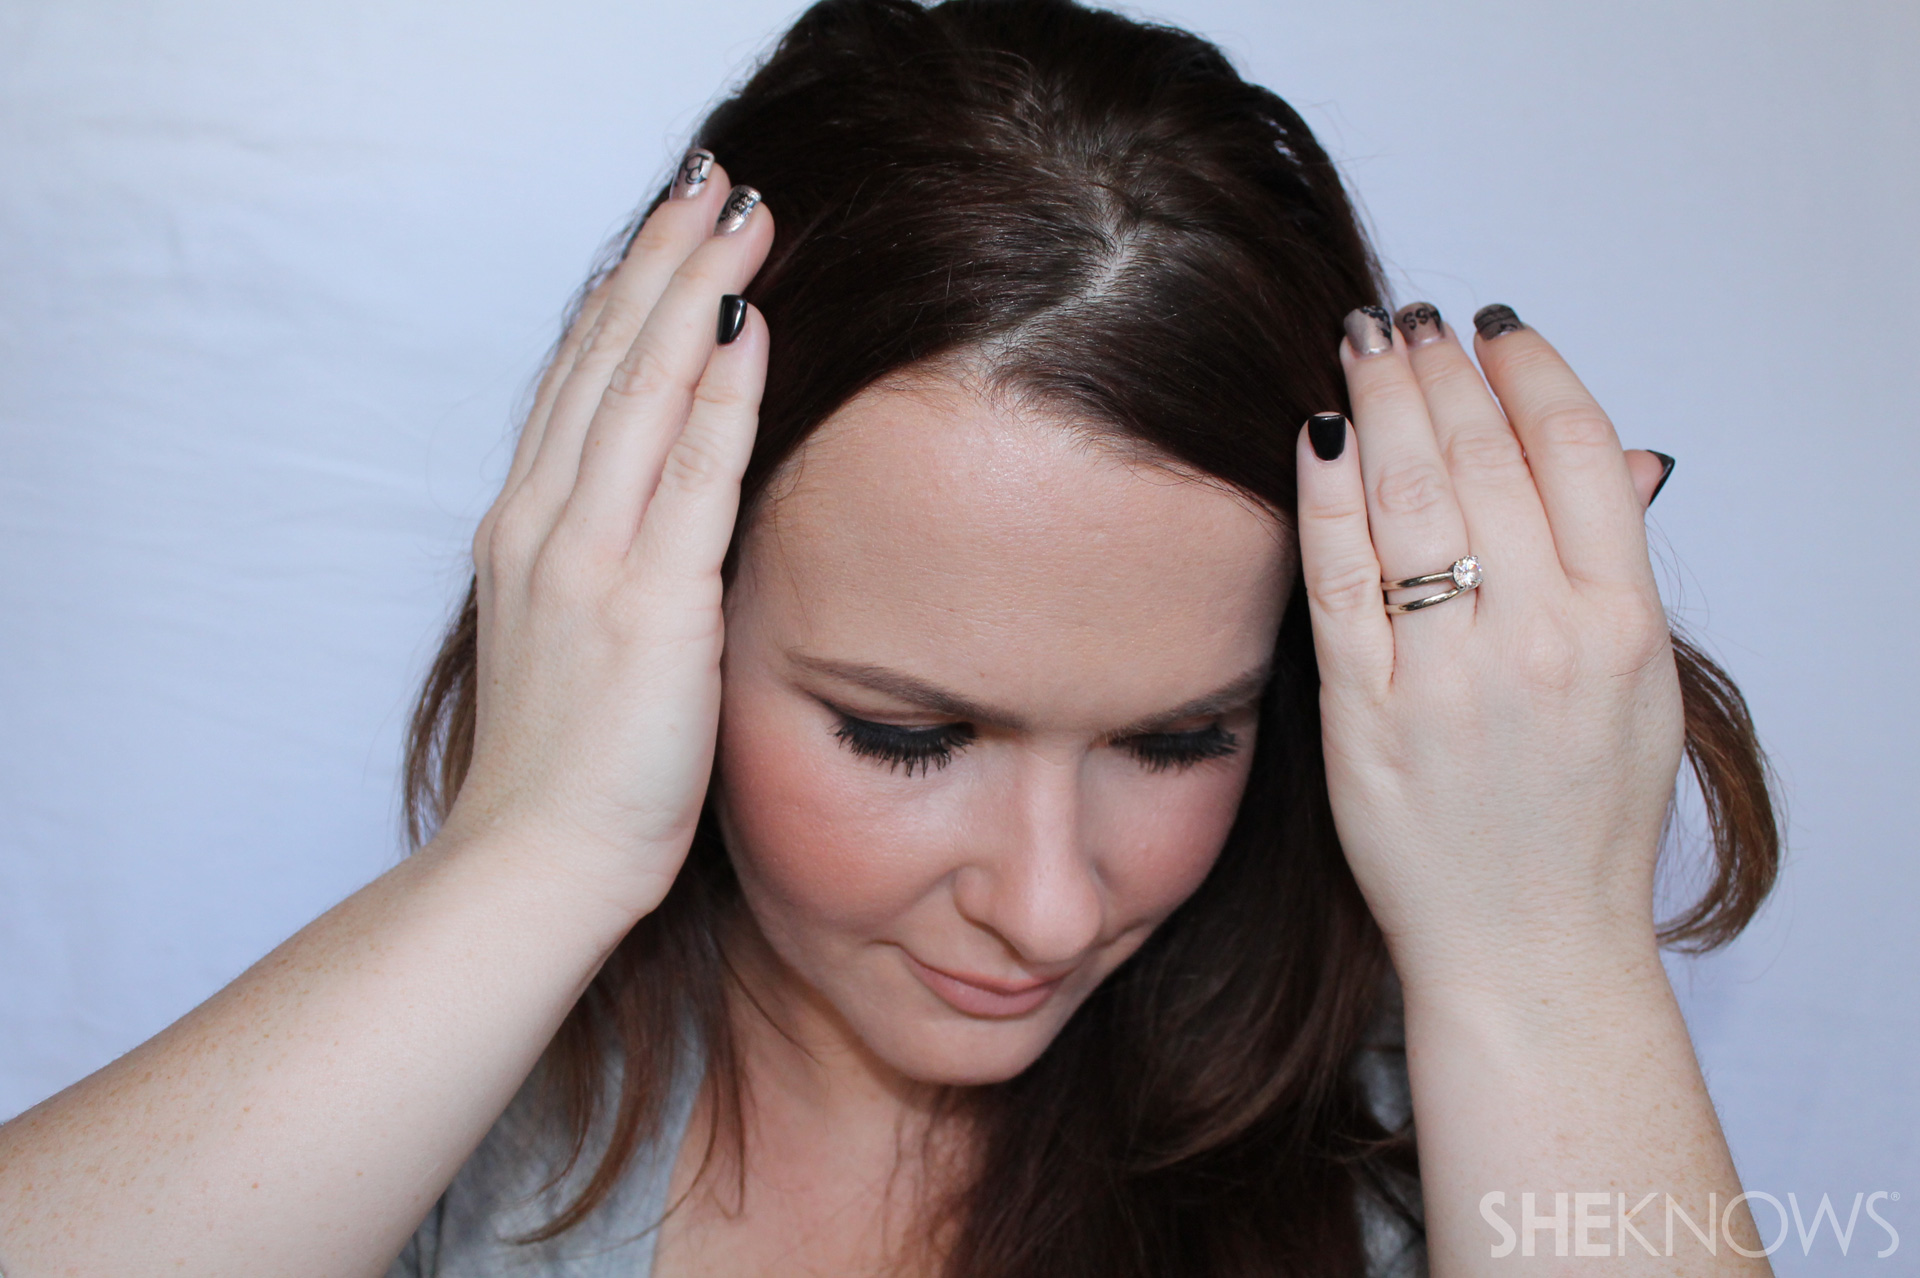
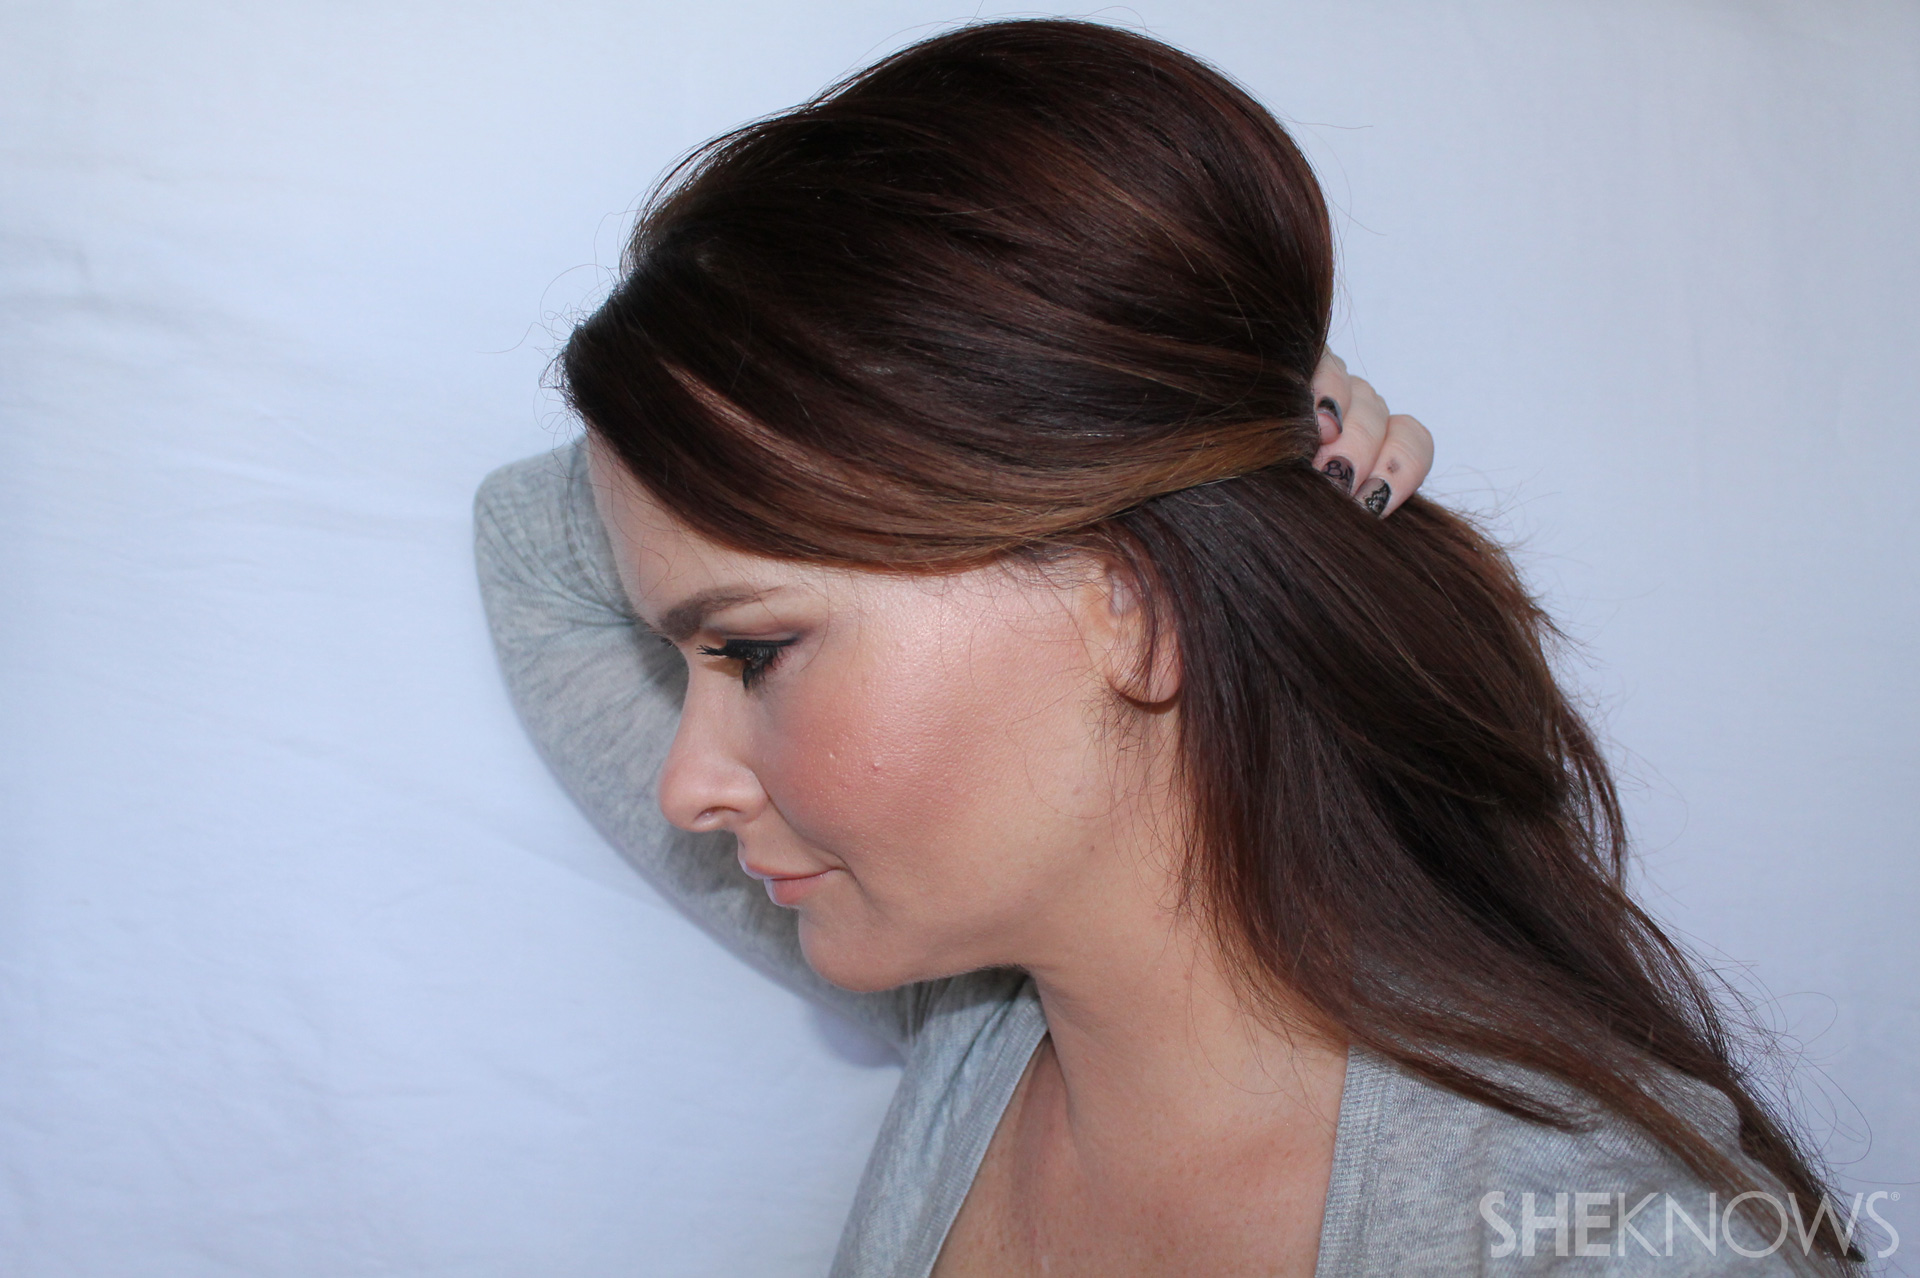
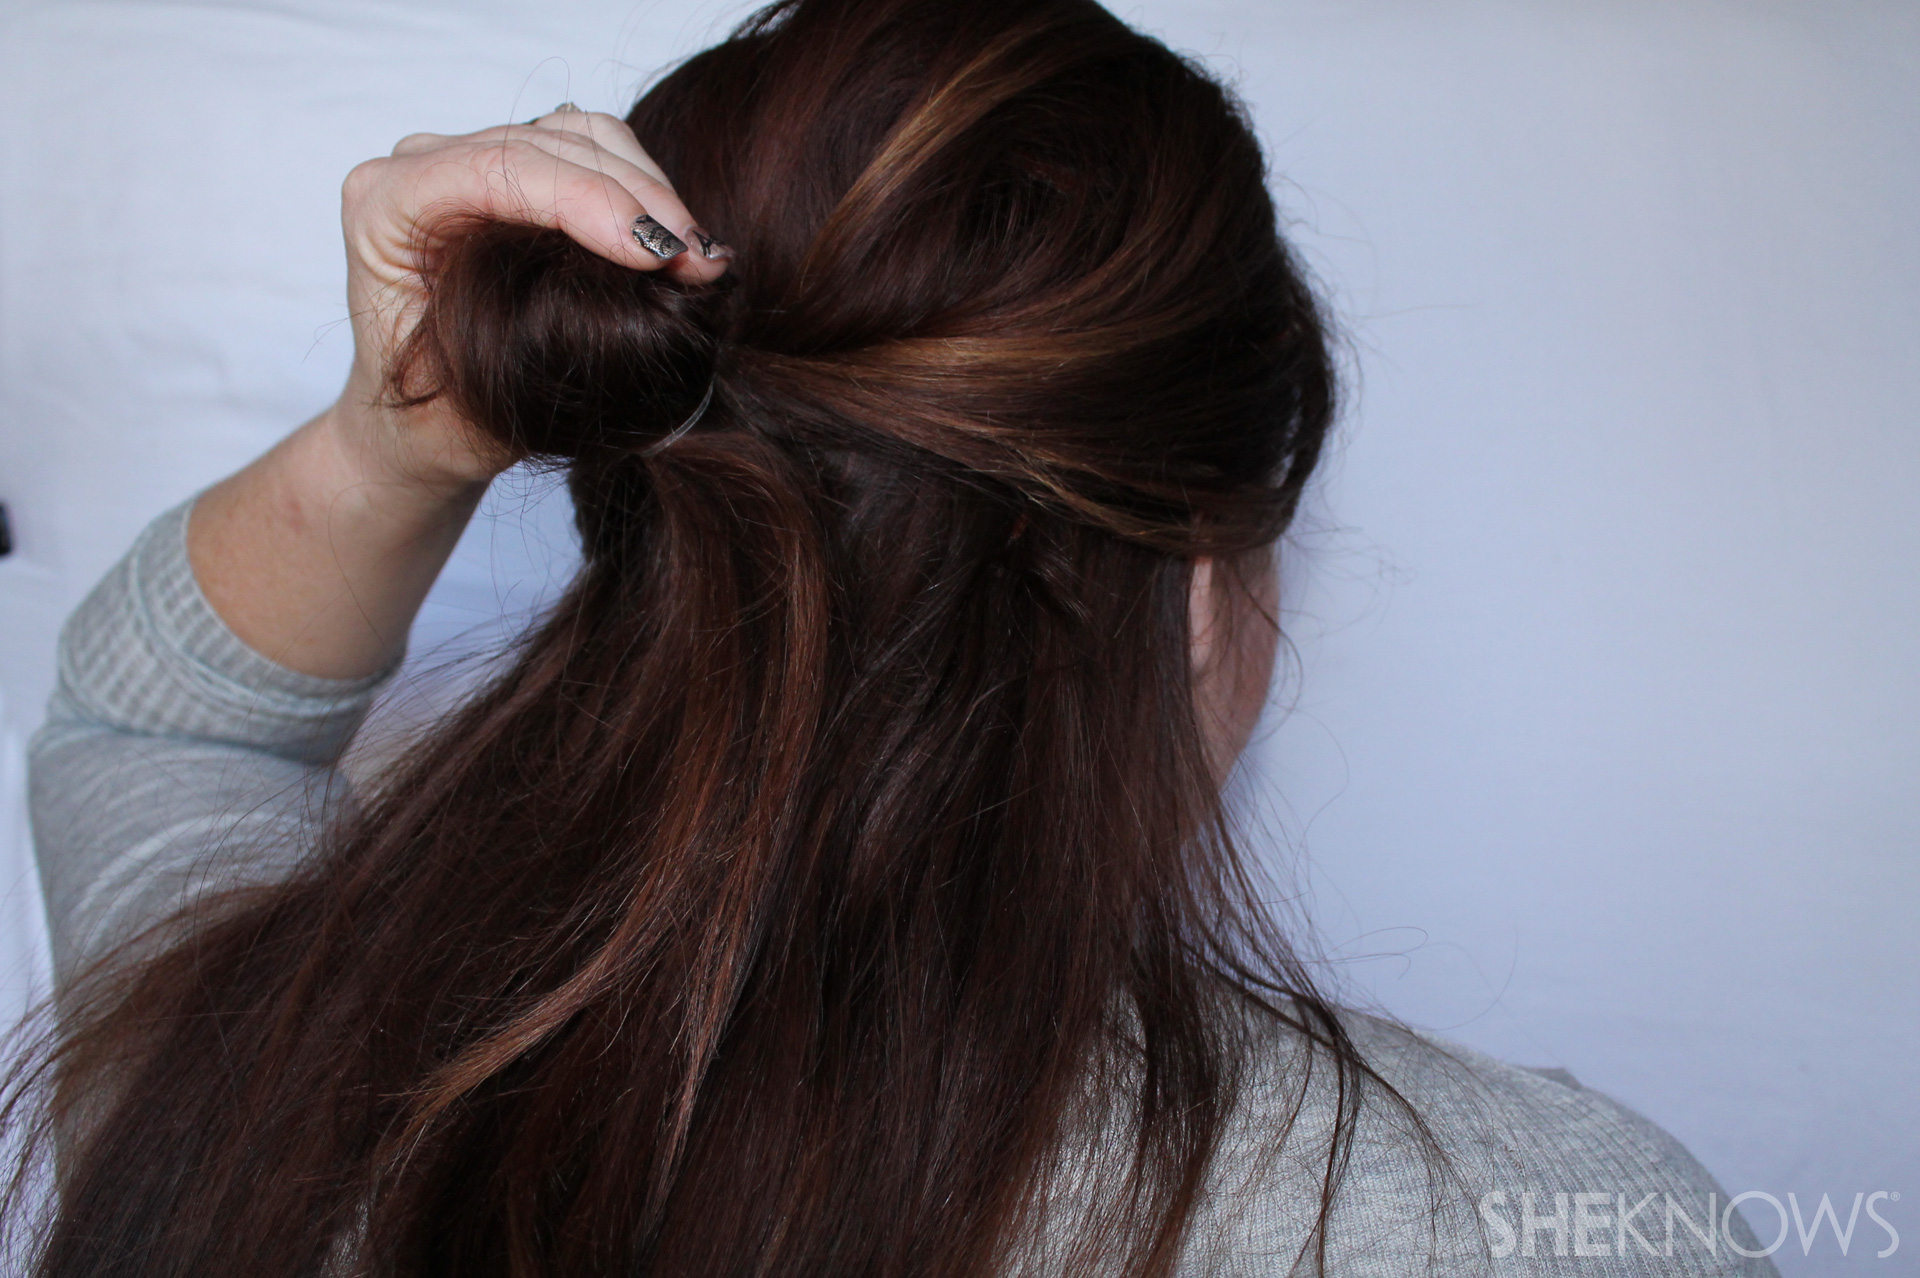
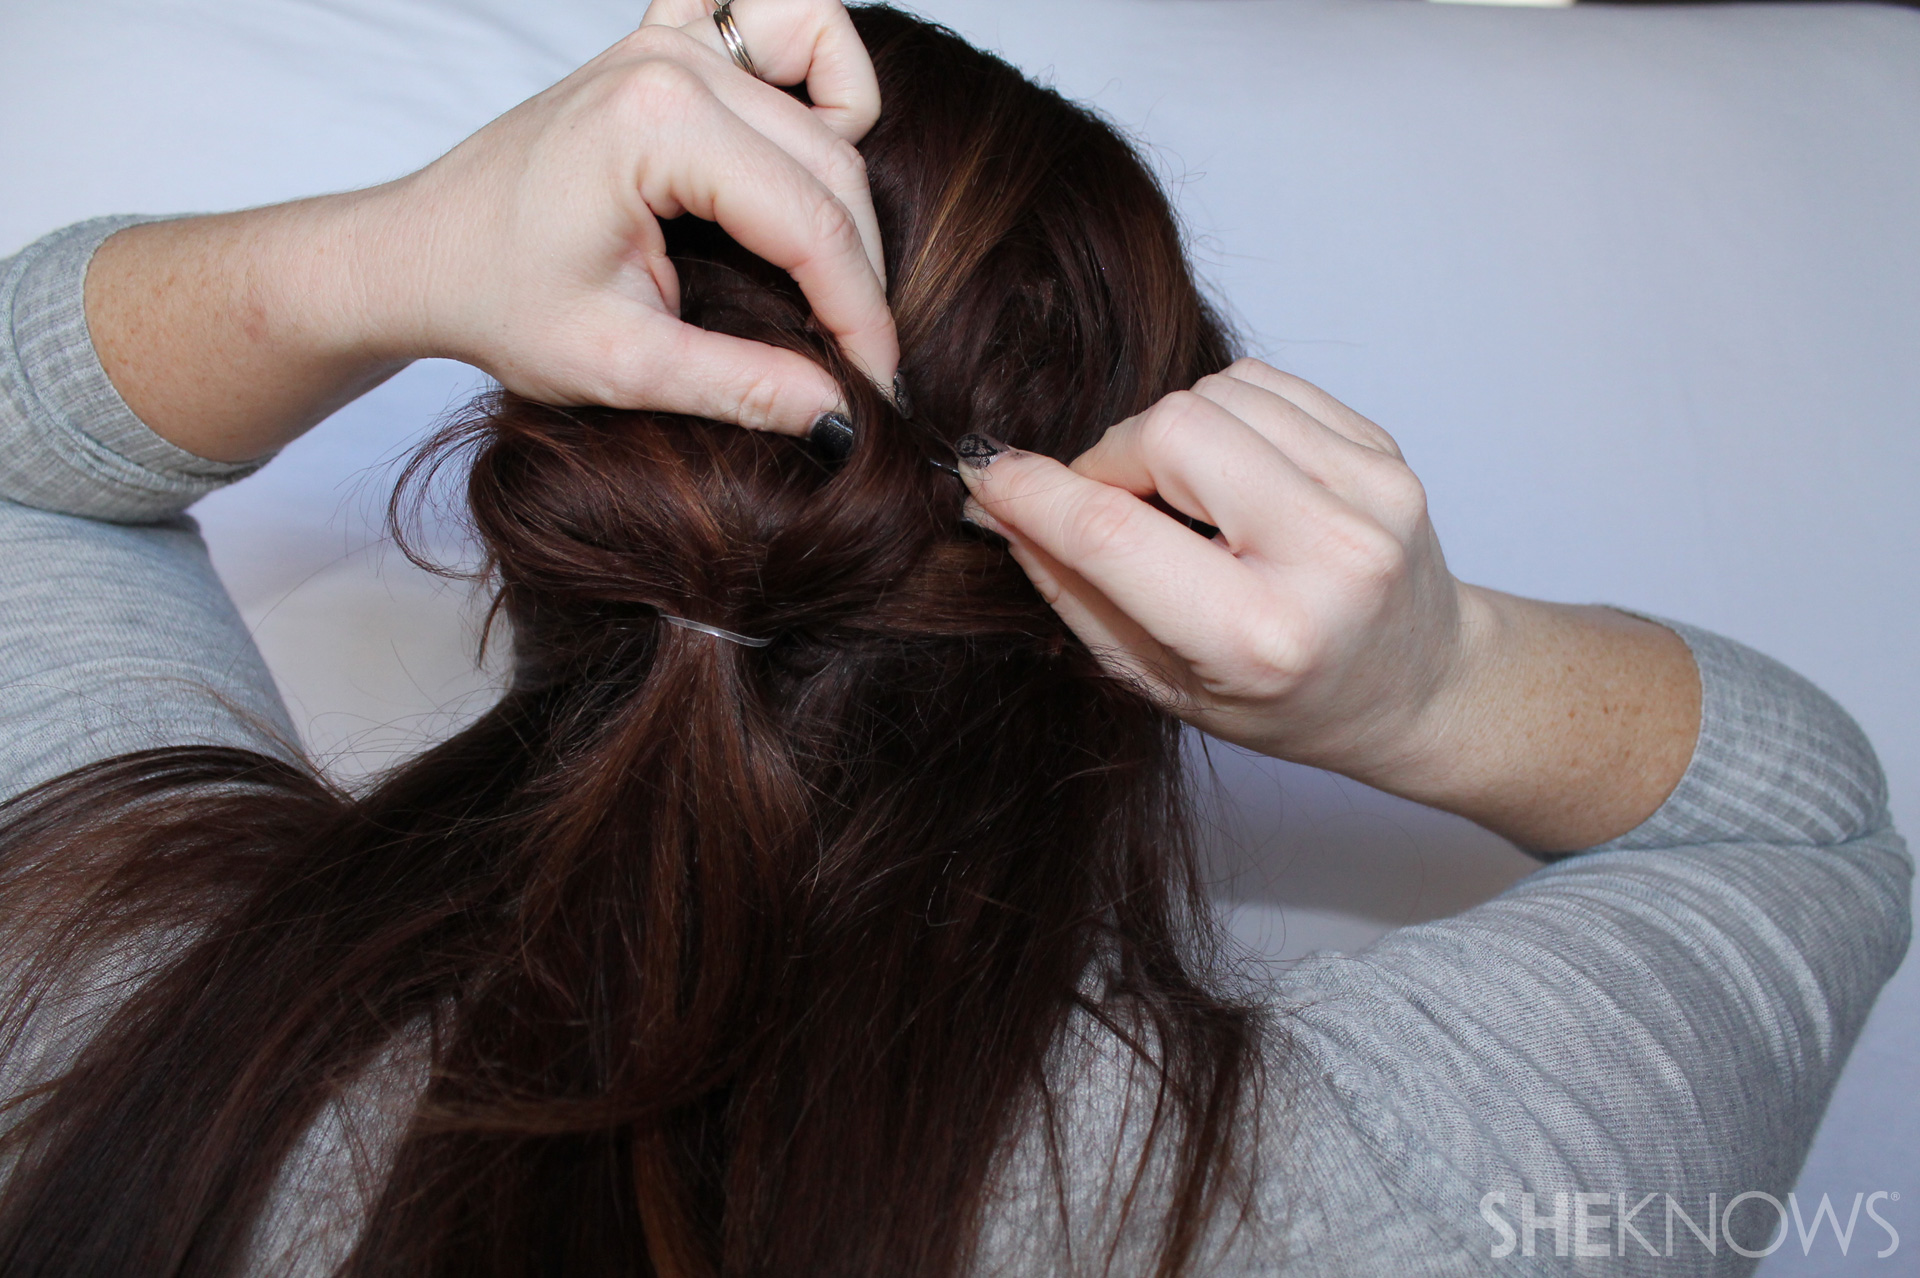
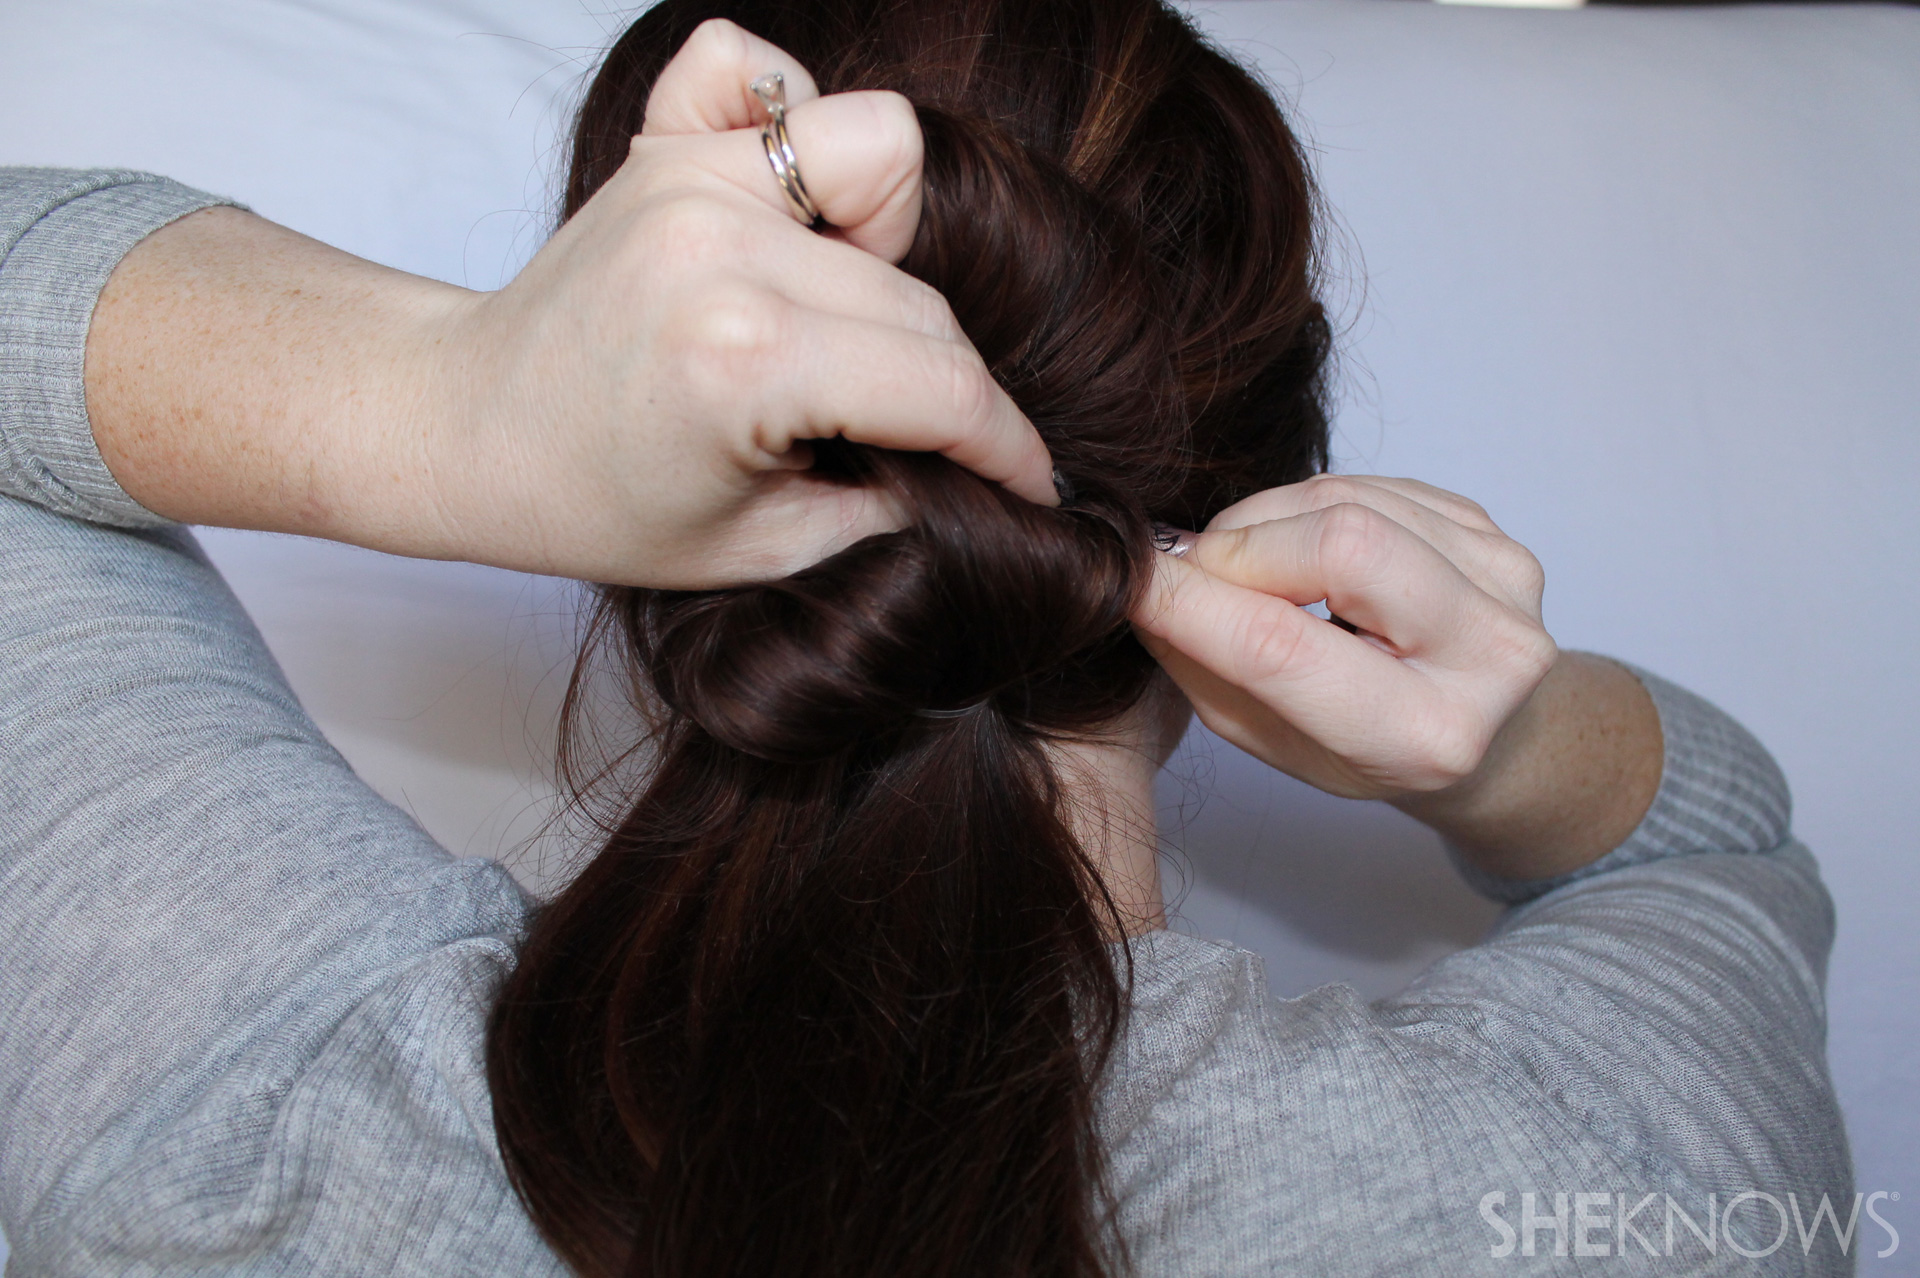
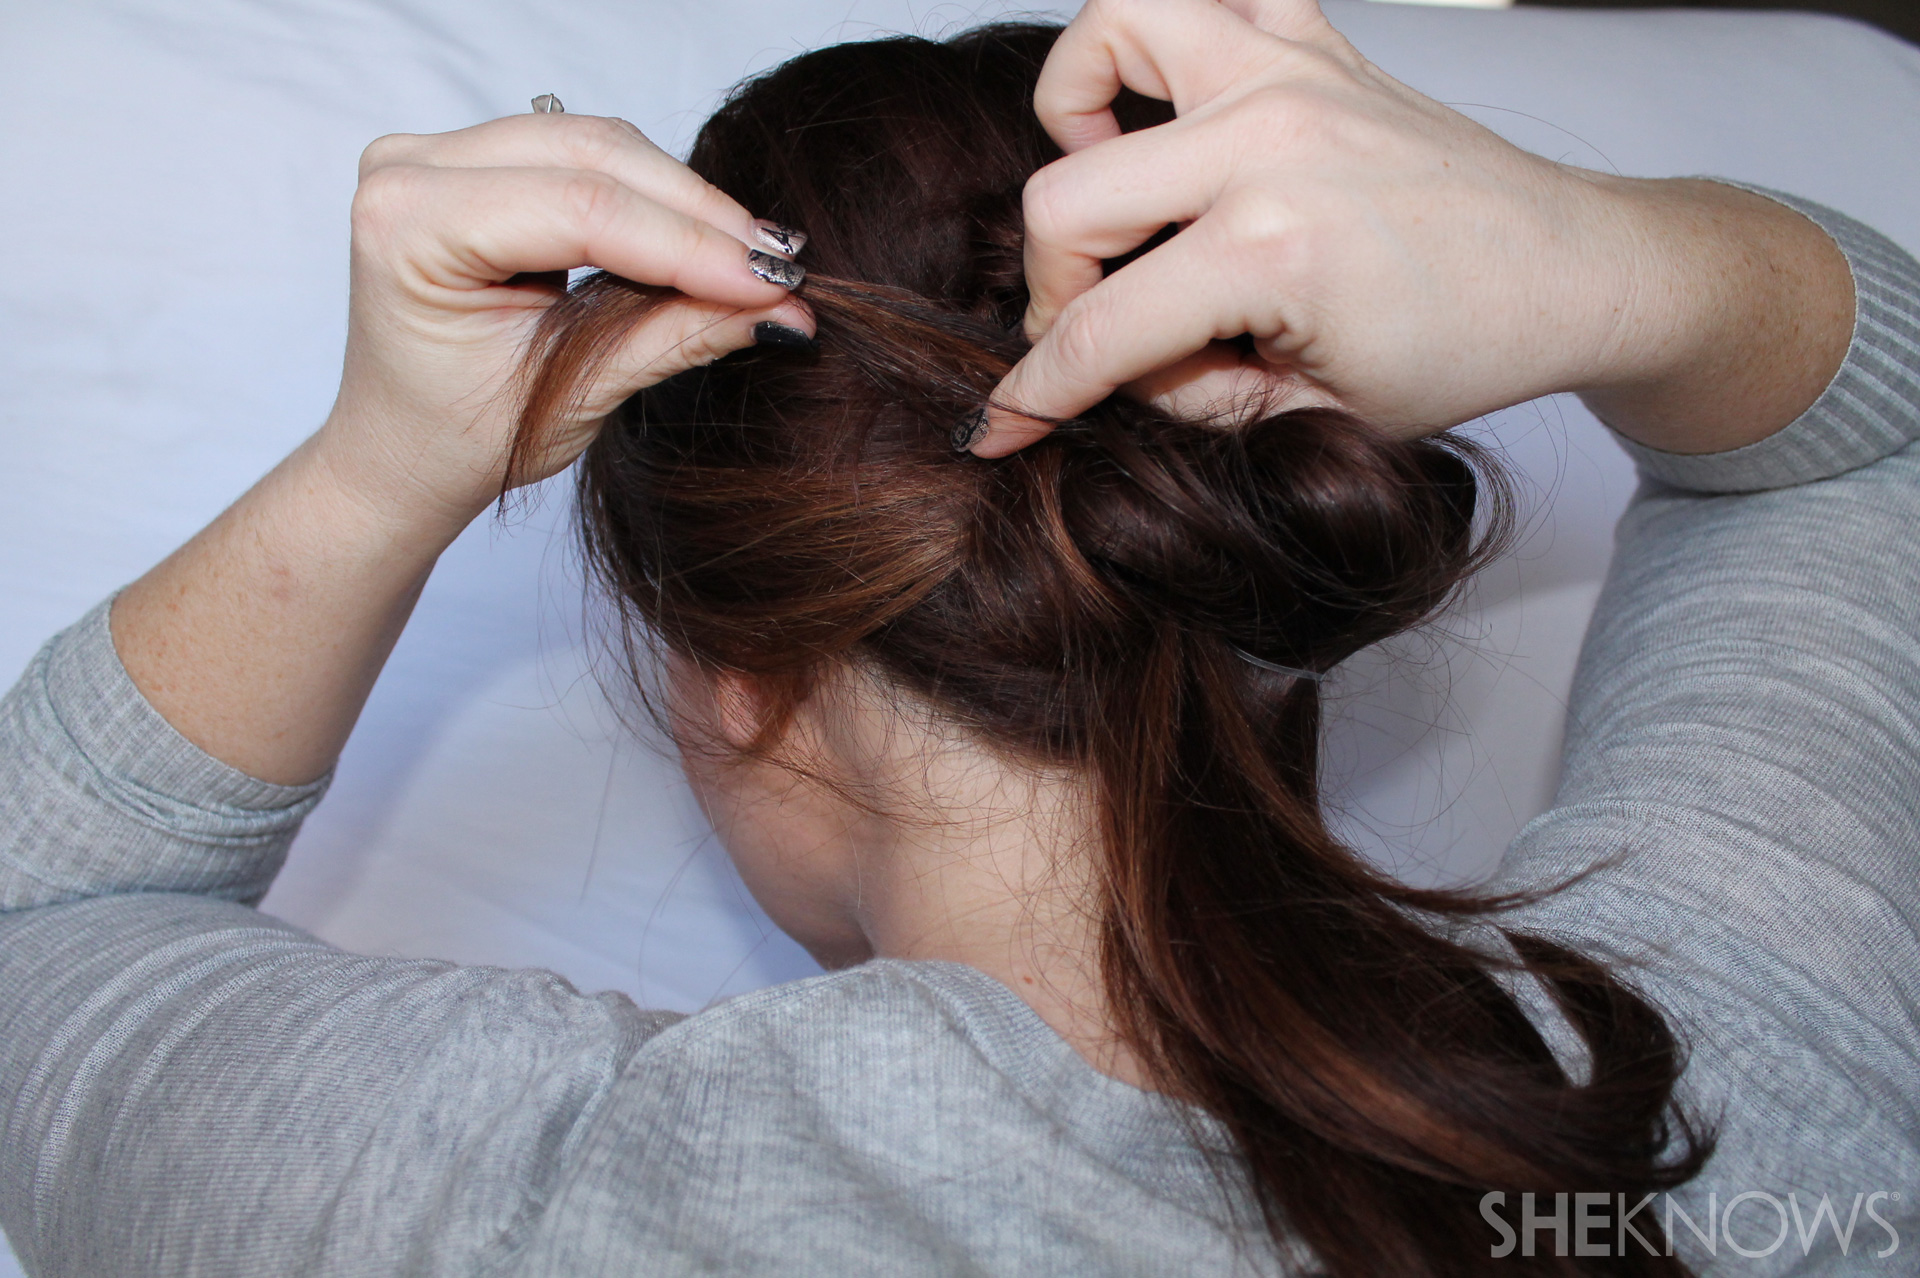
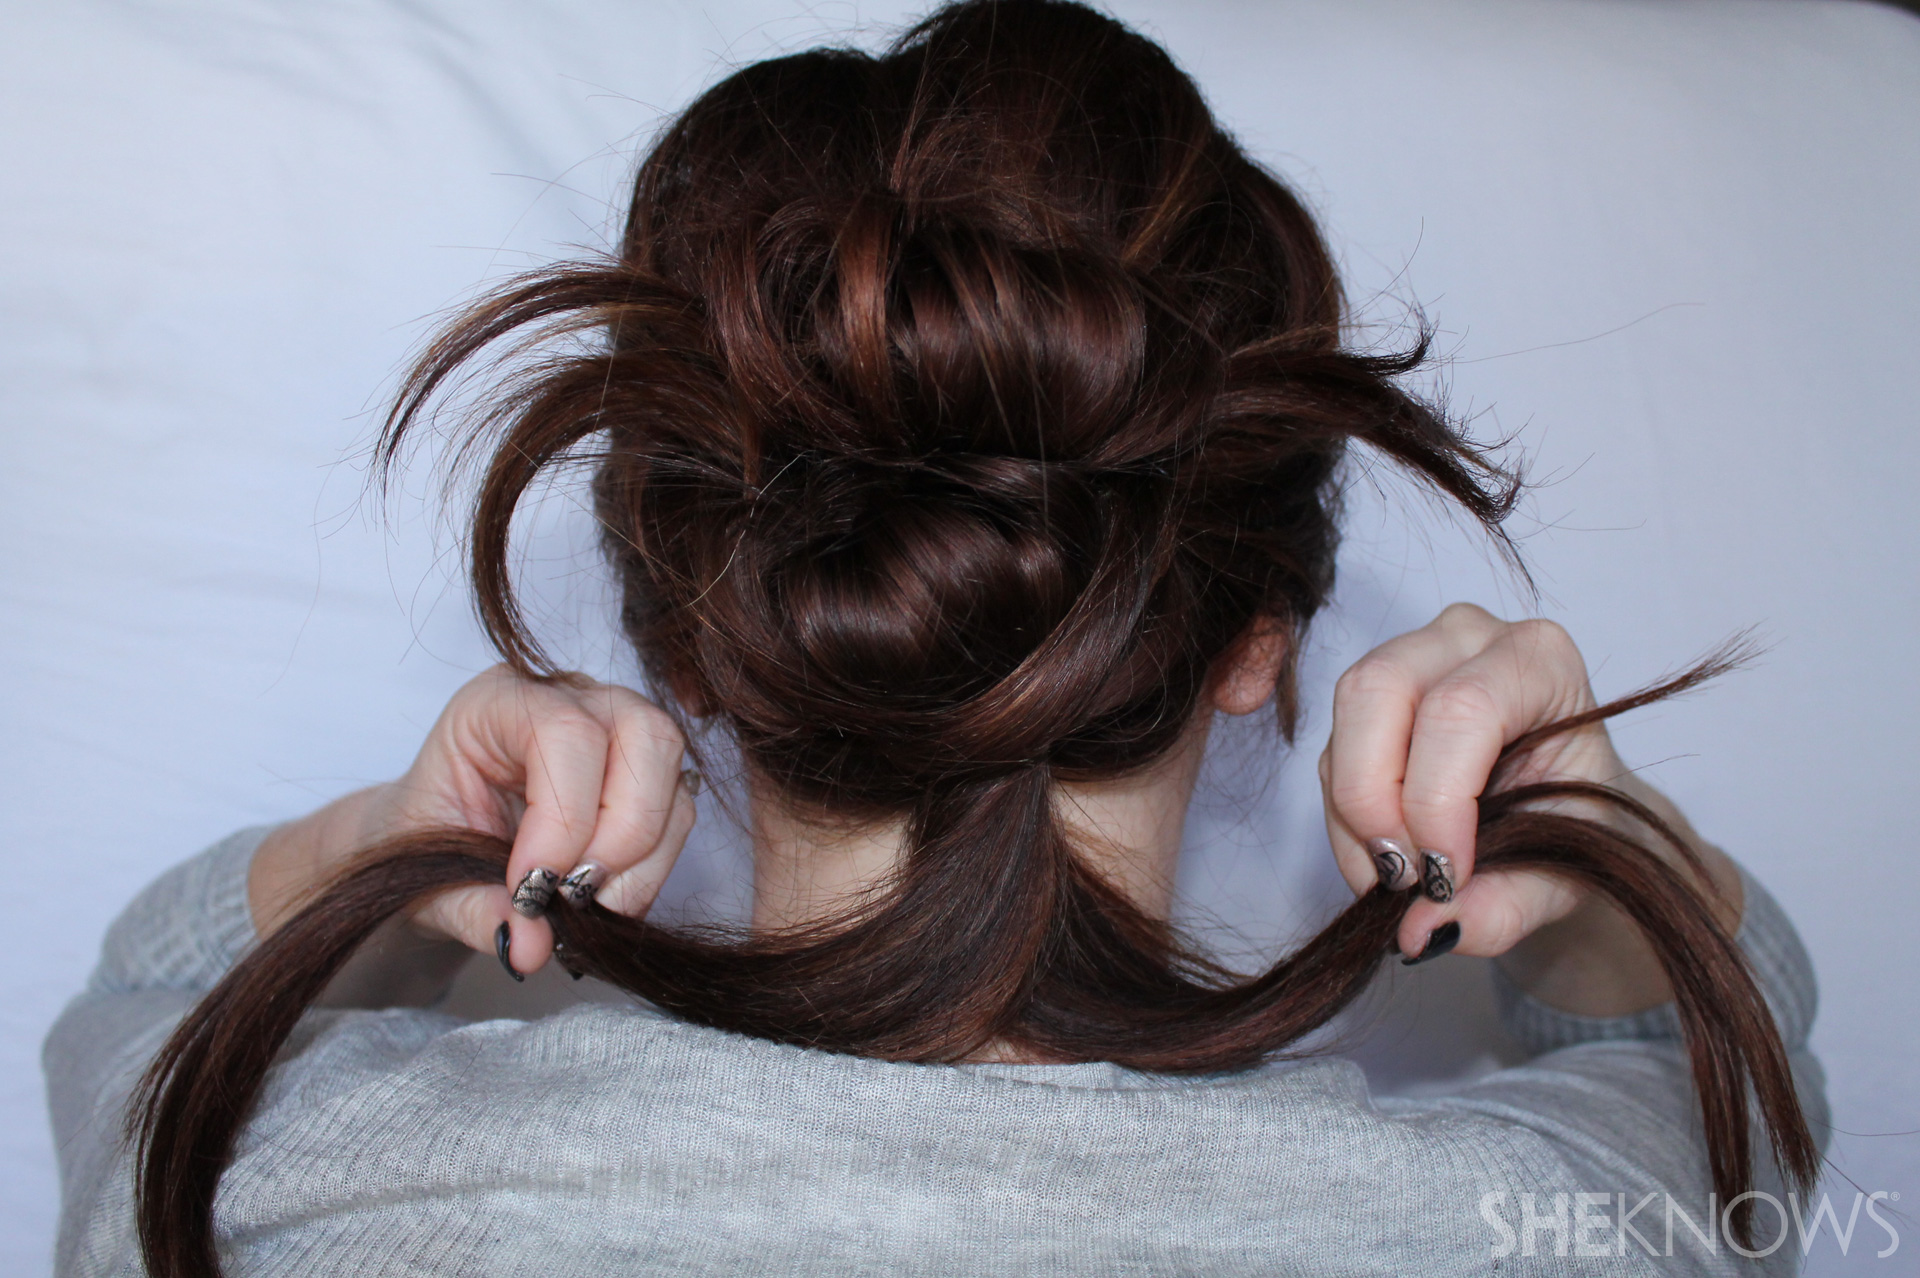
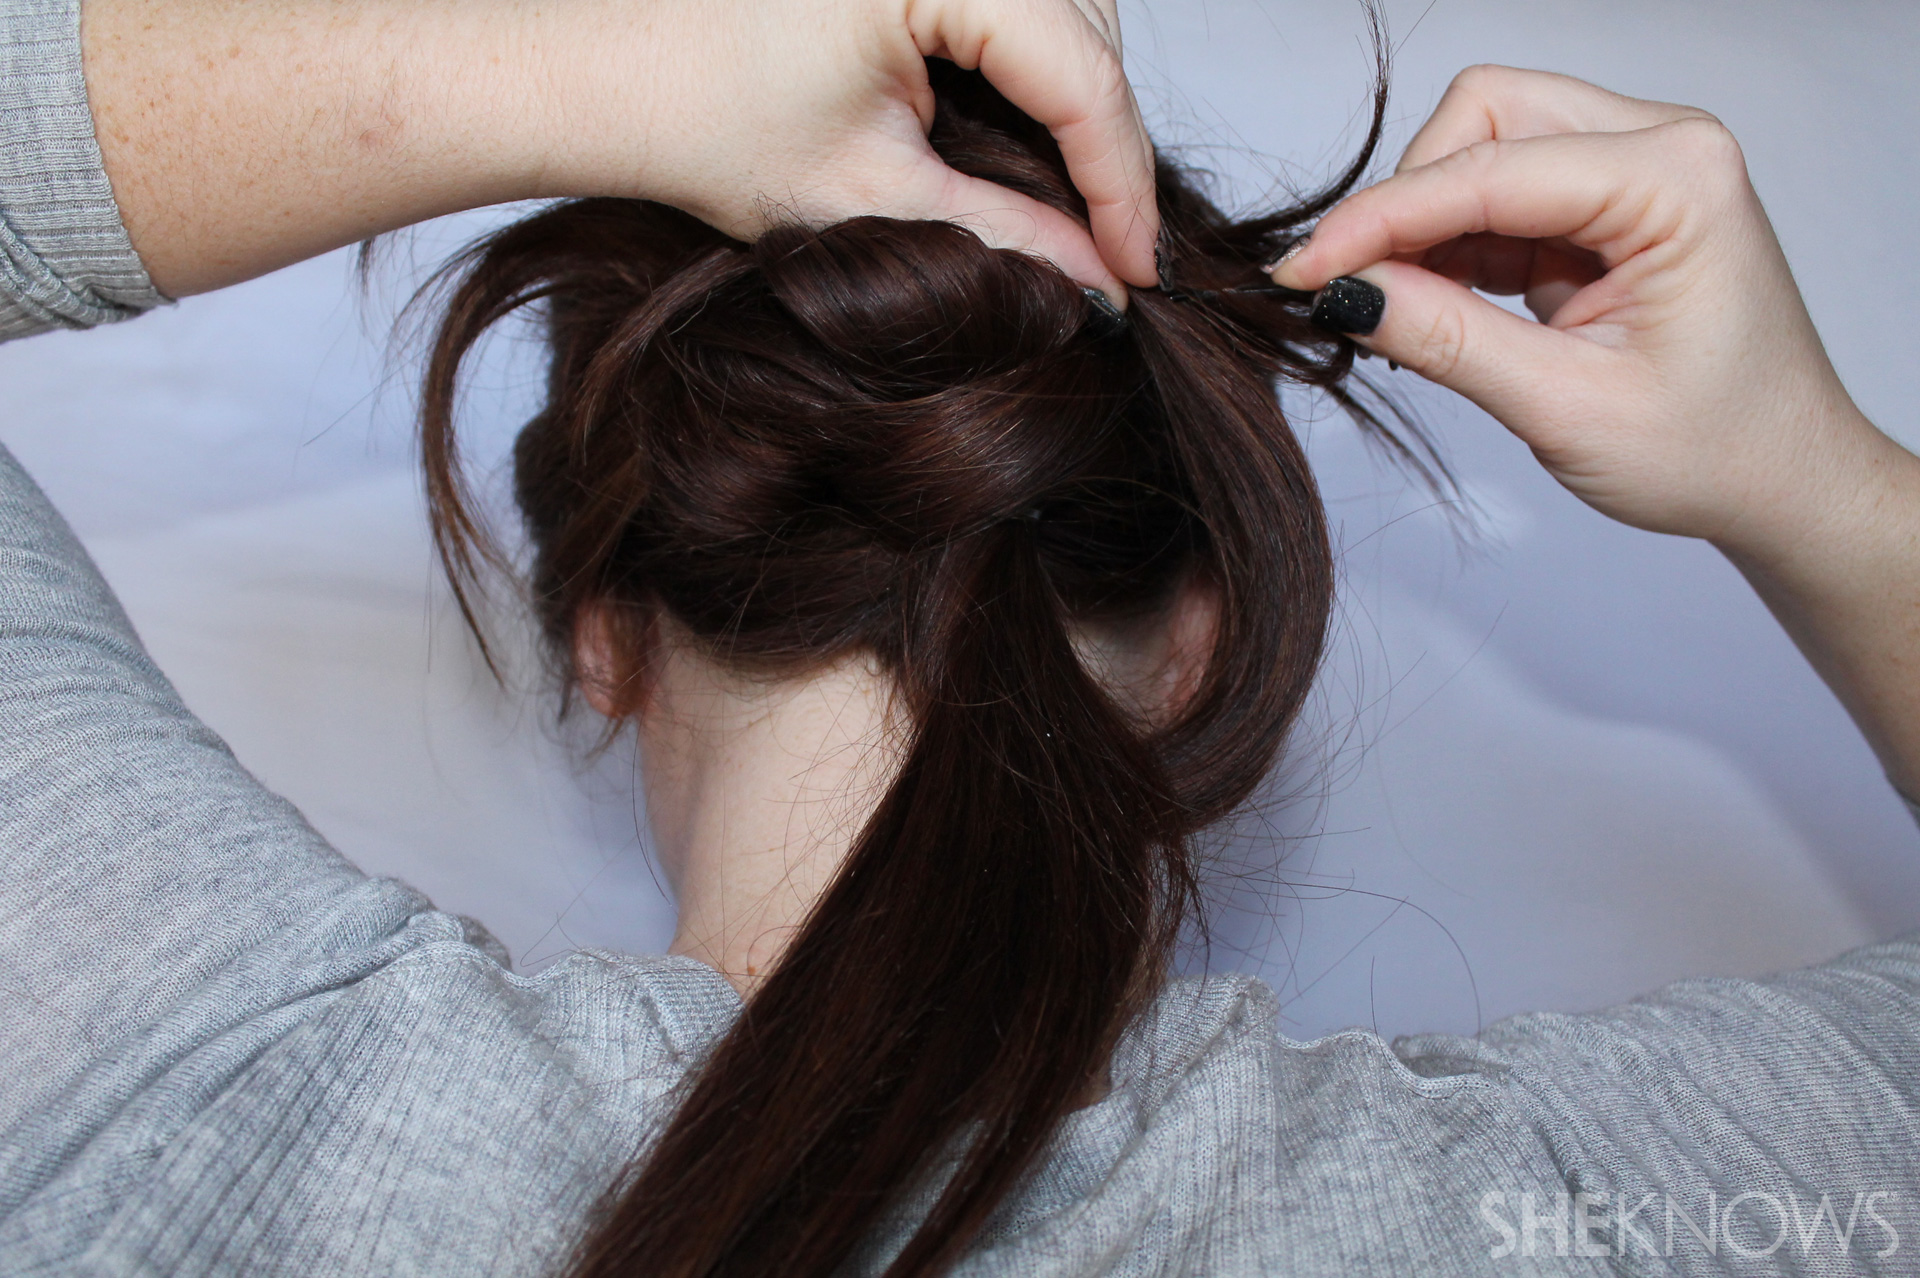
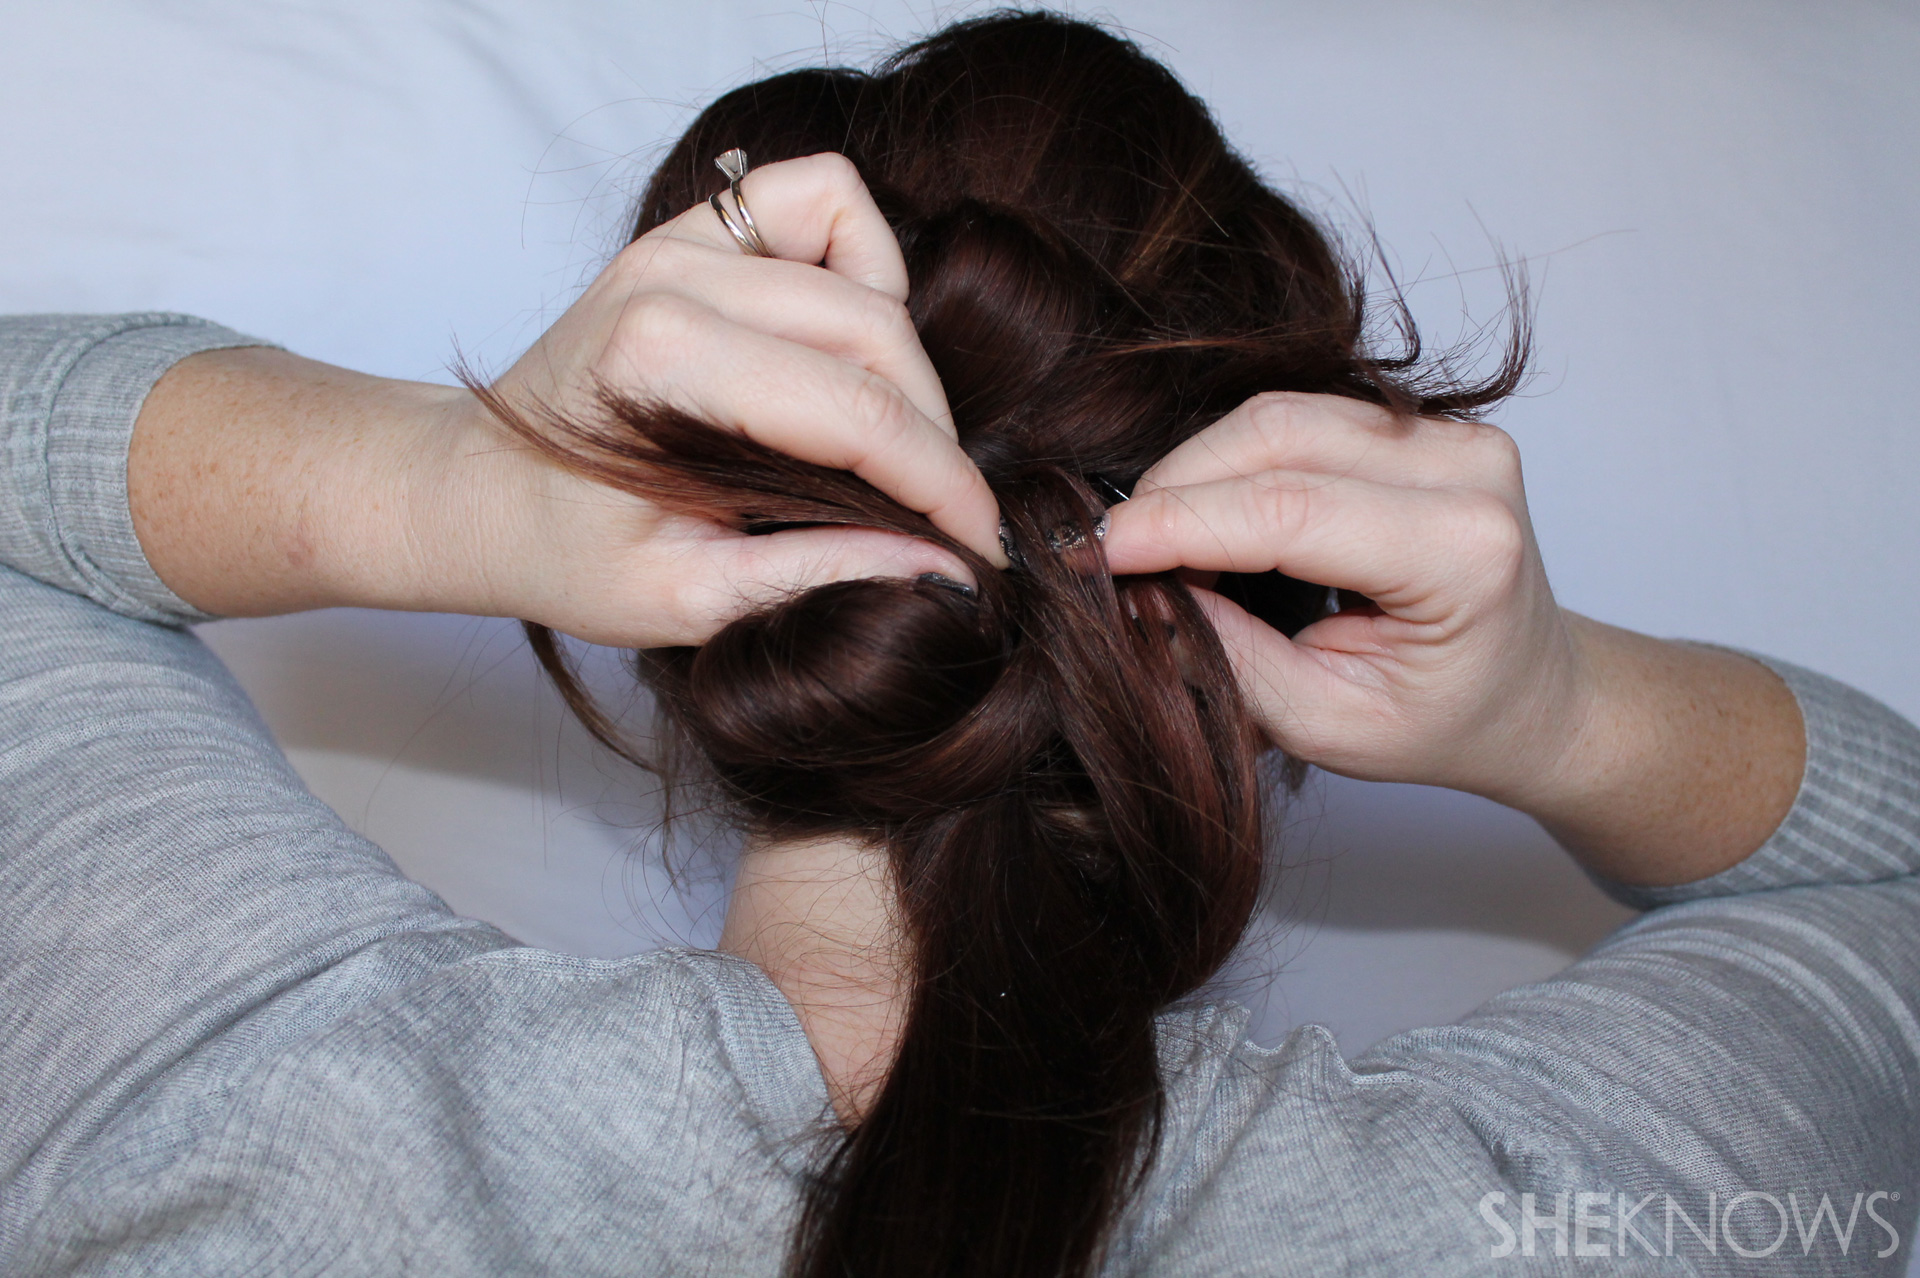
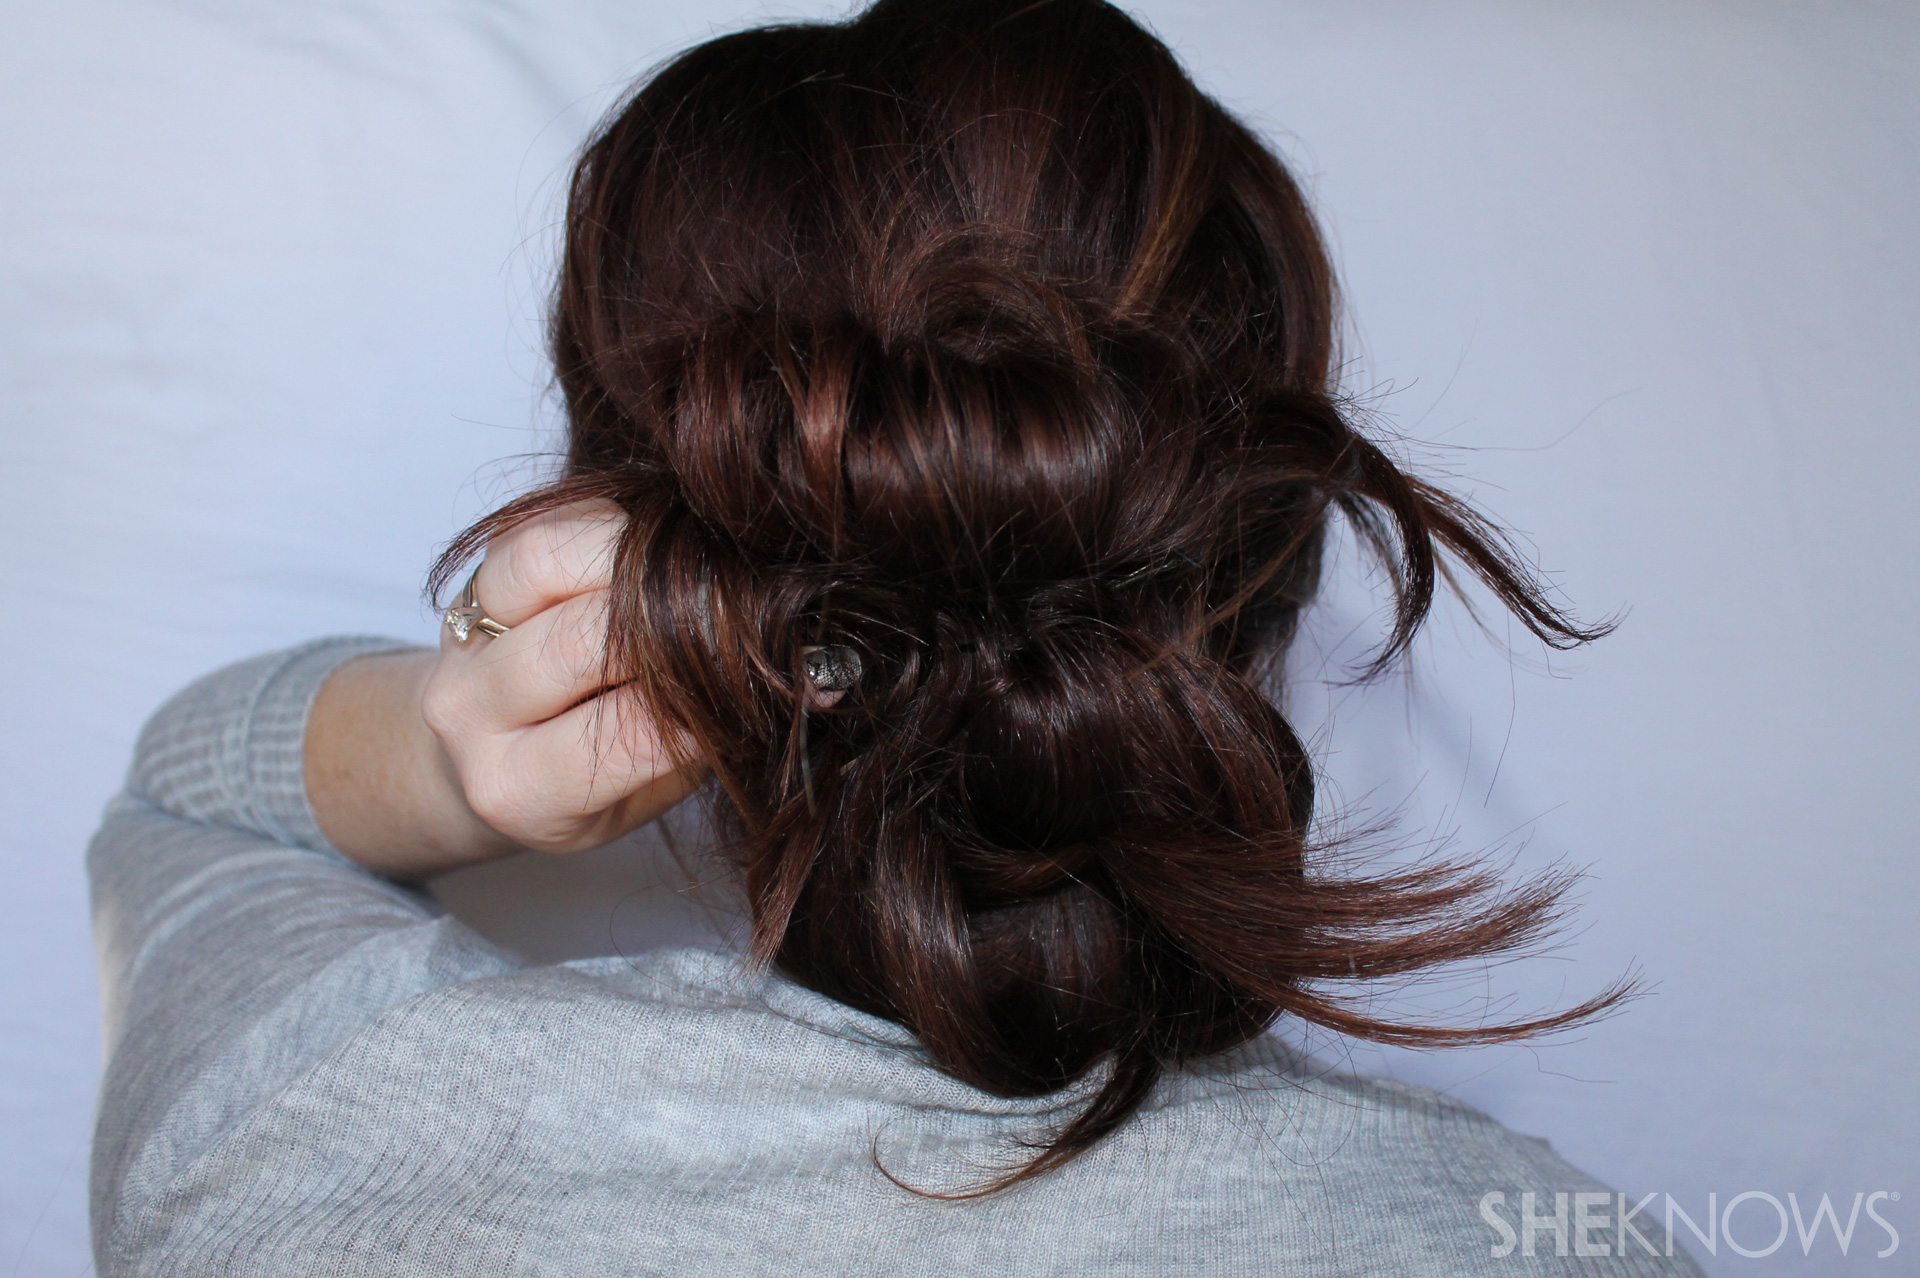
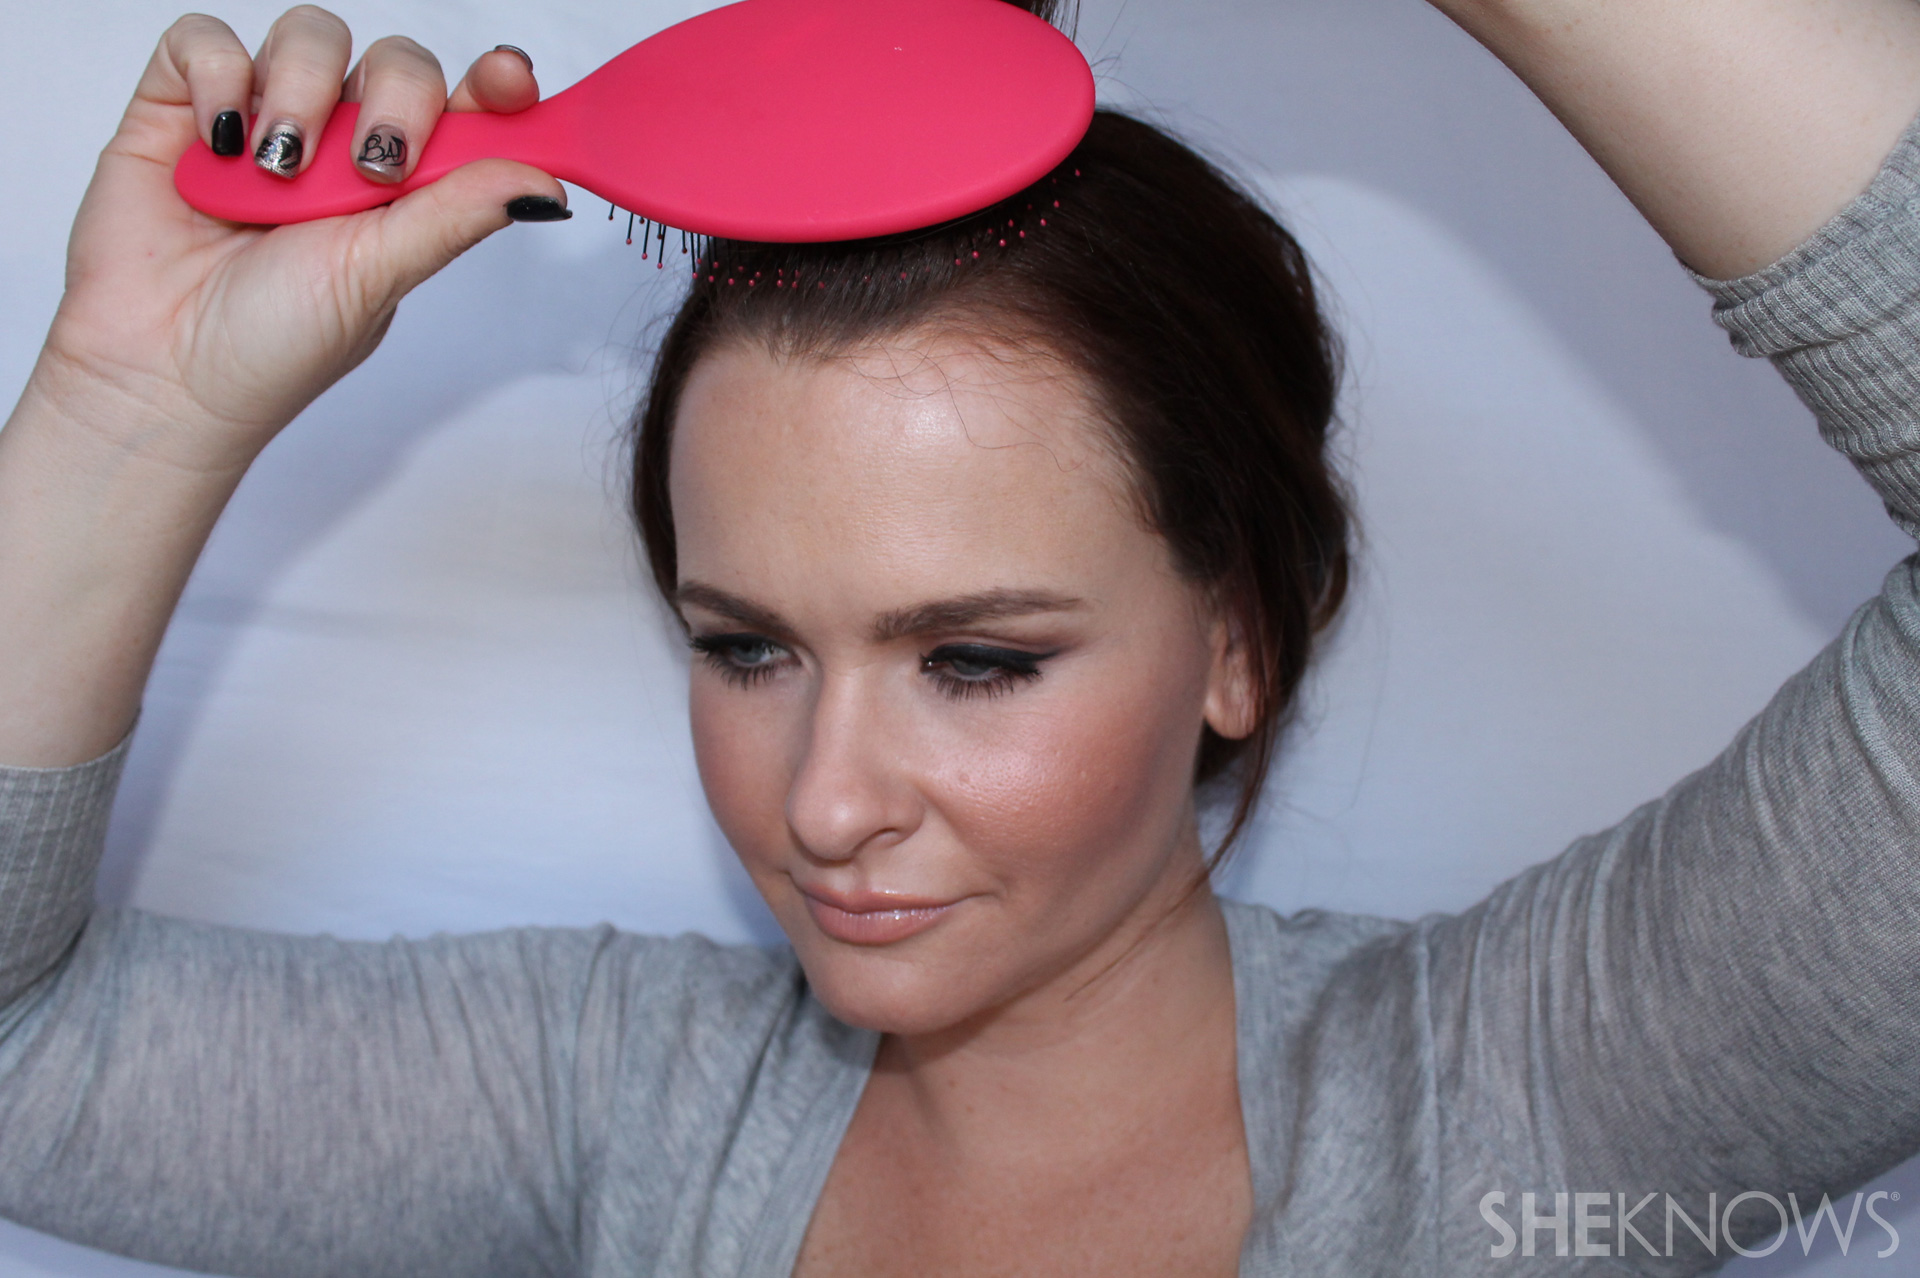
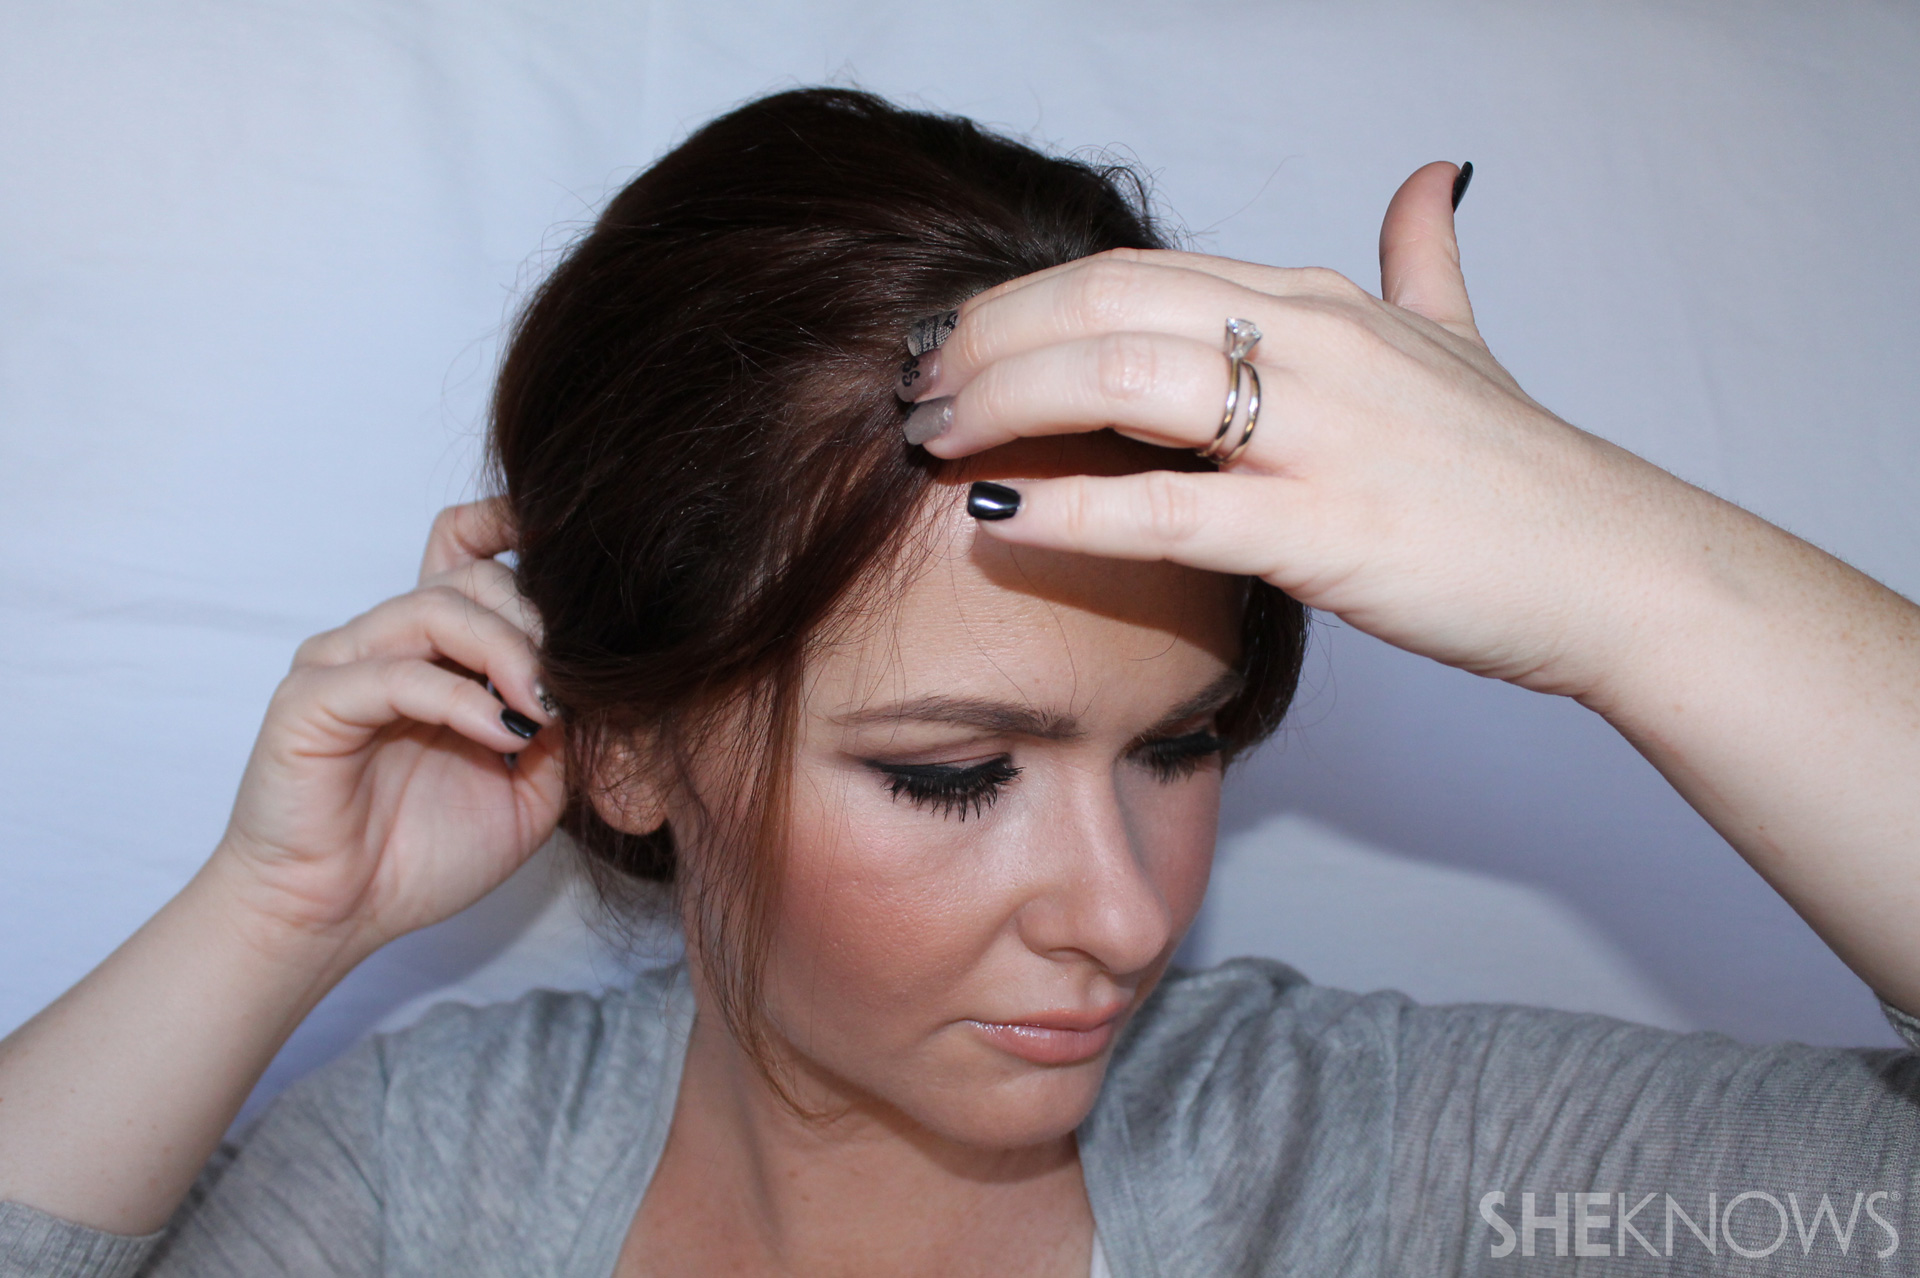
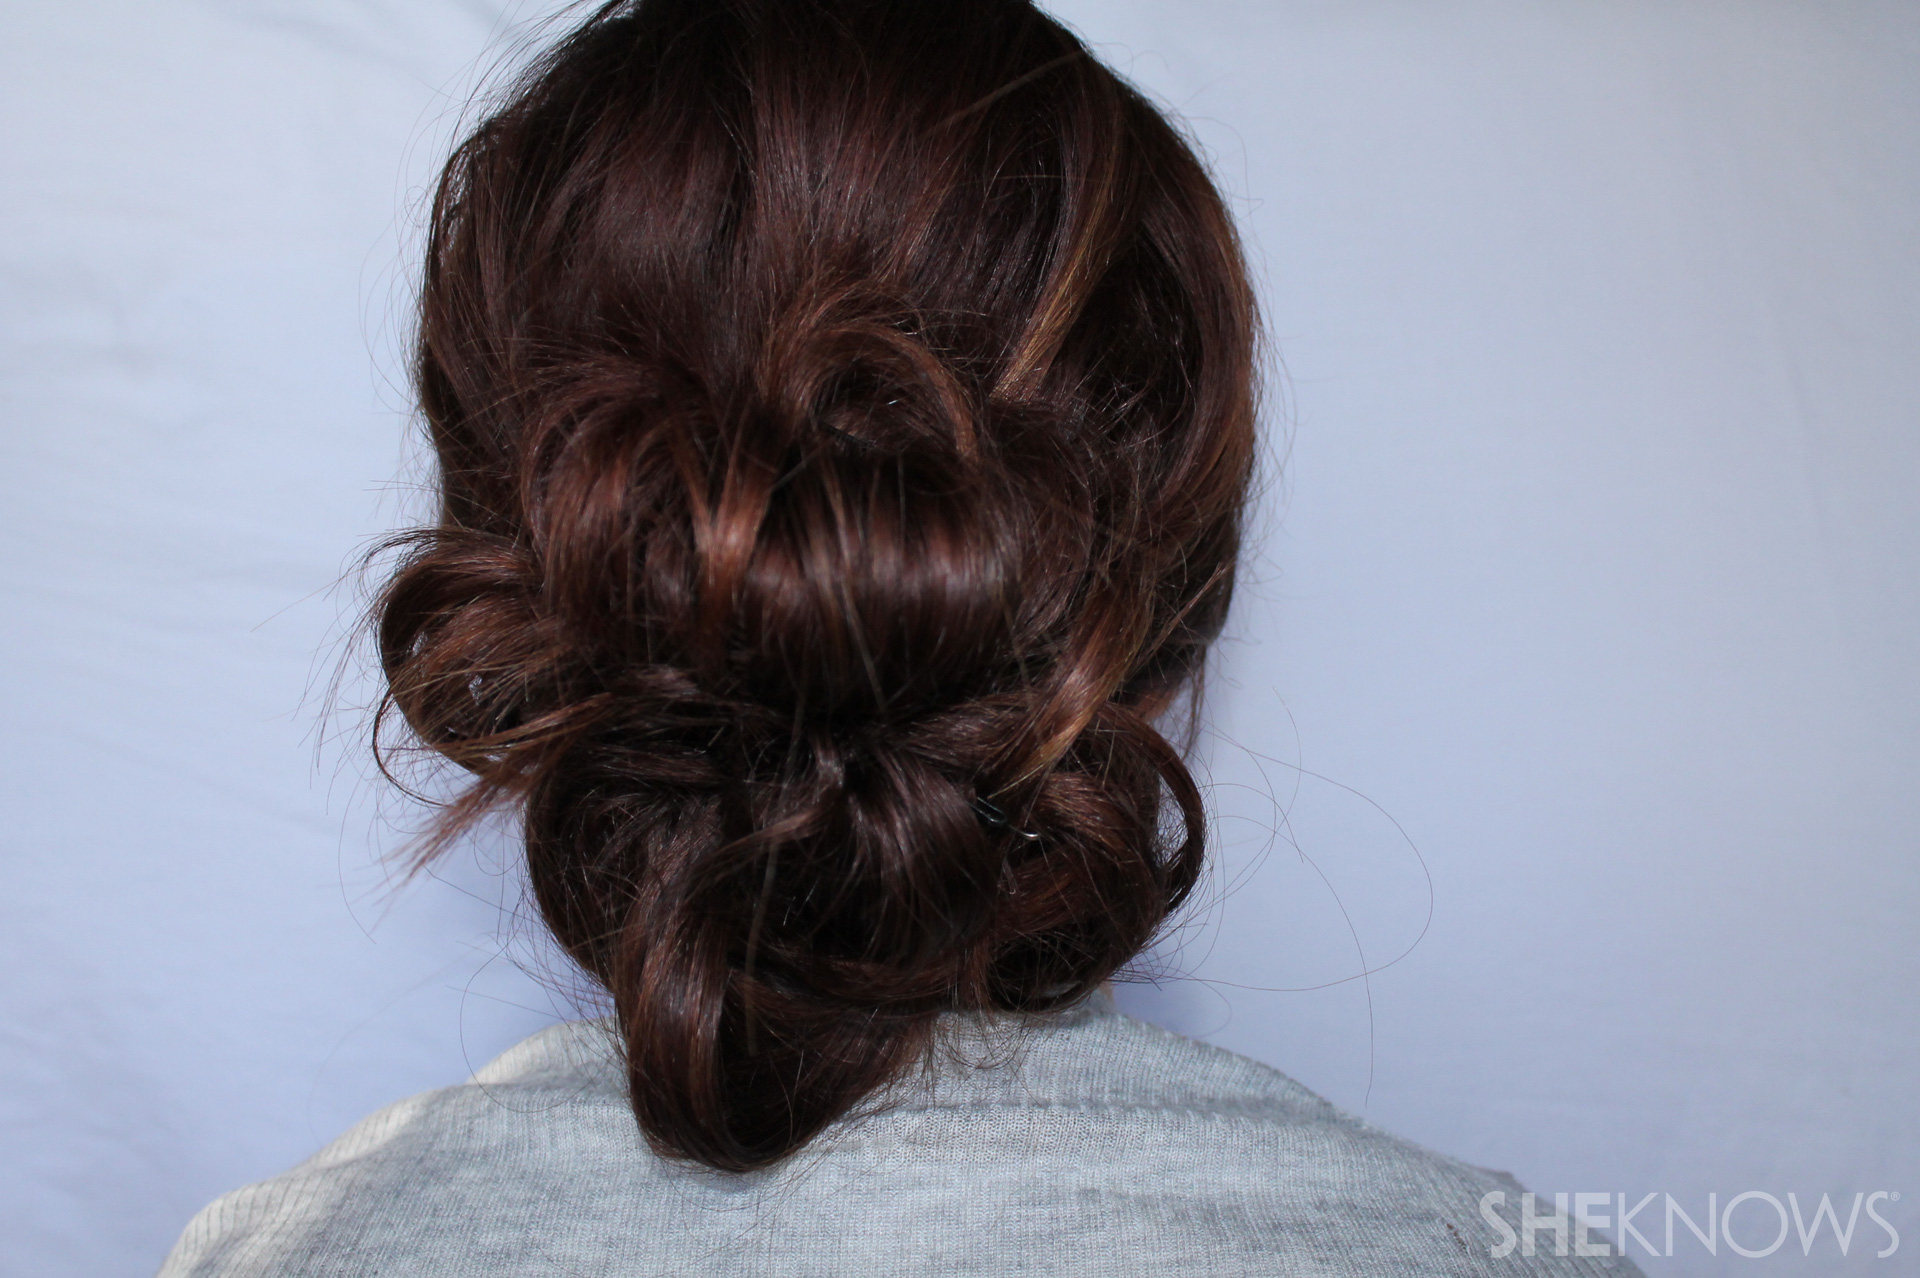
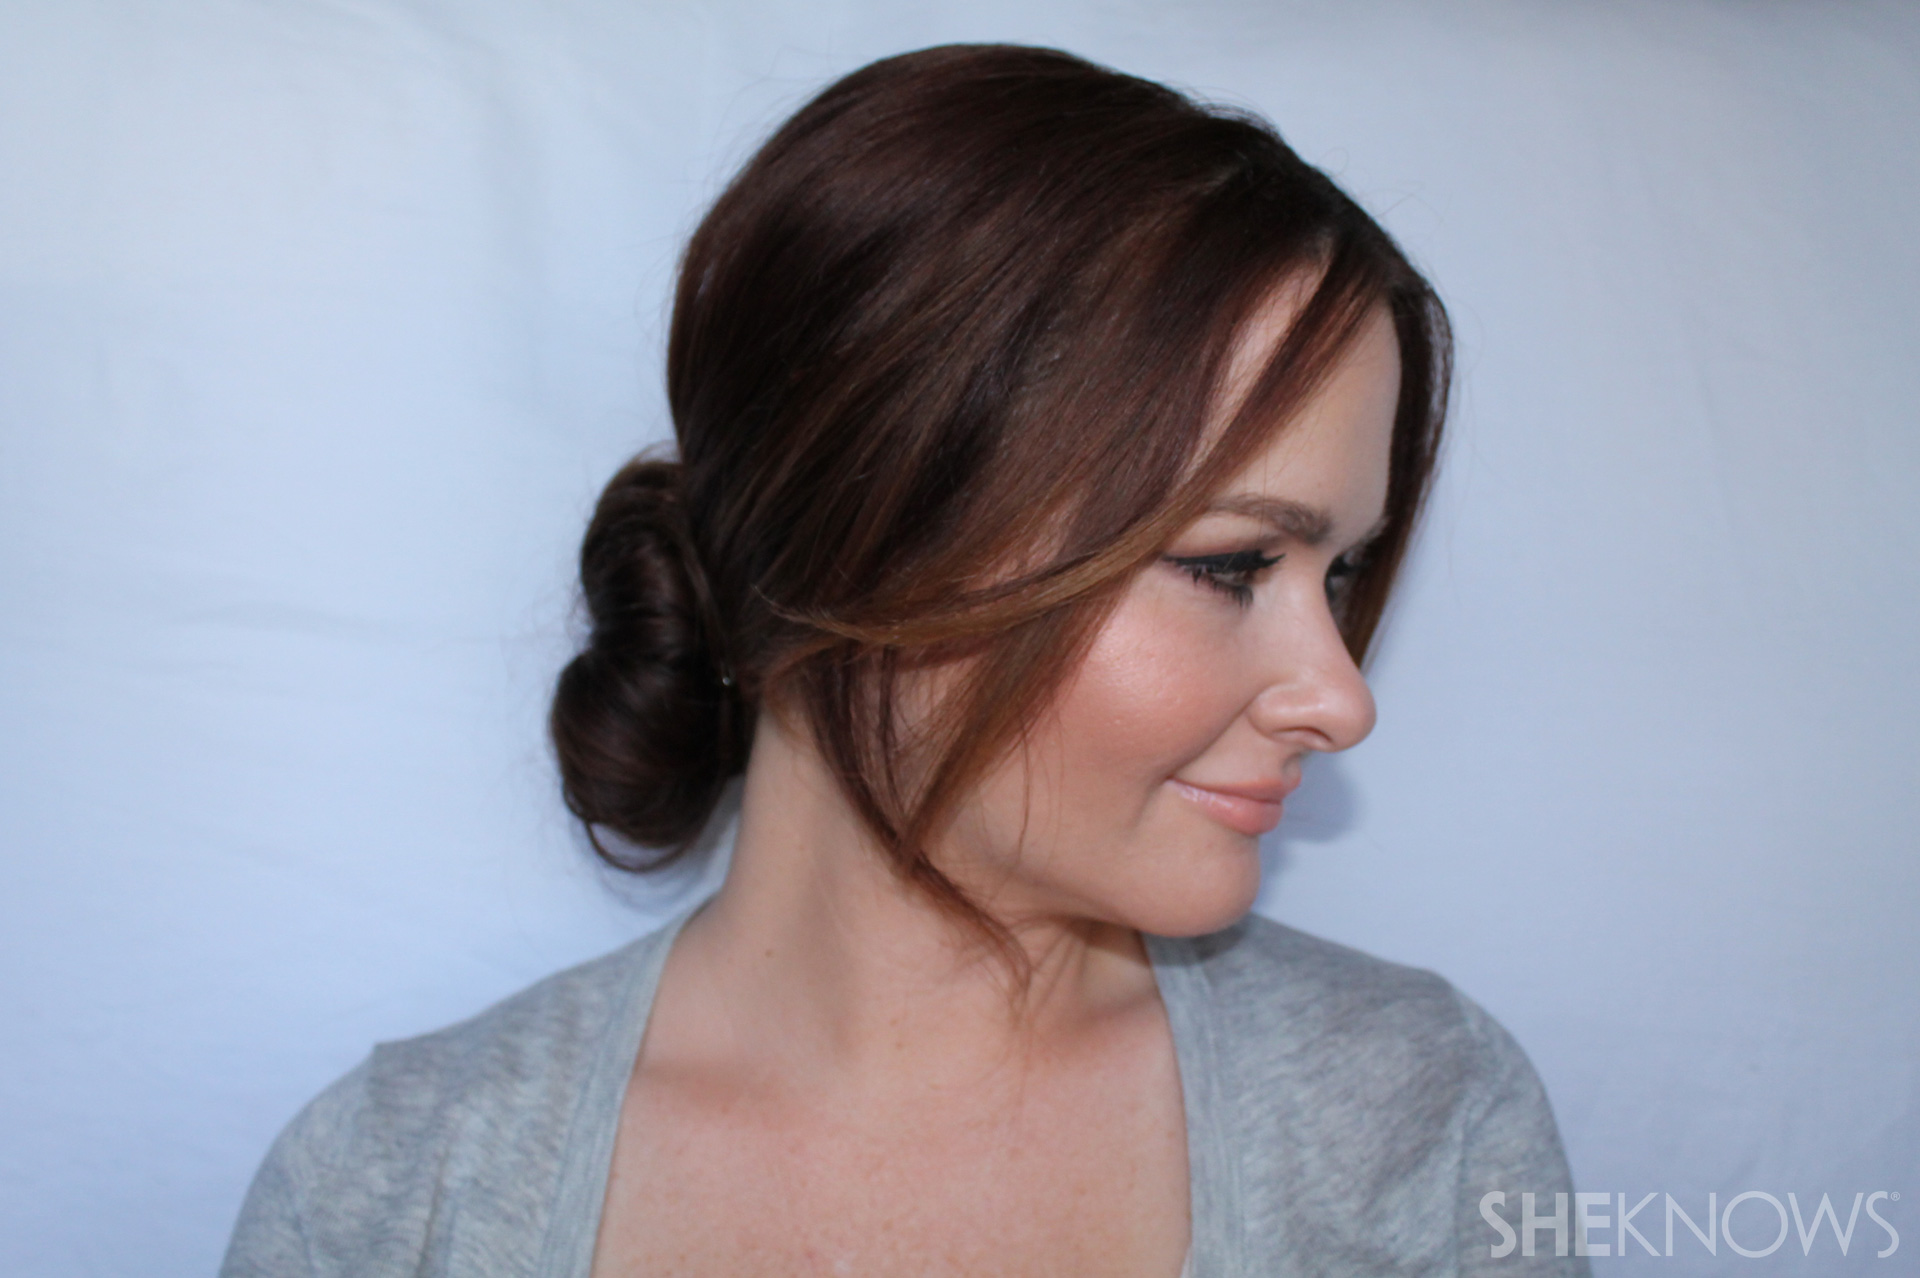
To complete the look, wear the dress over a cream, blue or nude lace top (like this one from Maurices), throw on a pair of sparkly earrings, like these ones, and do your hair in the classic Elsa braid using this hair tutorial! Throw on a pair of white or nude colored shoes and then let it go all Halloween night long!
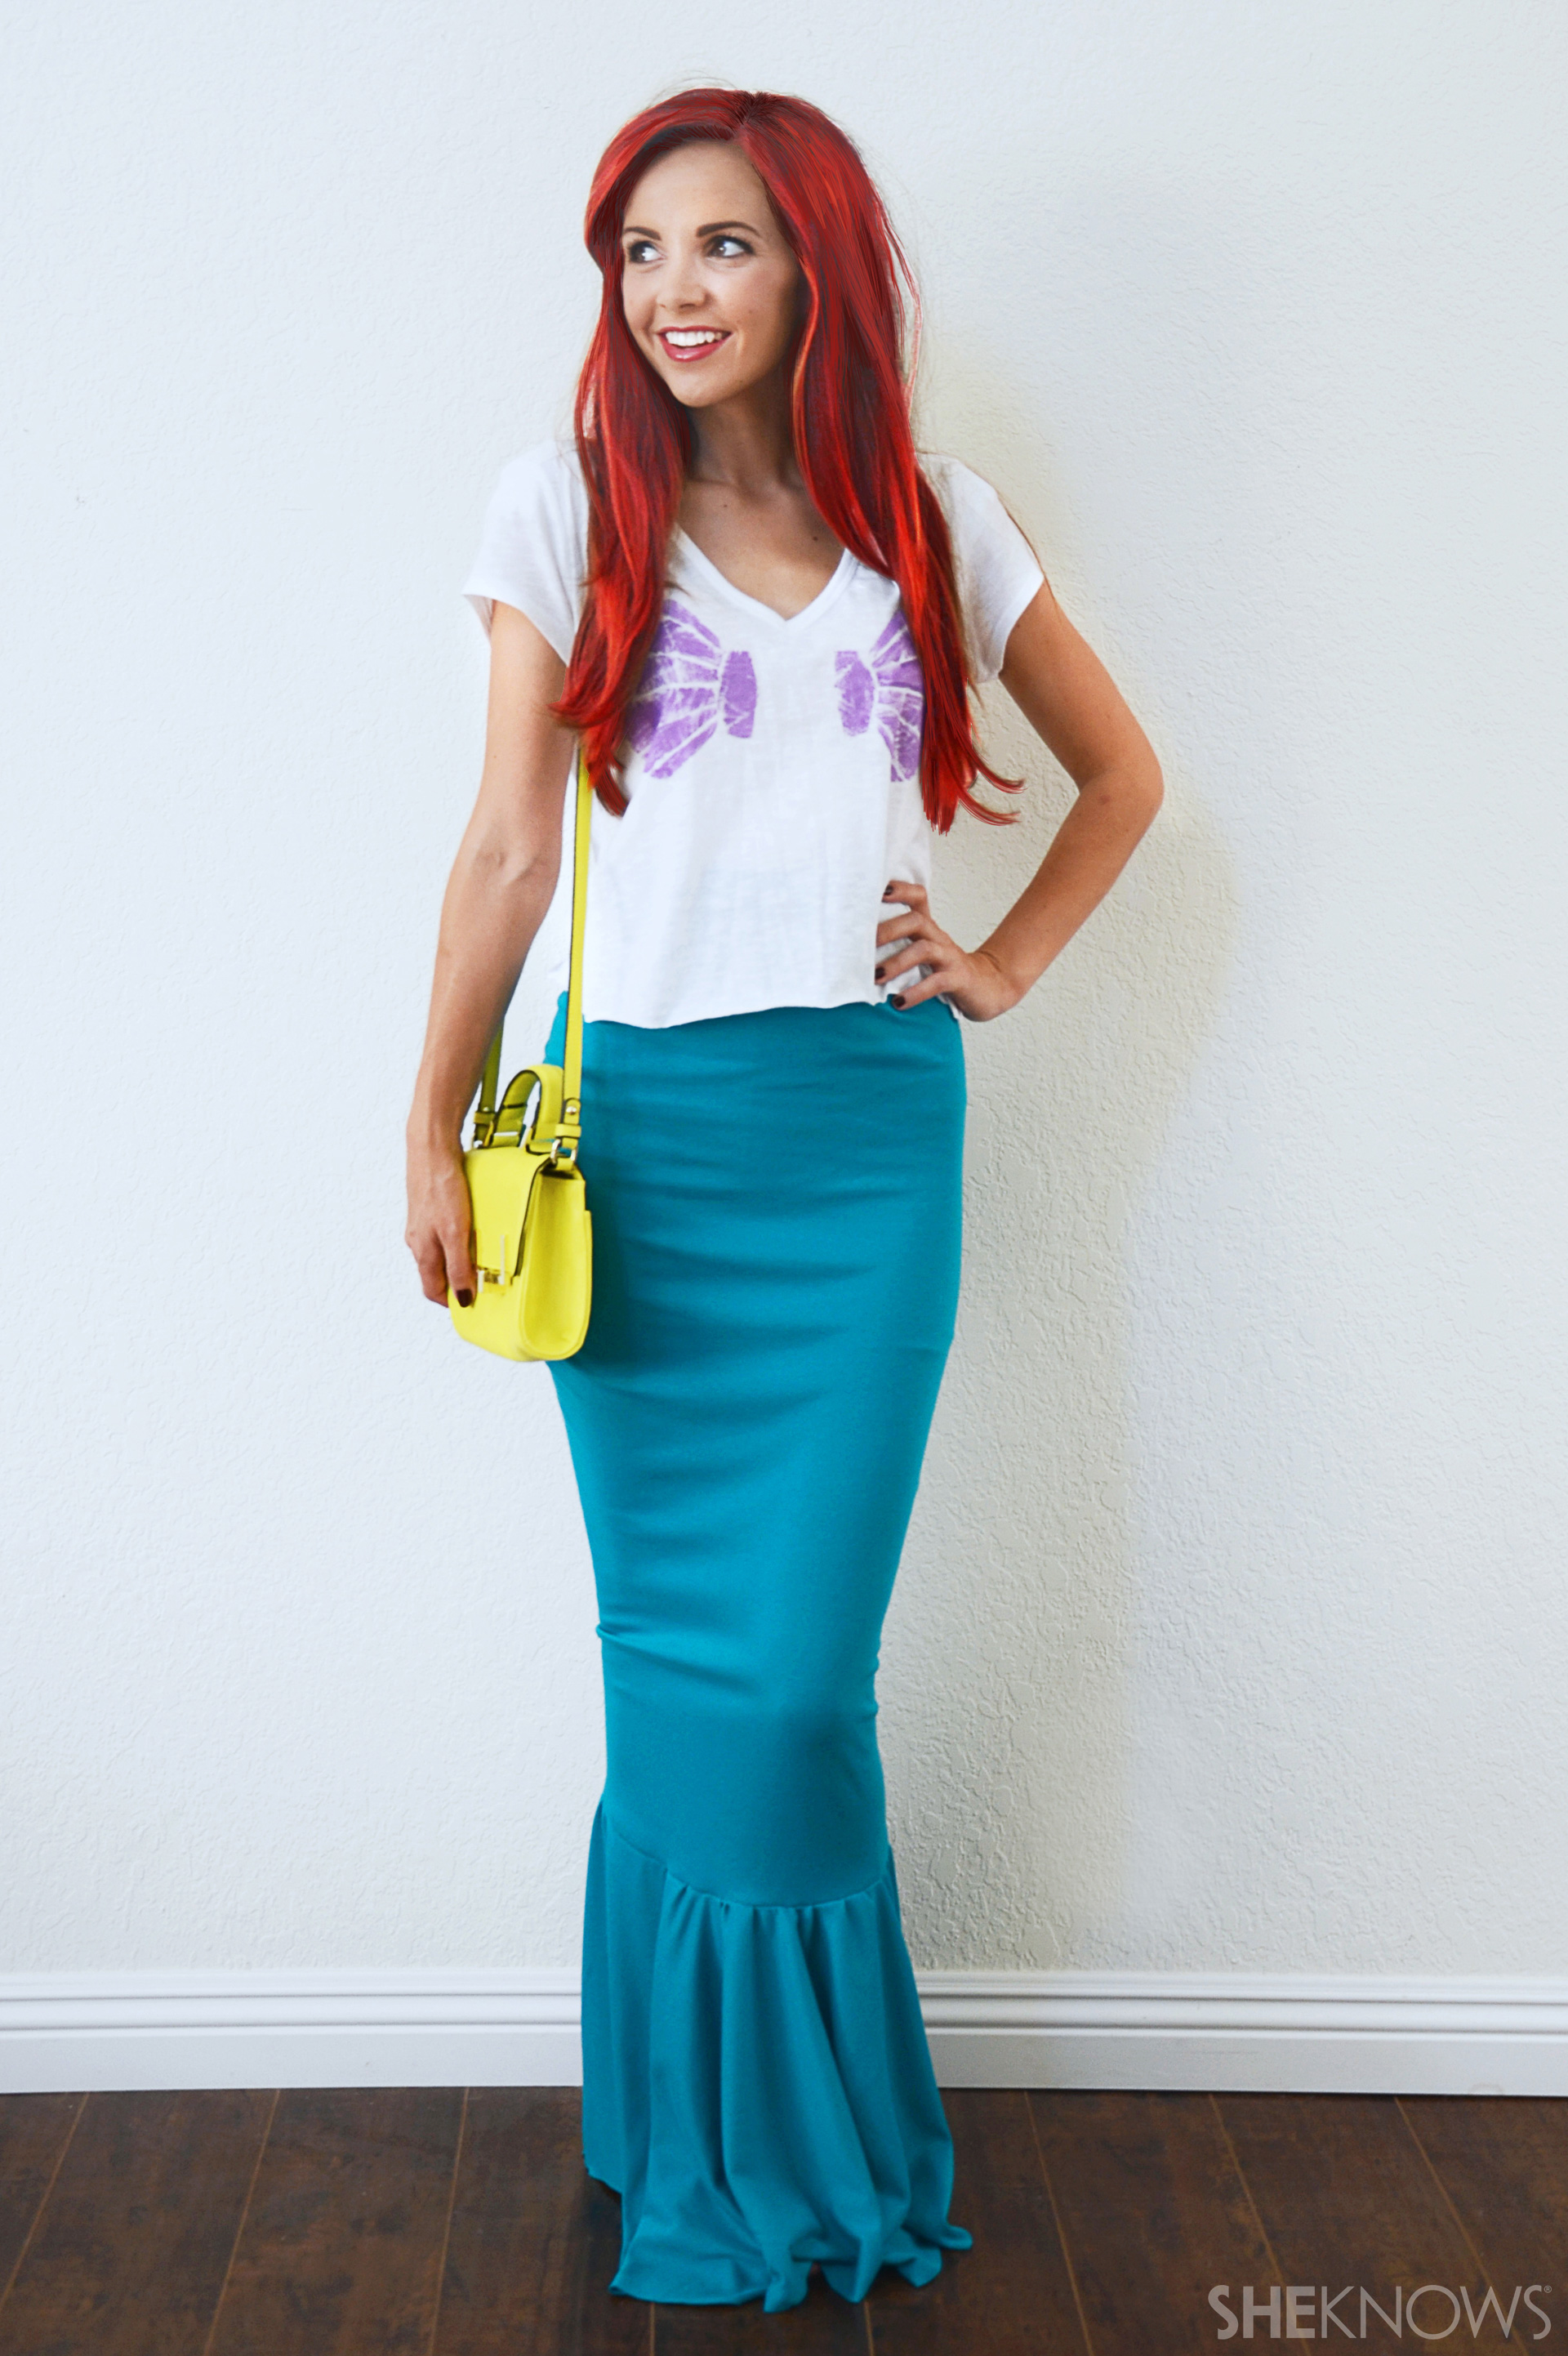
DIY Ariel Halloween costume
![Easy DIY Ariel Halloween Costume]()
Materials:
- 2 yards teal or green knit fabric
- 1/4-inch elastic (enough for your waist and your ankles)
- Oversized white tee
- Light purple fabric paint
- Cardboard
- Sponge brush
- Yellow purse (or stuffed Flounder)
- Red wig
Directions:
For the mermaid skirt:
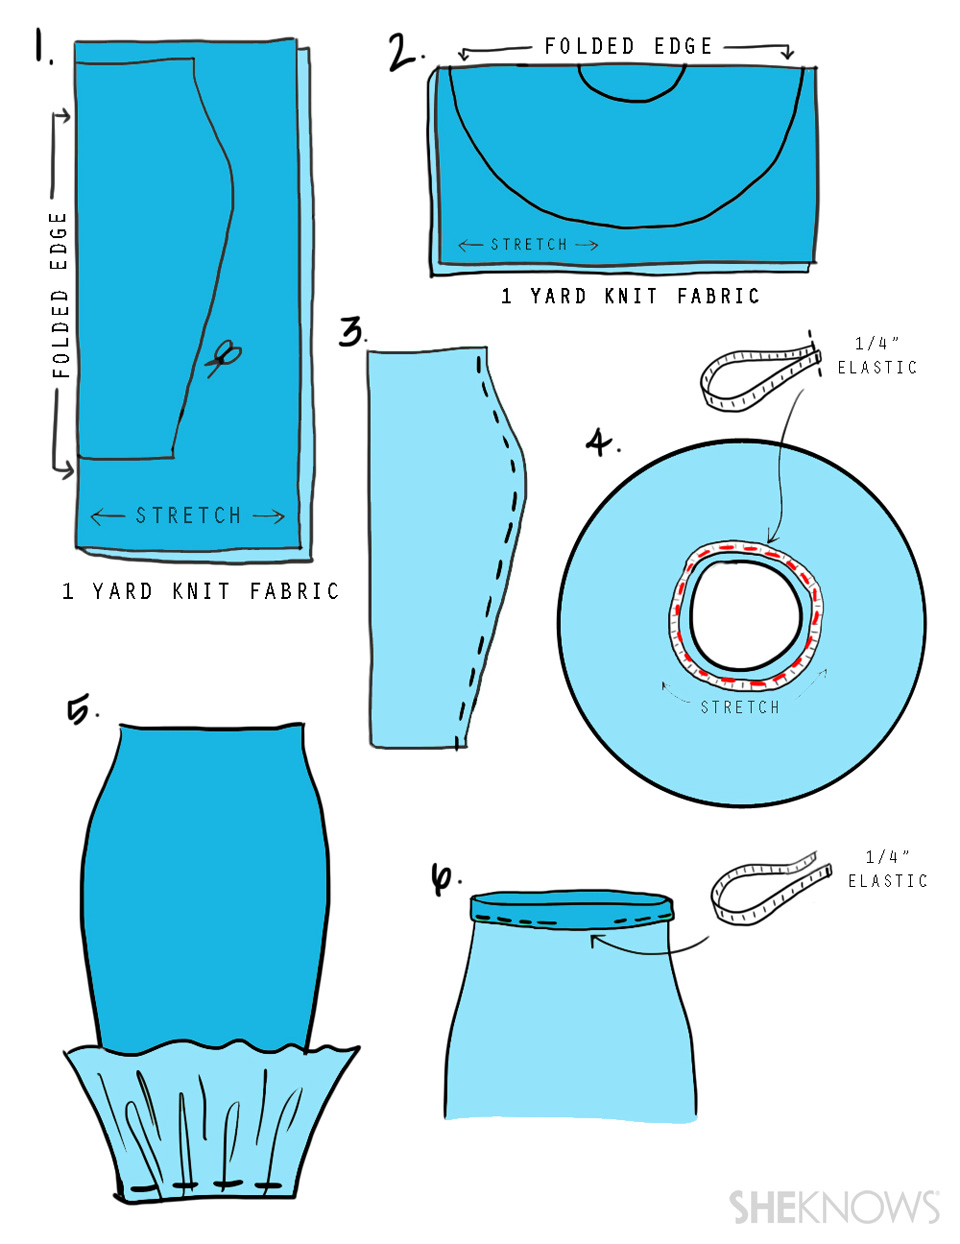
Step 1. Fold 1 yard of your fabric in half with the stretch of the fabric going across the width, as shown. Cut a simple tube skirt (either using a fitted skirt you already own or your measurements as a guide).
![the Mermaid skirt:]()
Step 2. Fold the second yard of fabric in half with the stretch of the fabric going across the length, as shown. Cut a symmetrical half circle as big as your fabric will allow, and then cut a symmetrical circle in the middle to make it a donut shape. This will be the bottom of the skirt for the "mermaid tail."
Step 3. Take the tube skirt and fold it in half with right sides of the fabric together and sew along the back of the skirt from top to bottom with a straight stitch, as shown.
Step 4. Measure loosely around your ankles (where the end of the tube skirt will meet the ruffle), and cut a piece of elastic in that length. Sew the ends of the elastic together to make a loop, and then stretch it to pin all the way around the opening of the skirt ruffle. Sew all the way around the skirt opening, stretching the elastic as you sew. Once you finish sewing and let go of the elastic, it will scrunch up and become a ruffle.
Step 5. Pin the ruffle on the skirt with right sides together (as shown), and sew across the elastic again, stretching as you sew.
Step 6. Fold the waistband of the skirt over and sew around it with a straight stitch. Leave a few inches open, as shown, and then insert a piece of elastic cut to your waist measurement. Once the elastic is inserted, sew the ends together, then tuck them inside the waistband and sew the waistband completely closed.
For the mermaid top:
![the mermaid top:]()
I'm not one to let it all hang out on Halloween, so I came up with a cute and covered-up alternative for Ariel's upper half — a fun seashell bra painted crop top!
Step 1. Cut a piece of cardboard in a seashell shape.
Step 2. Cut your cardboard up, as shown, to create lines in the seashell.
Step 3. Take a white T-shirt and cut off the bottom to your desired length. Then try the shirt on and mark with a pin where you want each seashell painted.
Step 4. Using a sponge brush, paint each piece of cardboard and then stamp each piece 1 by 1 until your seashells are painted.
![Mermaid top]()
Pair your seashell crop top with your mermaid skirt, and then finish the look with a red wig, red lipstick and a stuffed Flounder fish (or a bright yellow bag like I did for a little modern take on the look!).
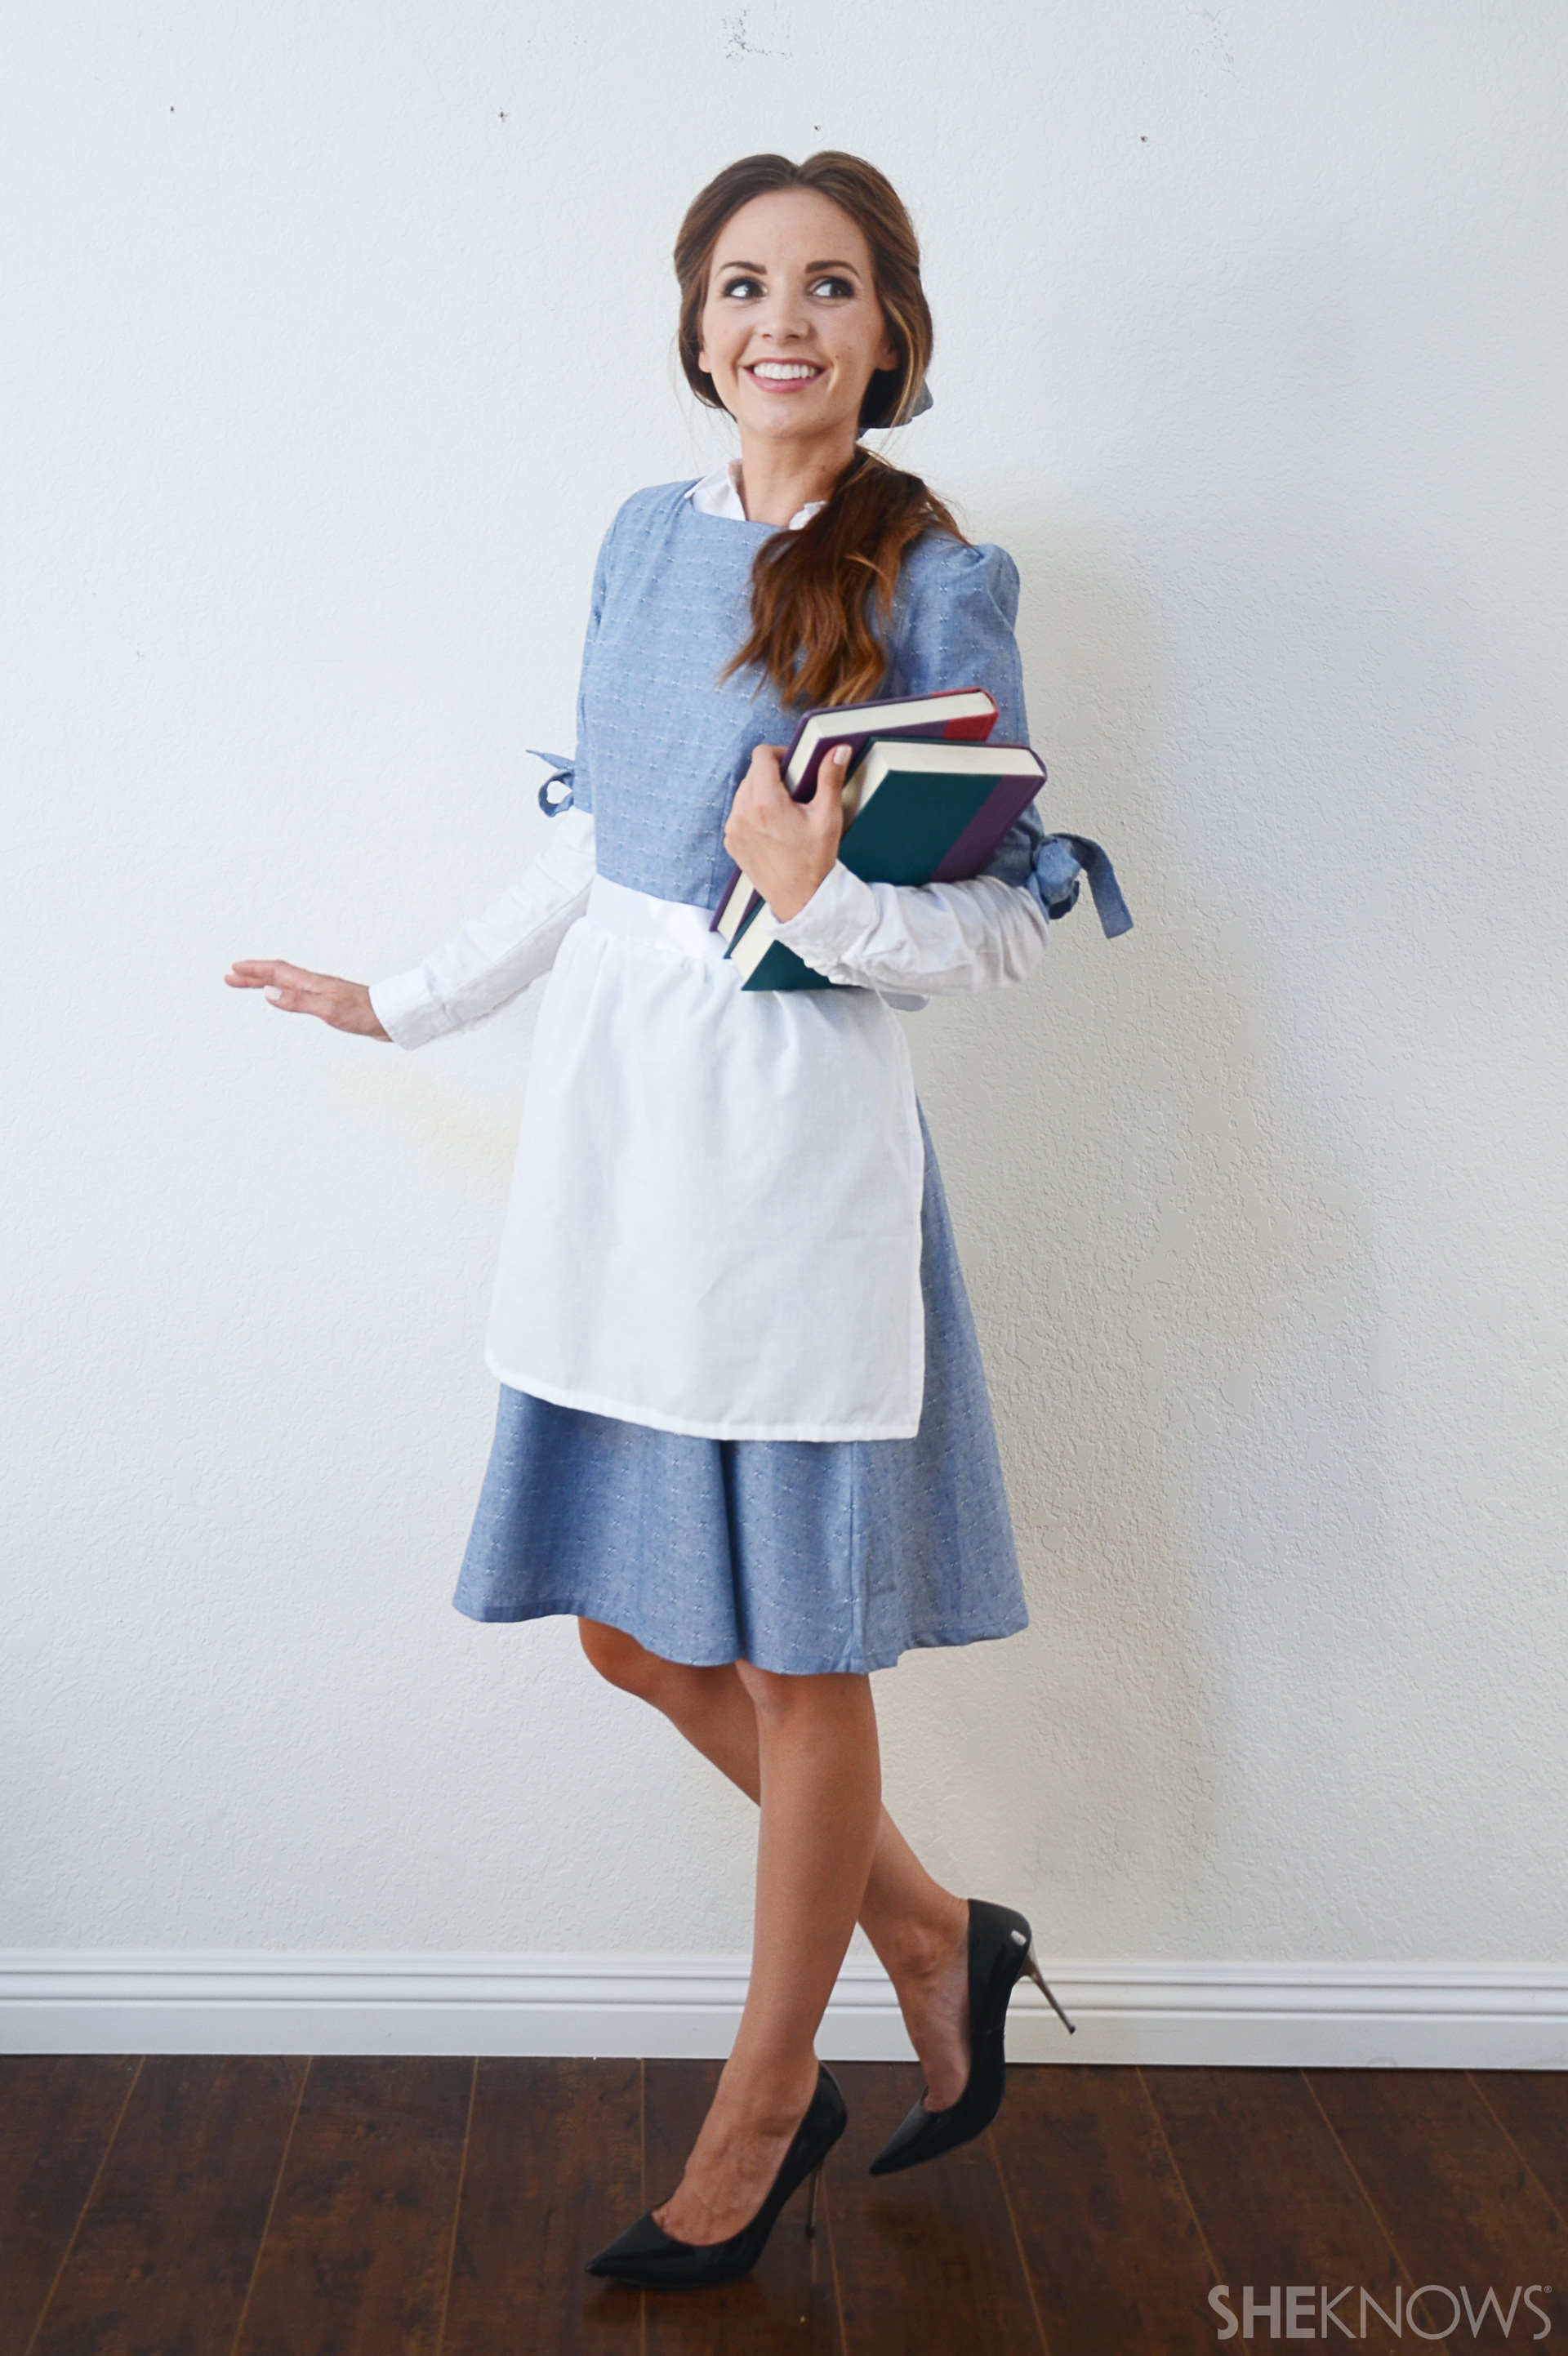
DIY Belle Halloween costume
![Easy DIY Belle Halloween Costume]()
Materials:
- Blue dress/skirt
- White button up shirt
- 1/2 yard white cotton fabric
- 1-1/2 or 2 yards white ribbon (2-3 inches wide)
- 1/8 yard blue cotton fabric
- Black shoes
- Books or wicker basket
Directions:
Belle was my favorite Disney princess growing up, and although her famous yellow dress is beautiful, I went for a more simple and classic look with her white and blue outfit.
![Belle dress]()
I started with a blue dress (this one from Shabby Apple) then layered a white shirt underneath for the collar and long-sleeved look. But you could use a blue skirt or dress you already own (or make yourself one using this easy circle skirt tutorial, .
The classic pieces that make this outfit are the apron and the bow, and those are both easy to make!
For the apron:
Step 1. Cut a rectangular piece of fabric as long as you want, and about 30 inches wide. Sew across the top of the rectangle (along the long side) with a basting (super wide) stitch.
![For the apron:]()
Step 2. Pull the threads on either side to gather the fabric.
Step 3. Fold over the edges of the other 3 (non-gathered) sides of the fabric and hem them with a straight stitch.
Step 4. Place the ribbon across the gathered edge and sew together with a straight stitch, as shown.
For the bow:
Step 1. Cut a long strip of fabric about 36 inches long and 4 inches wide.
![For the bow:]()
Step 2. Fold the fabric in half and sew into a long tube, as shown. Cut 1 of the short sides at an angle, and then sew up that side too, as shown.
Step 3. Turn the tube right side out by pushing a pencil into the pointed side and then scrunching the fabric down the pencil until the pointed side comes out. Cut the other edge at an angle and then tuck the raw edges inside and sew across it with a straight stitch.
Step 4. Tie up into a pretty bow!
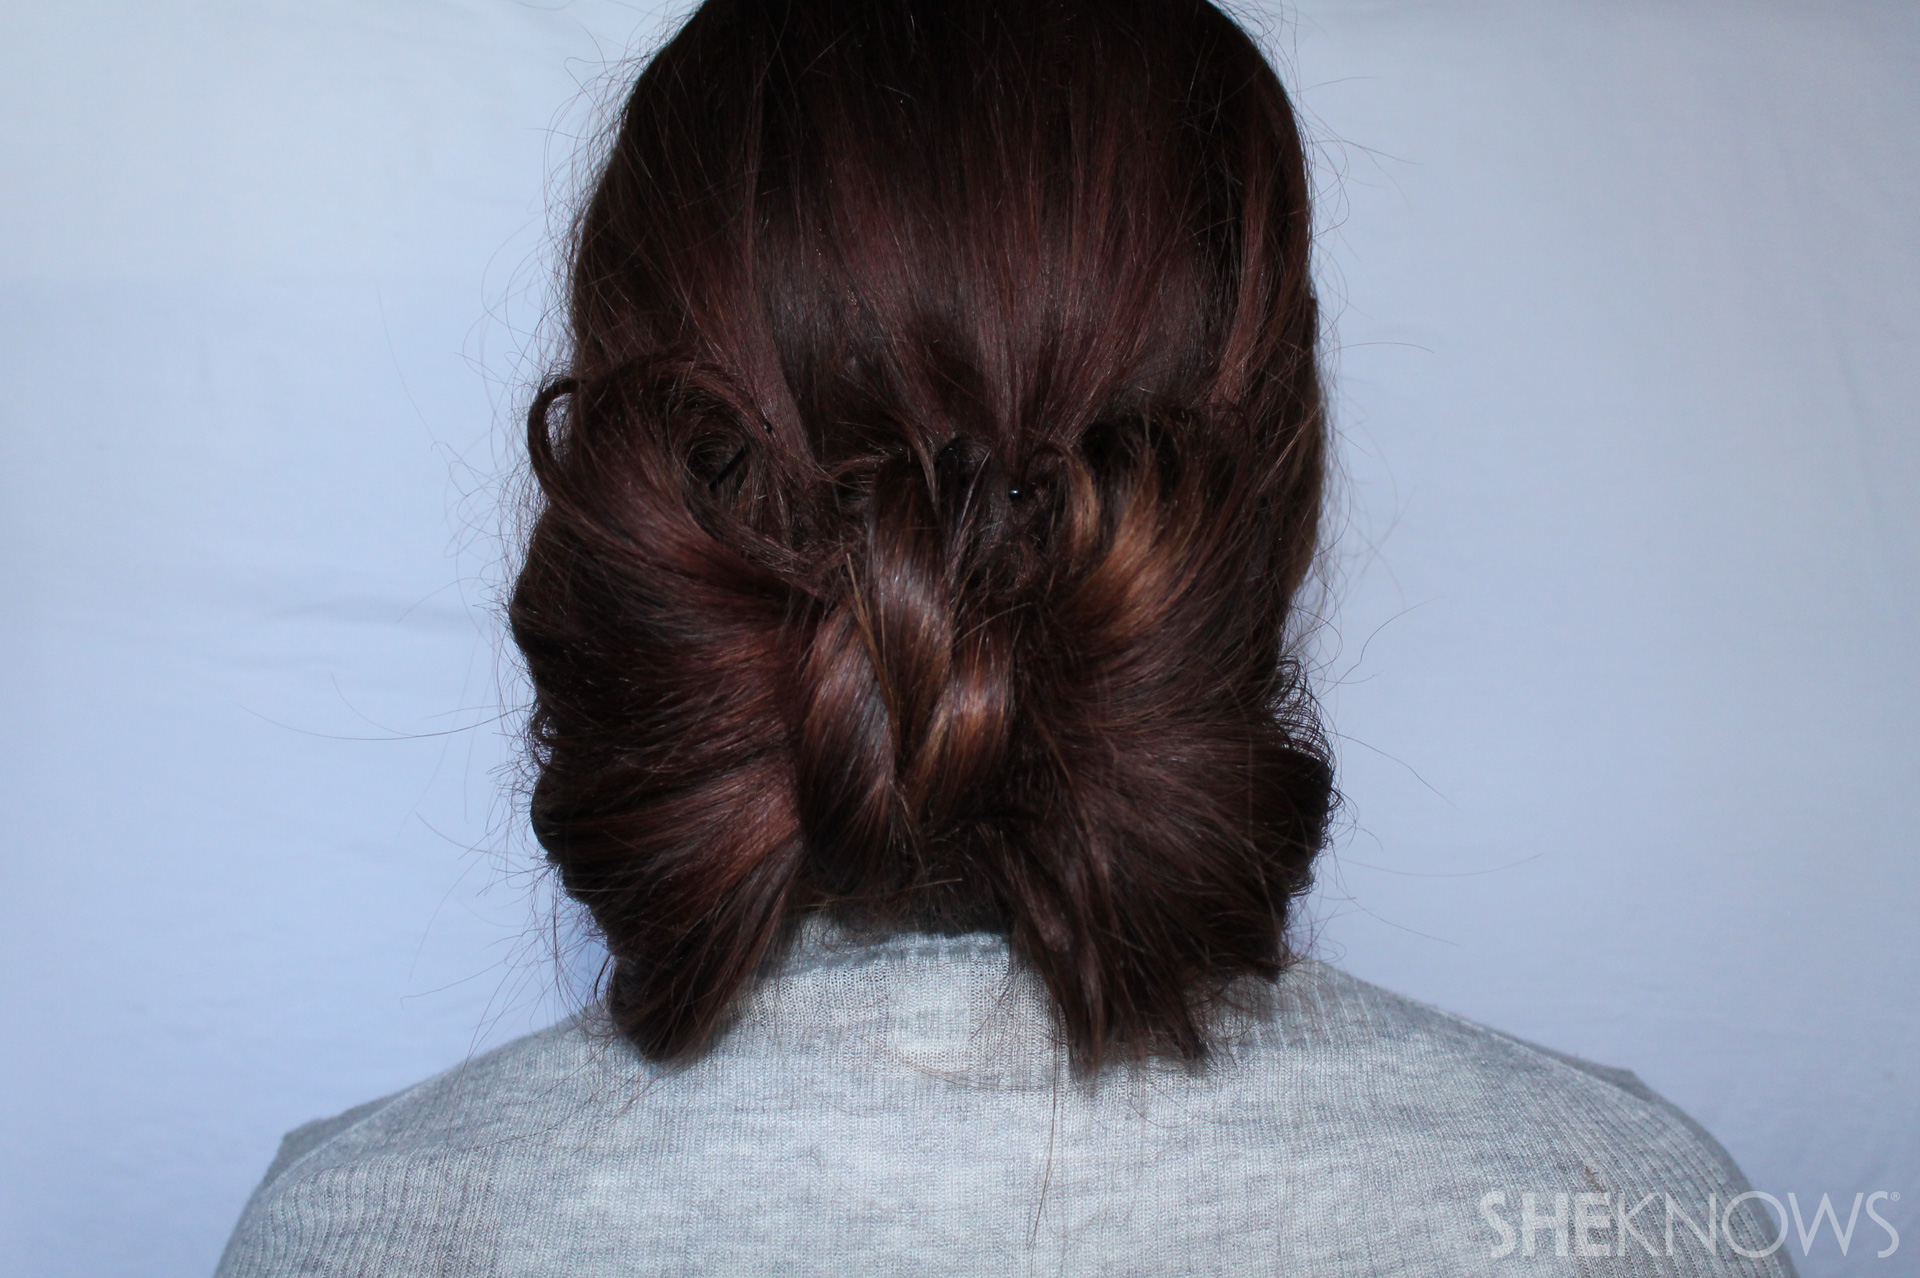
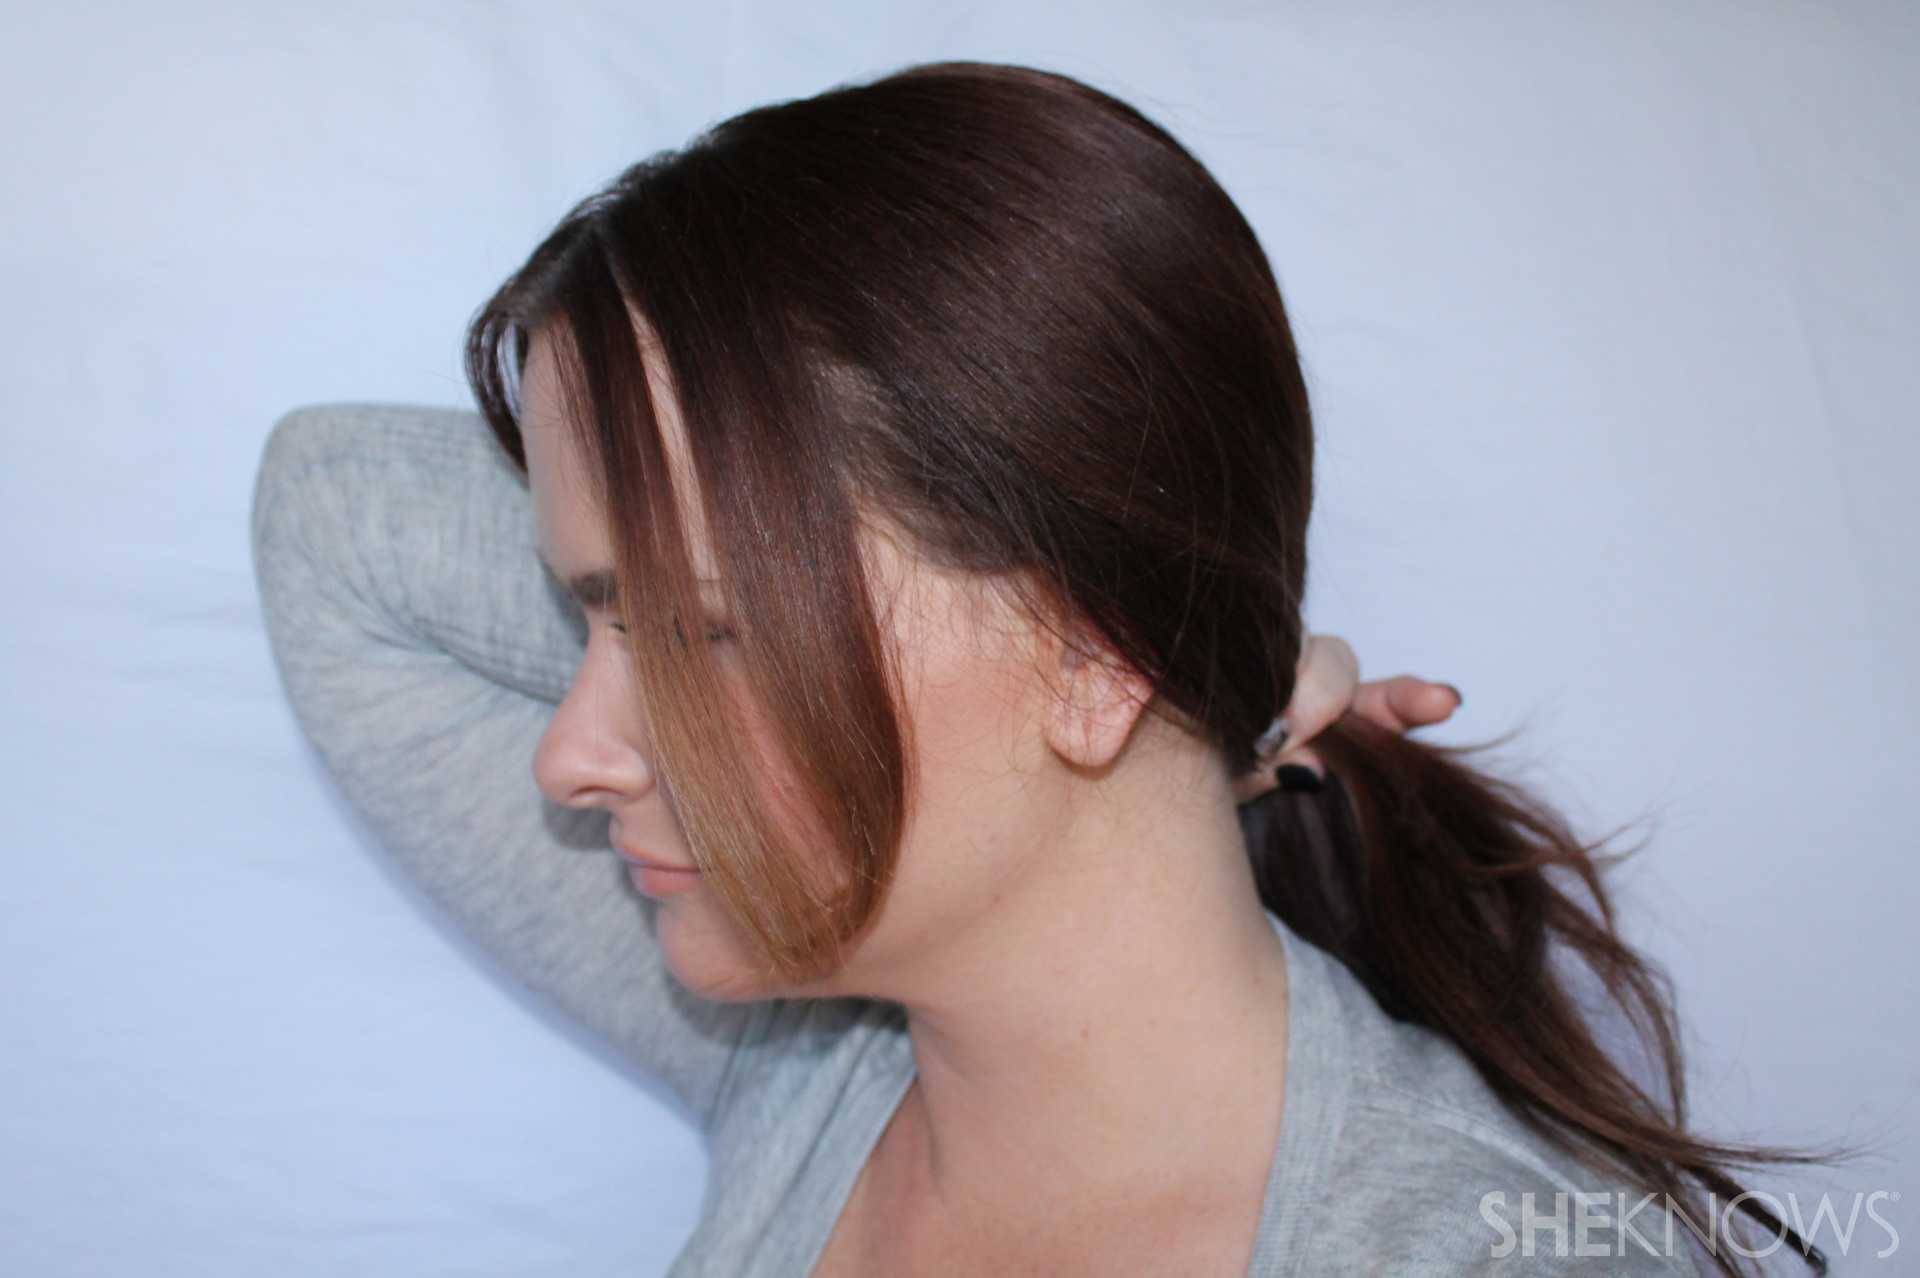
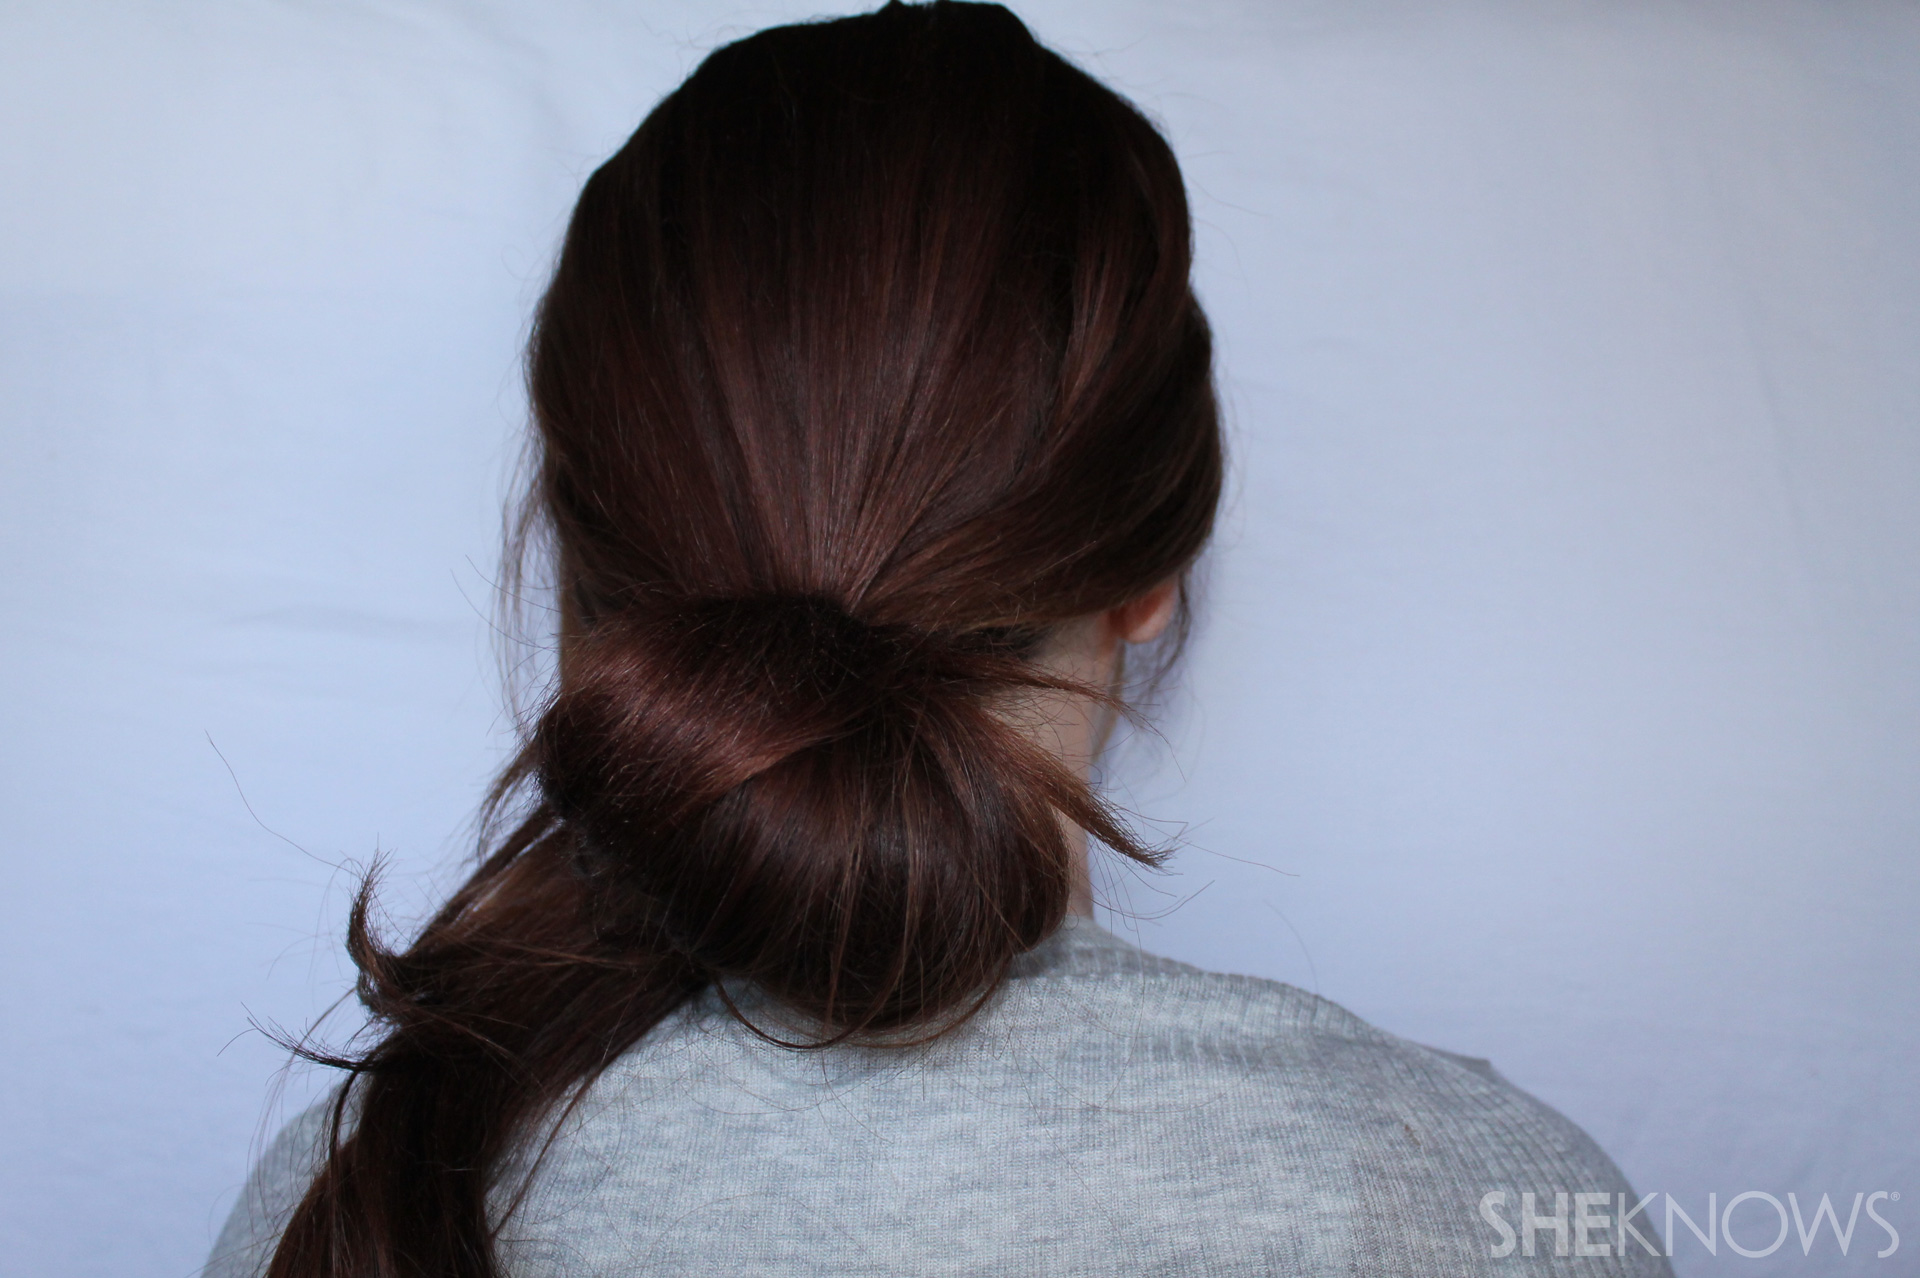
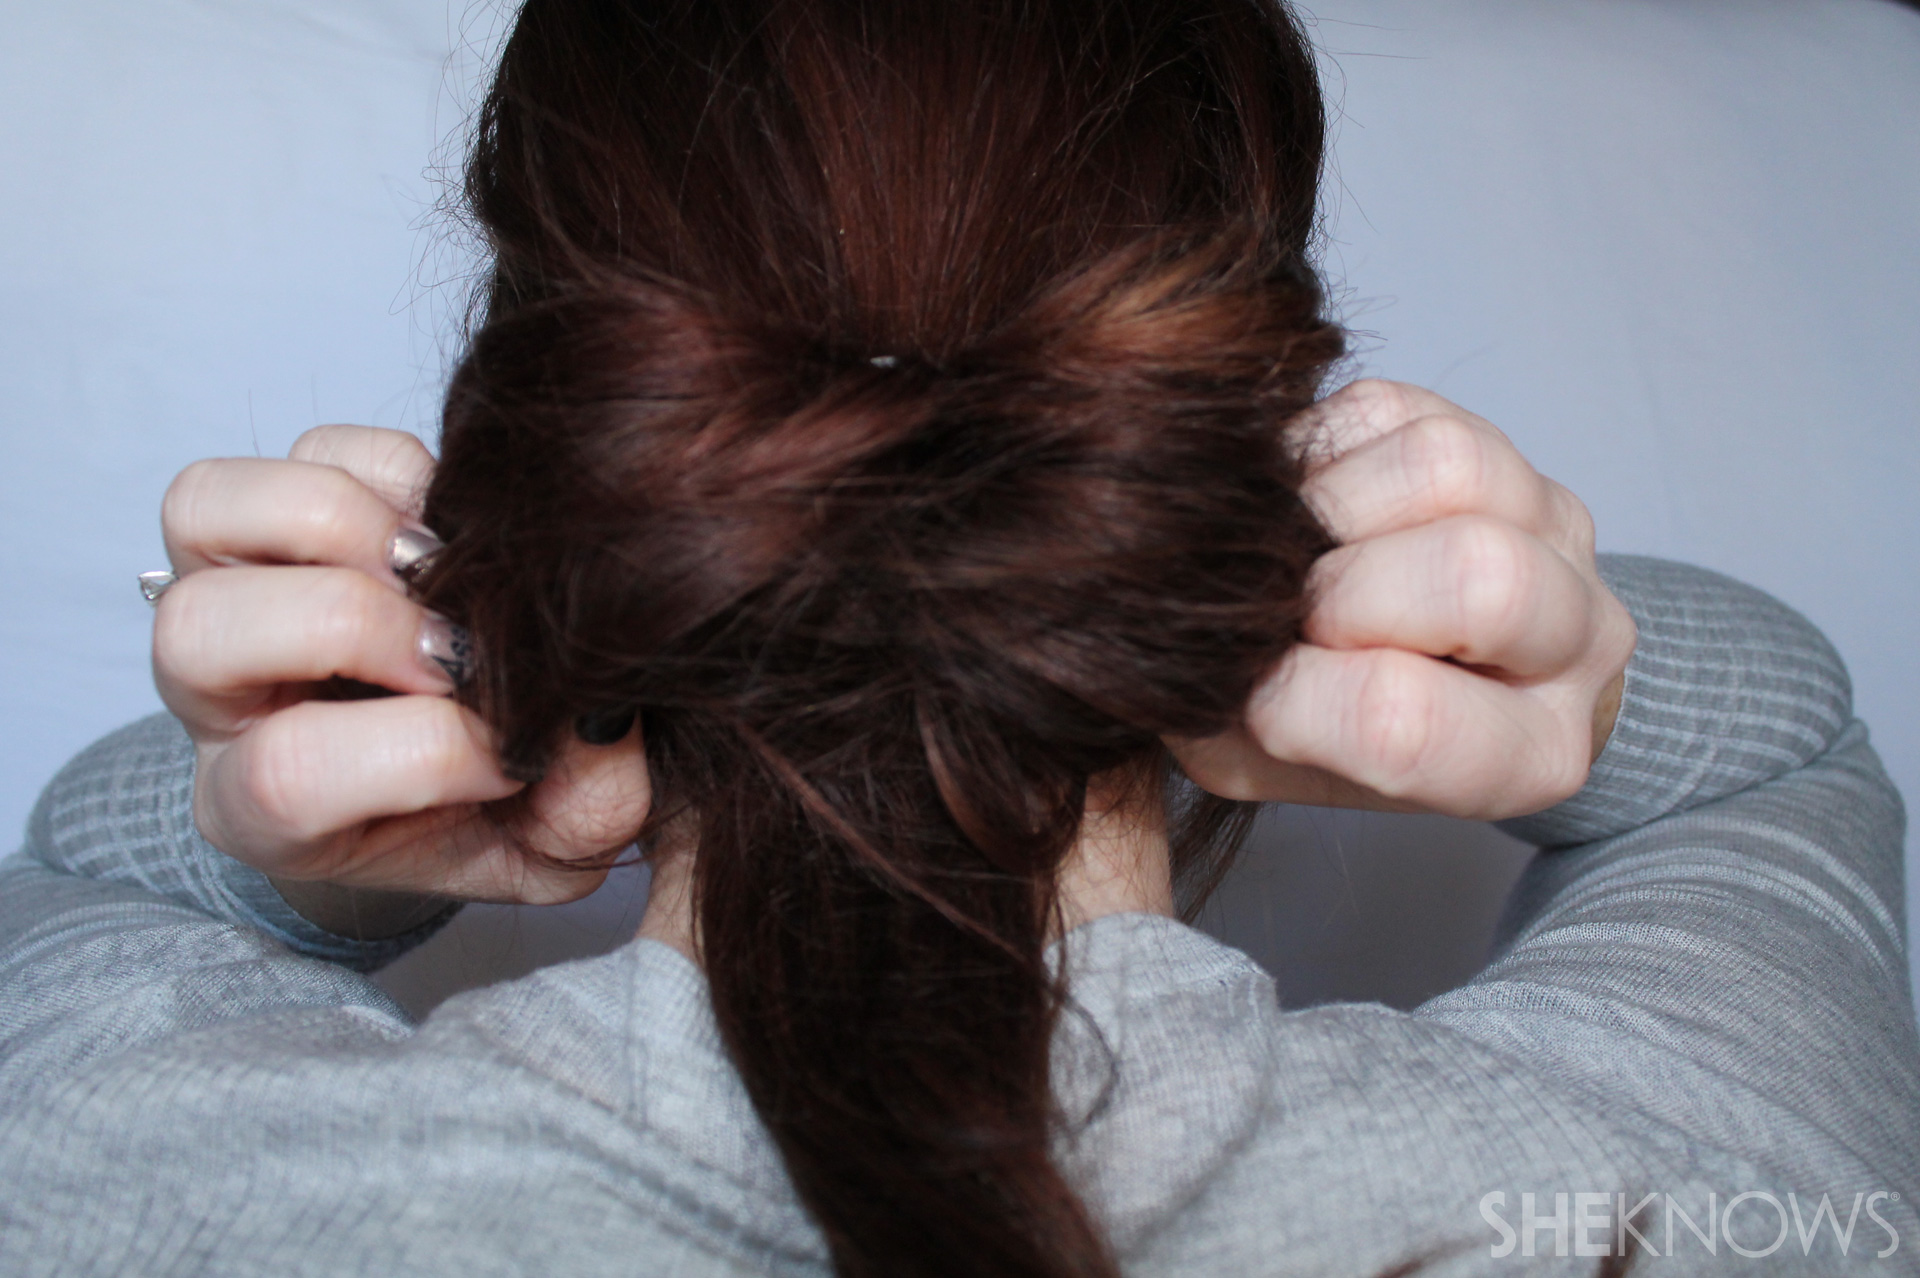
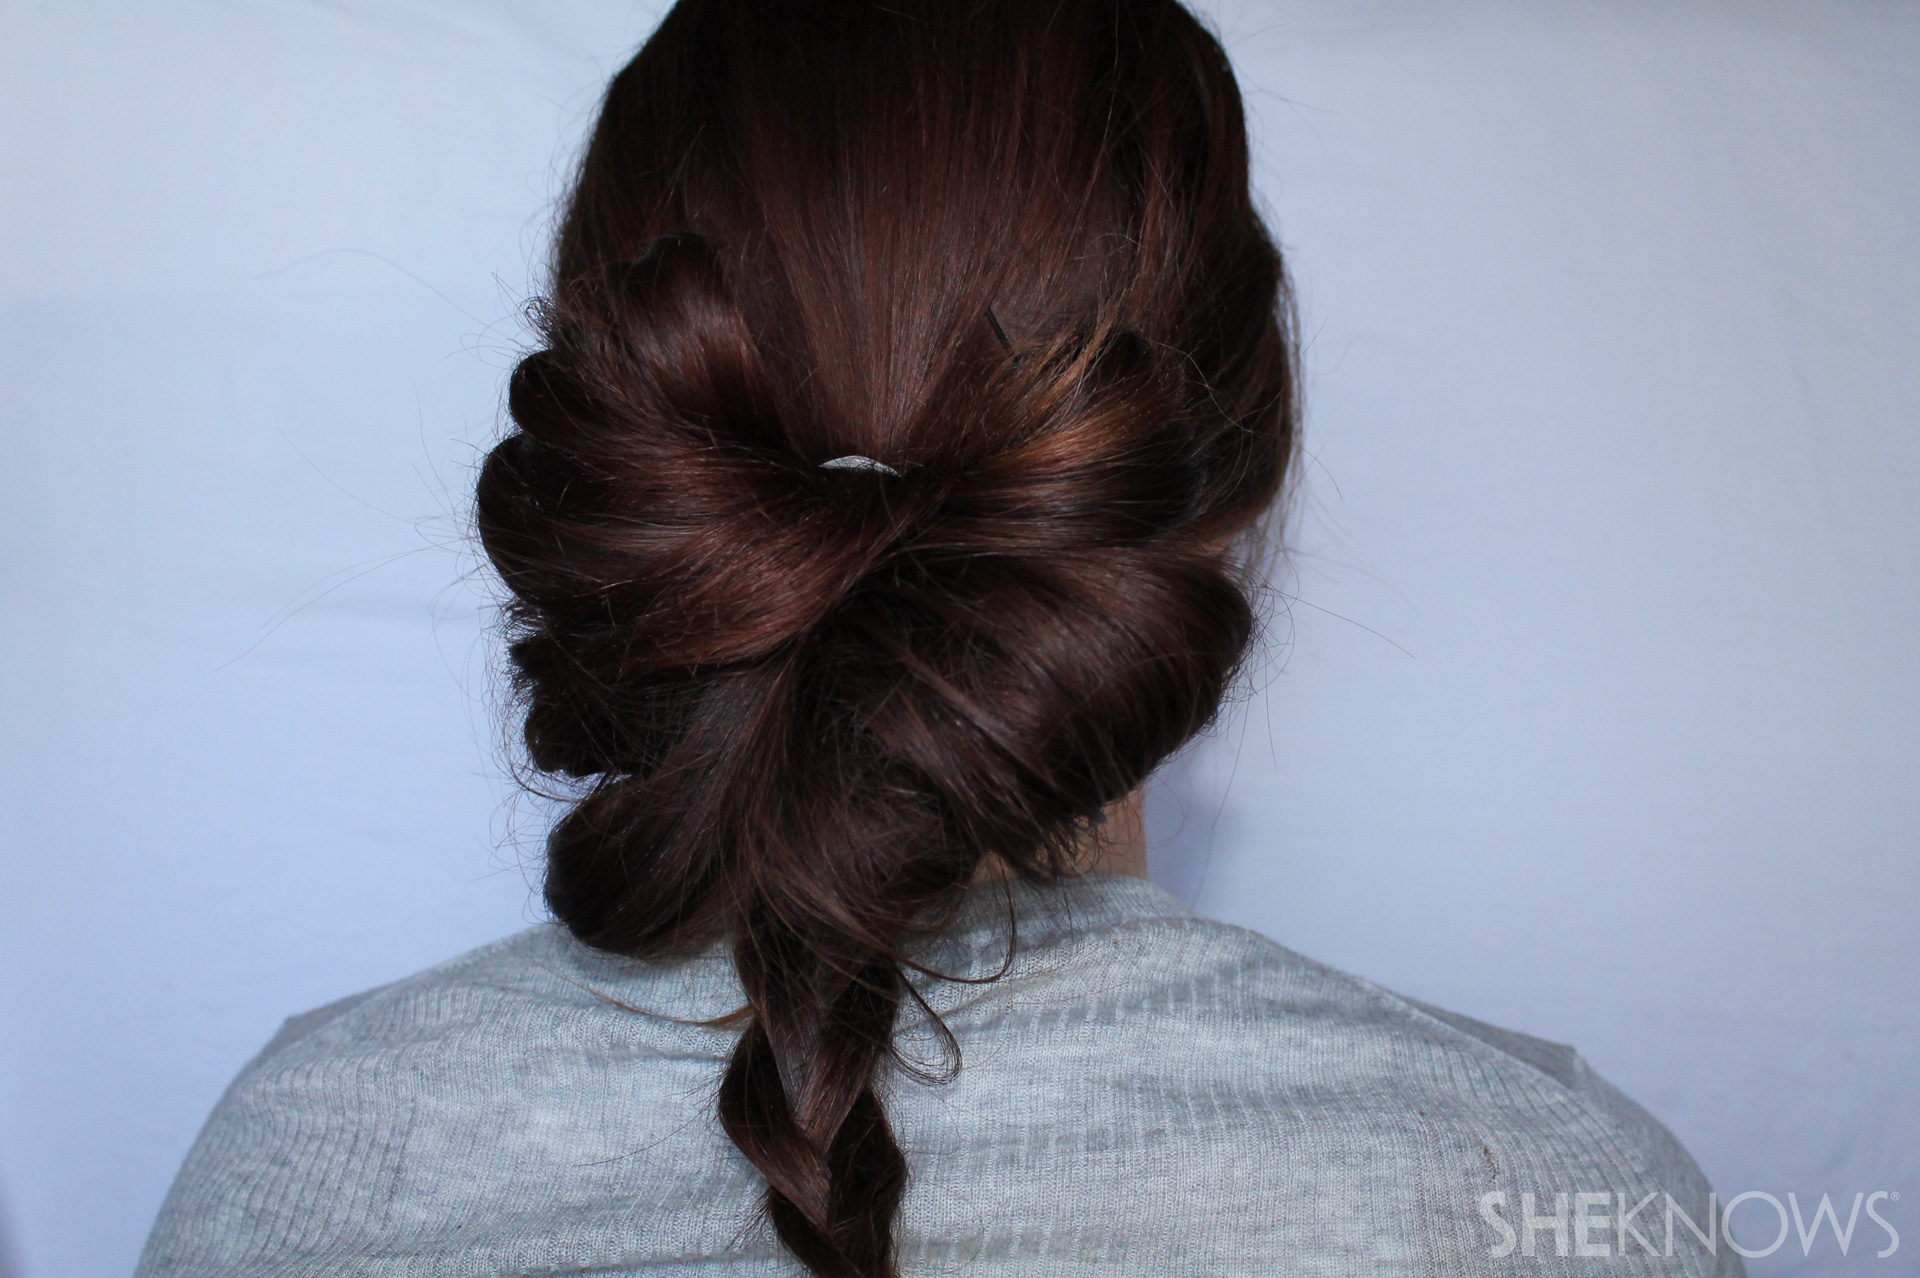
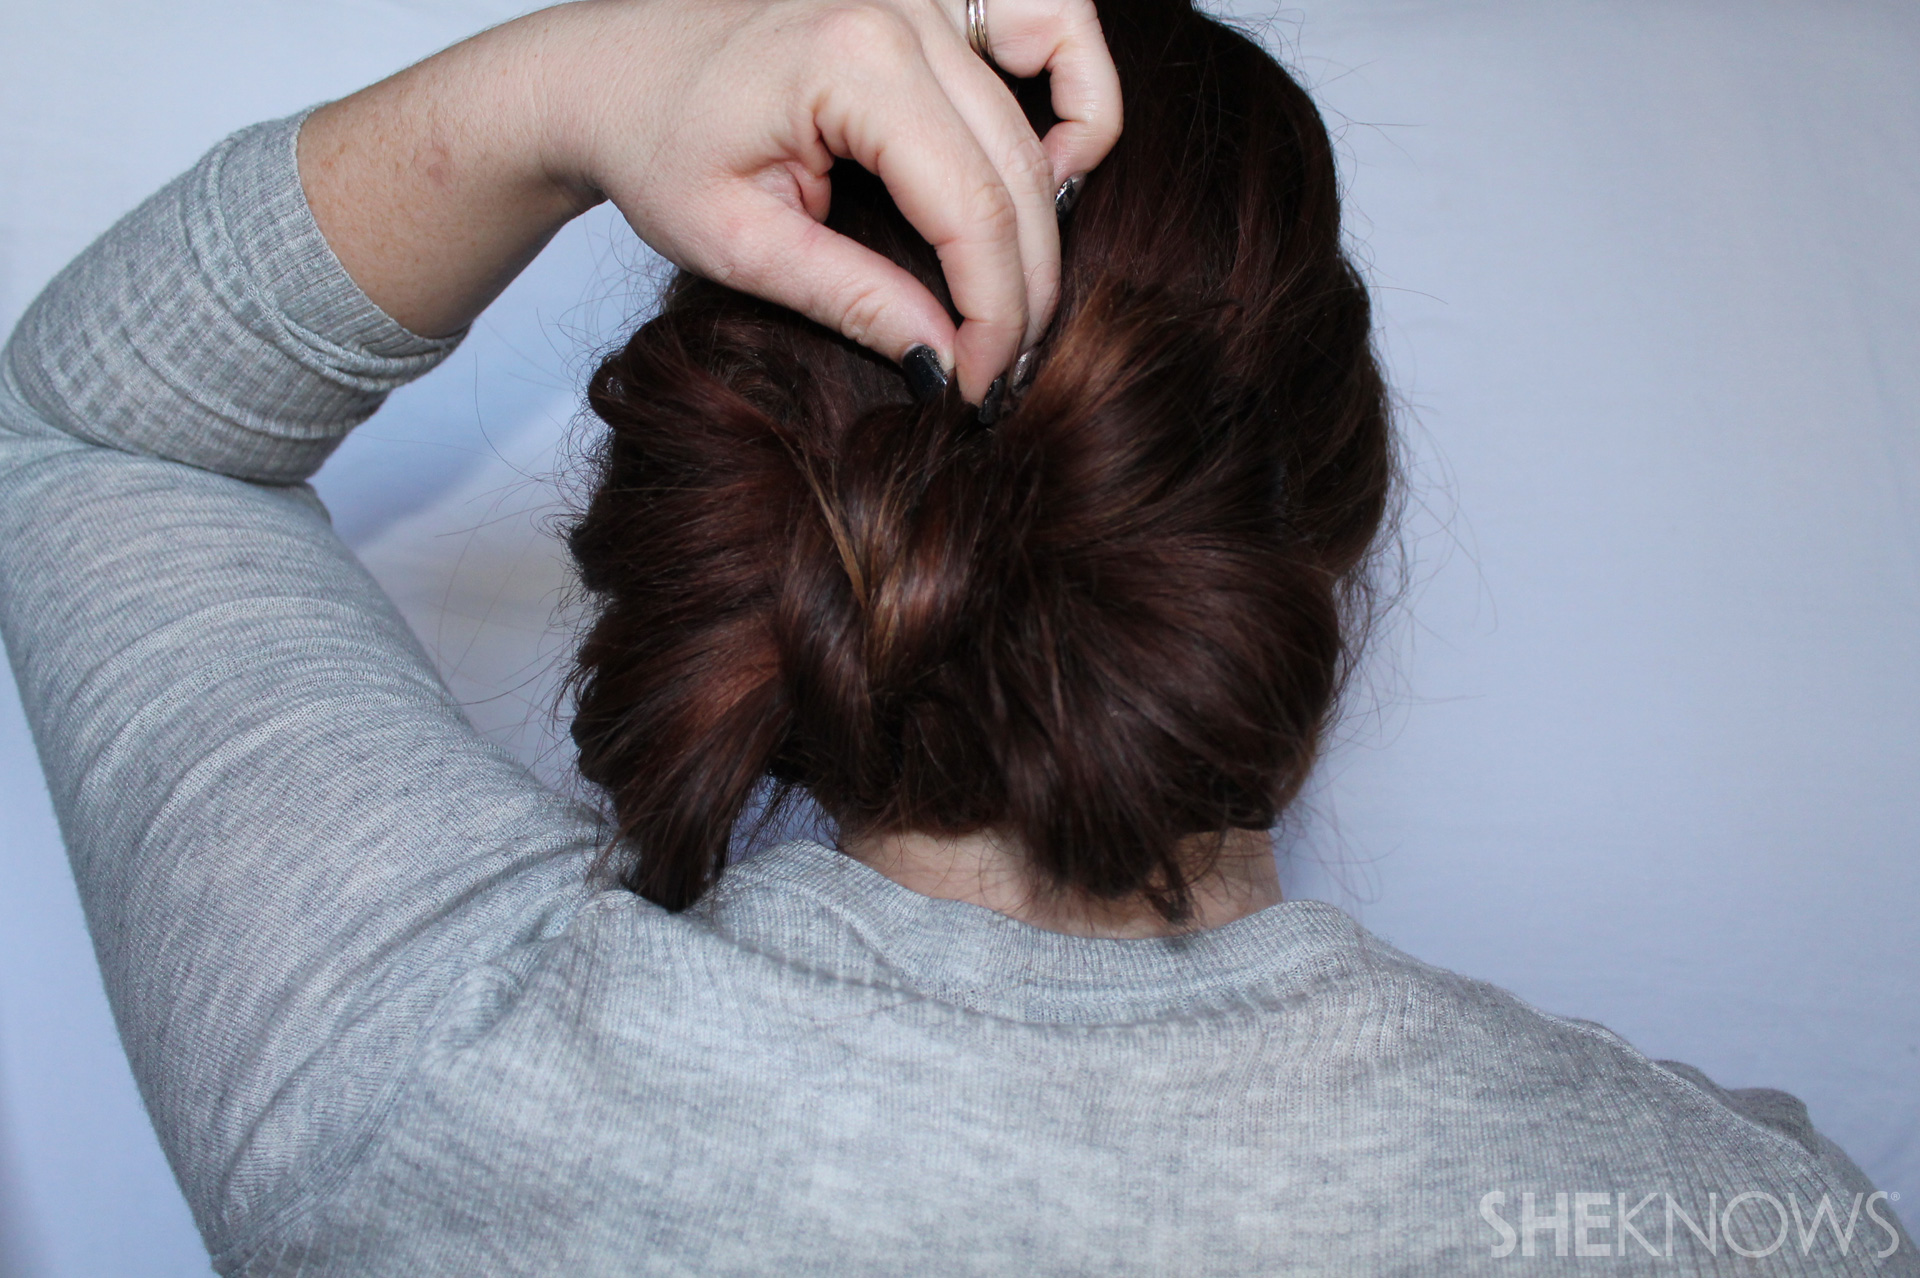
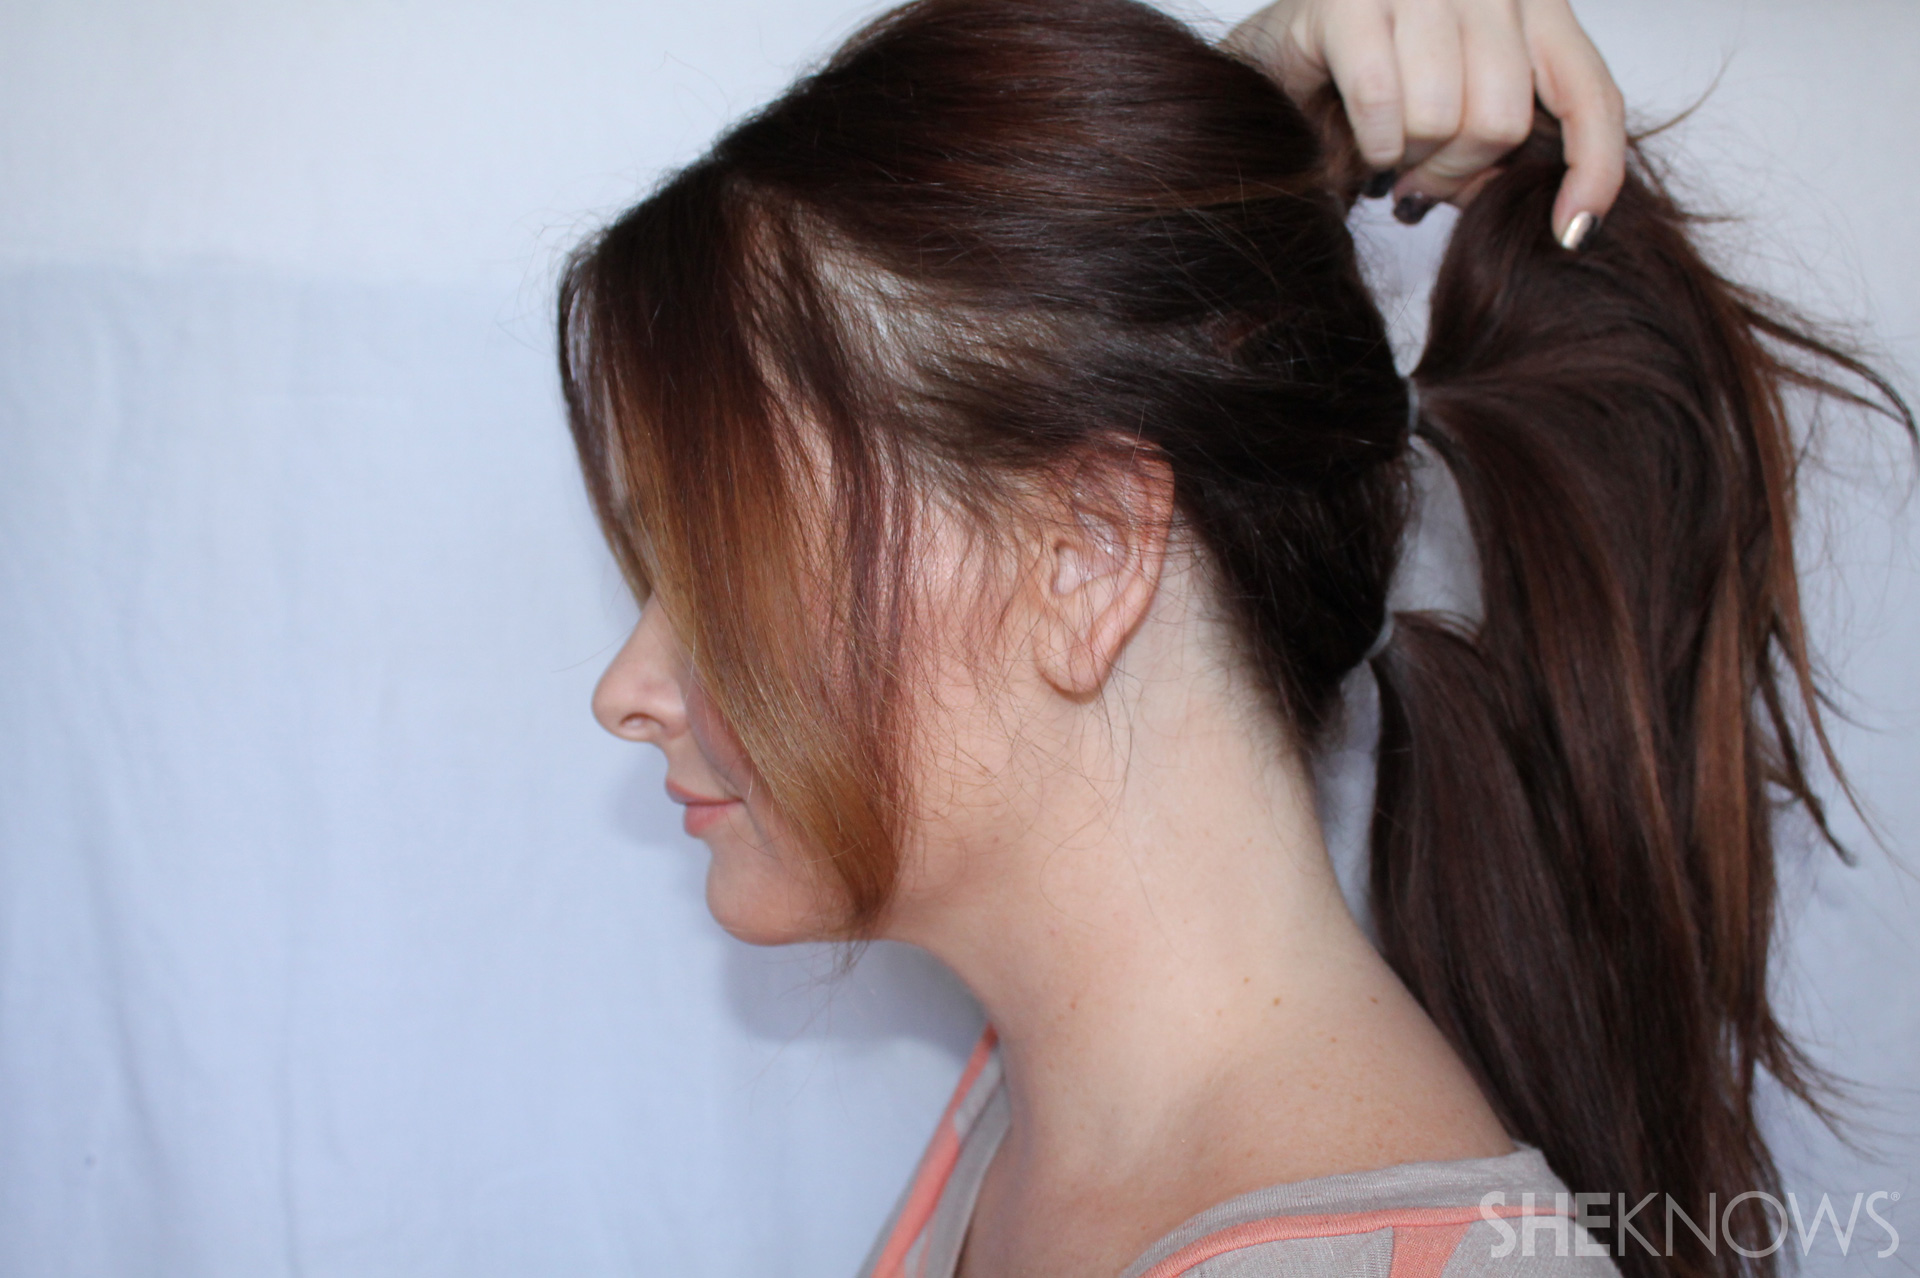
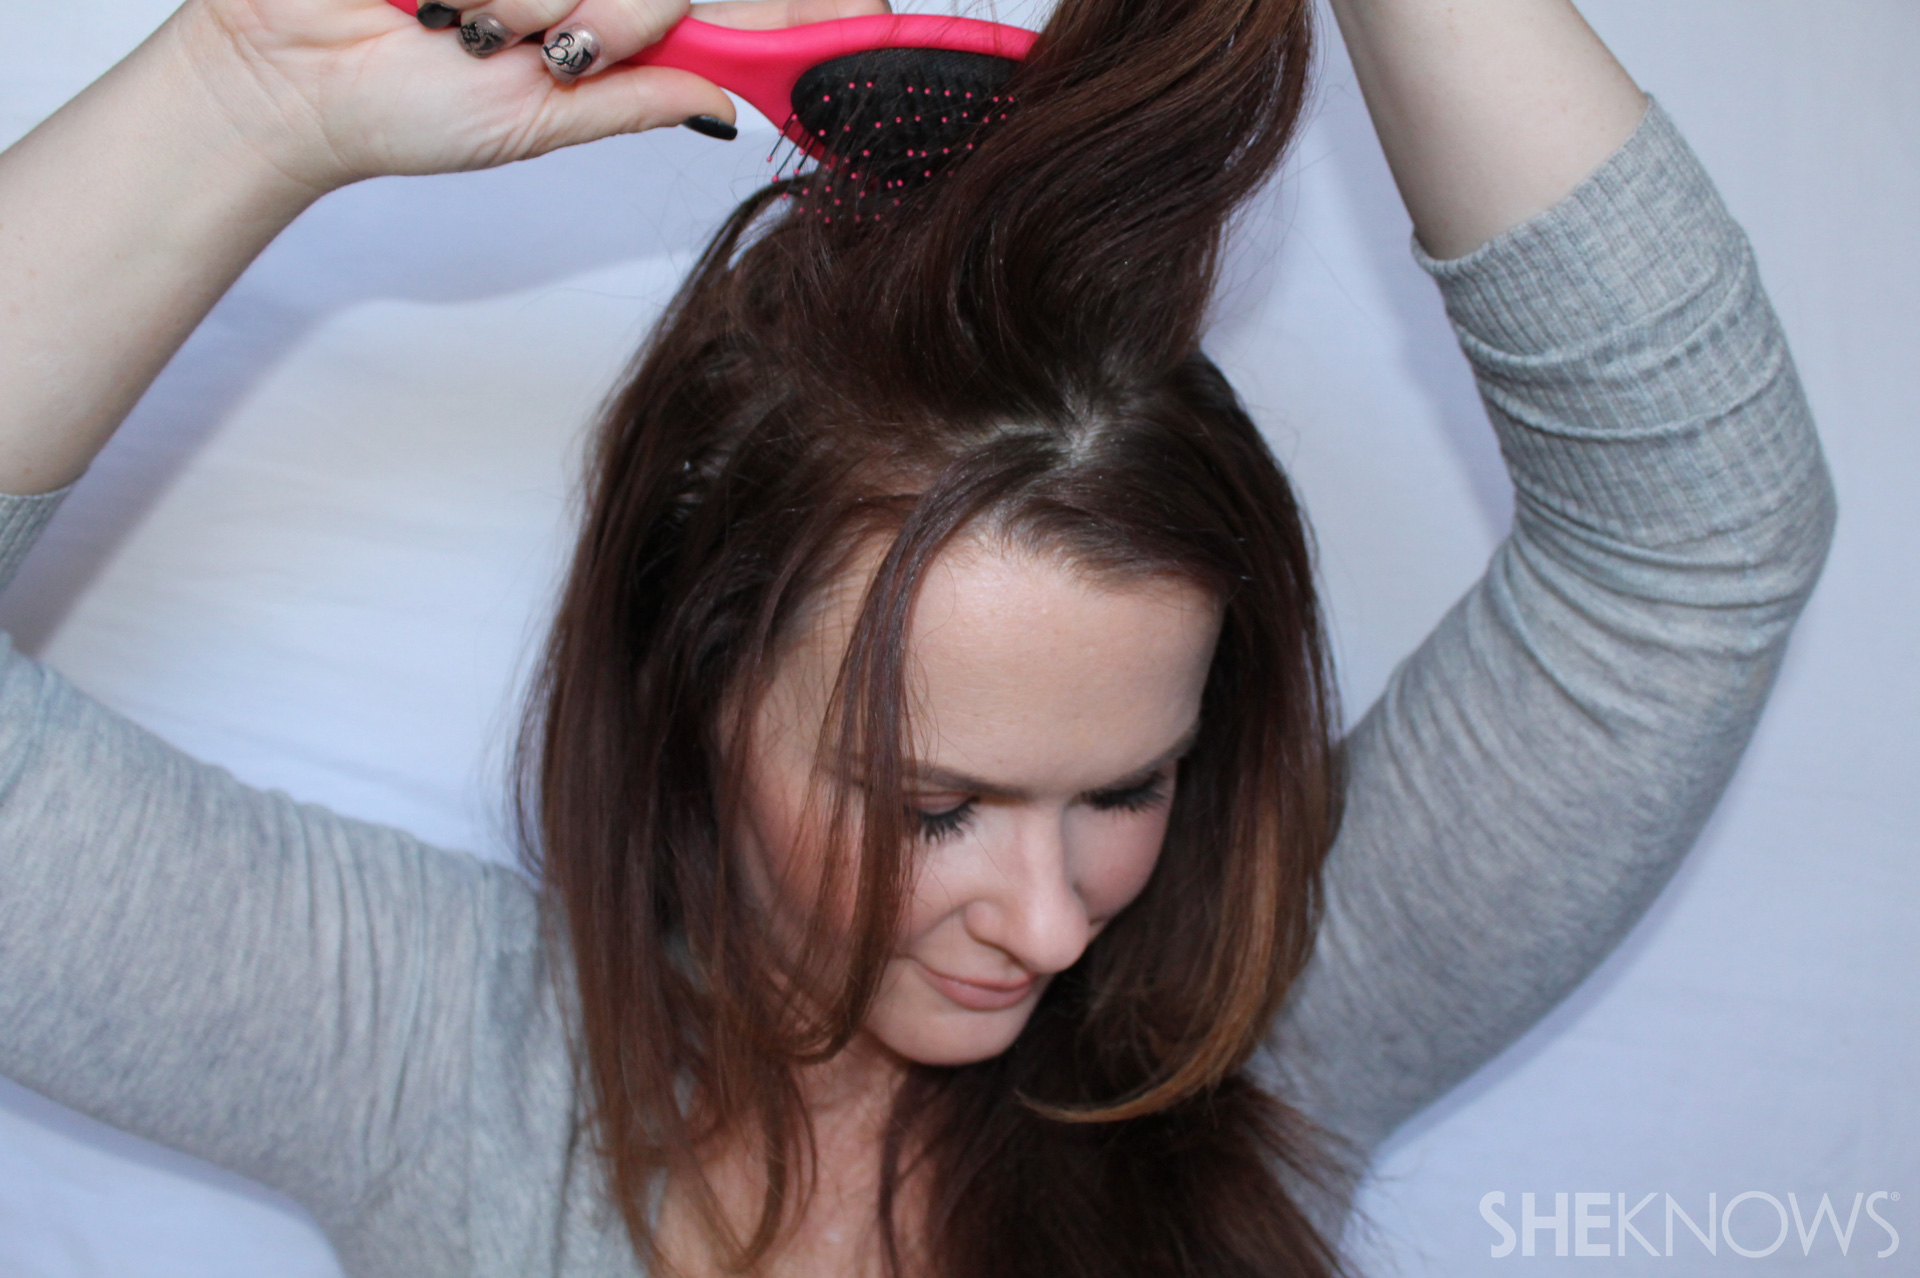
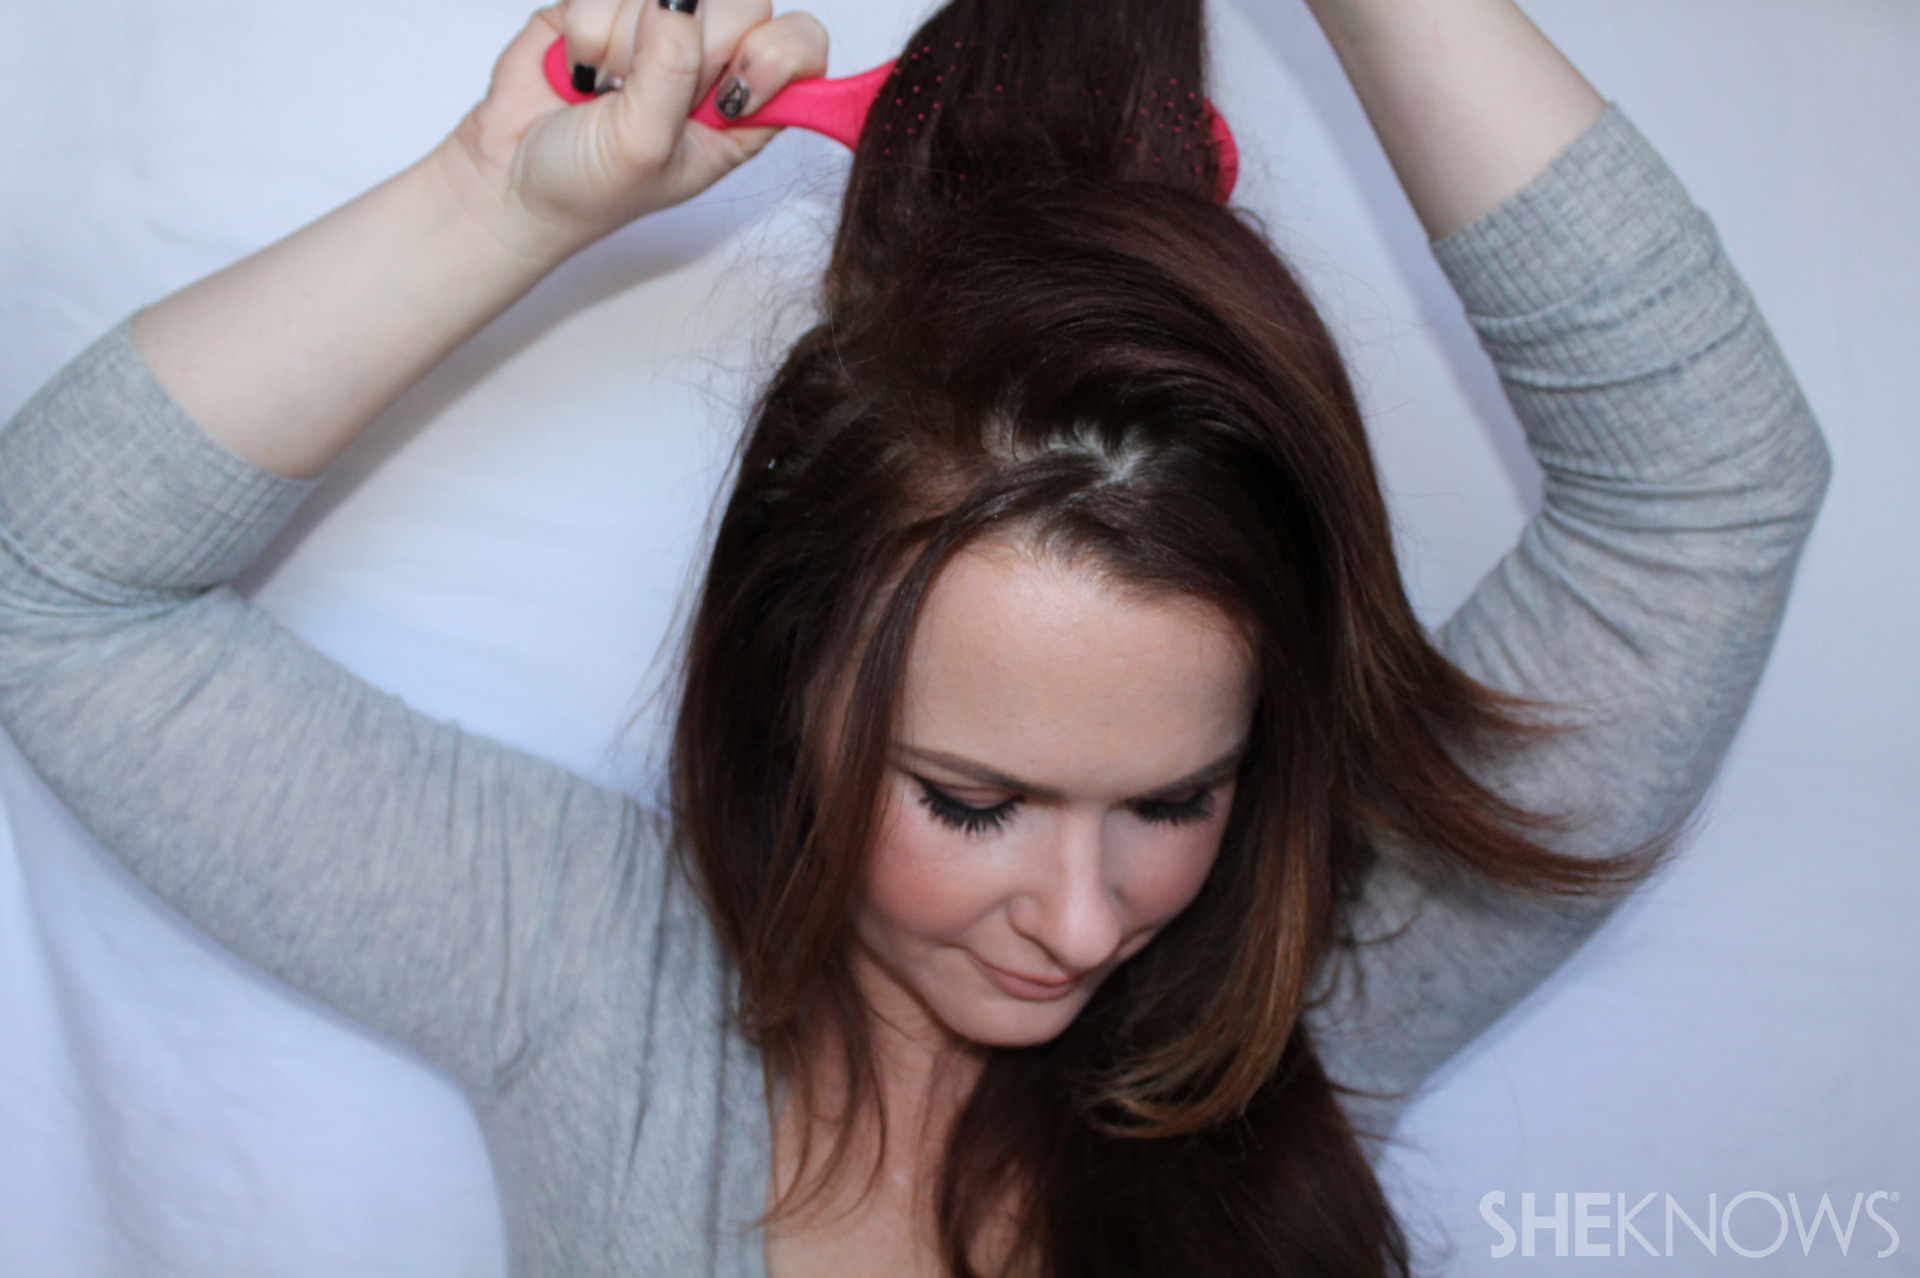
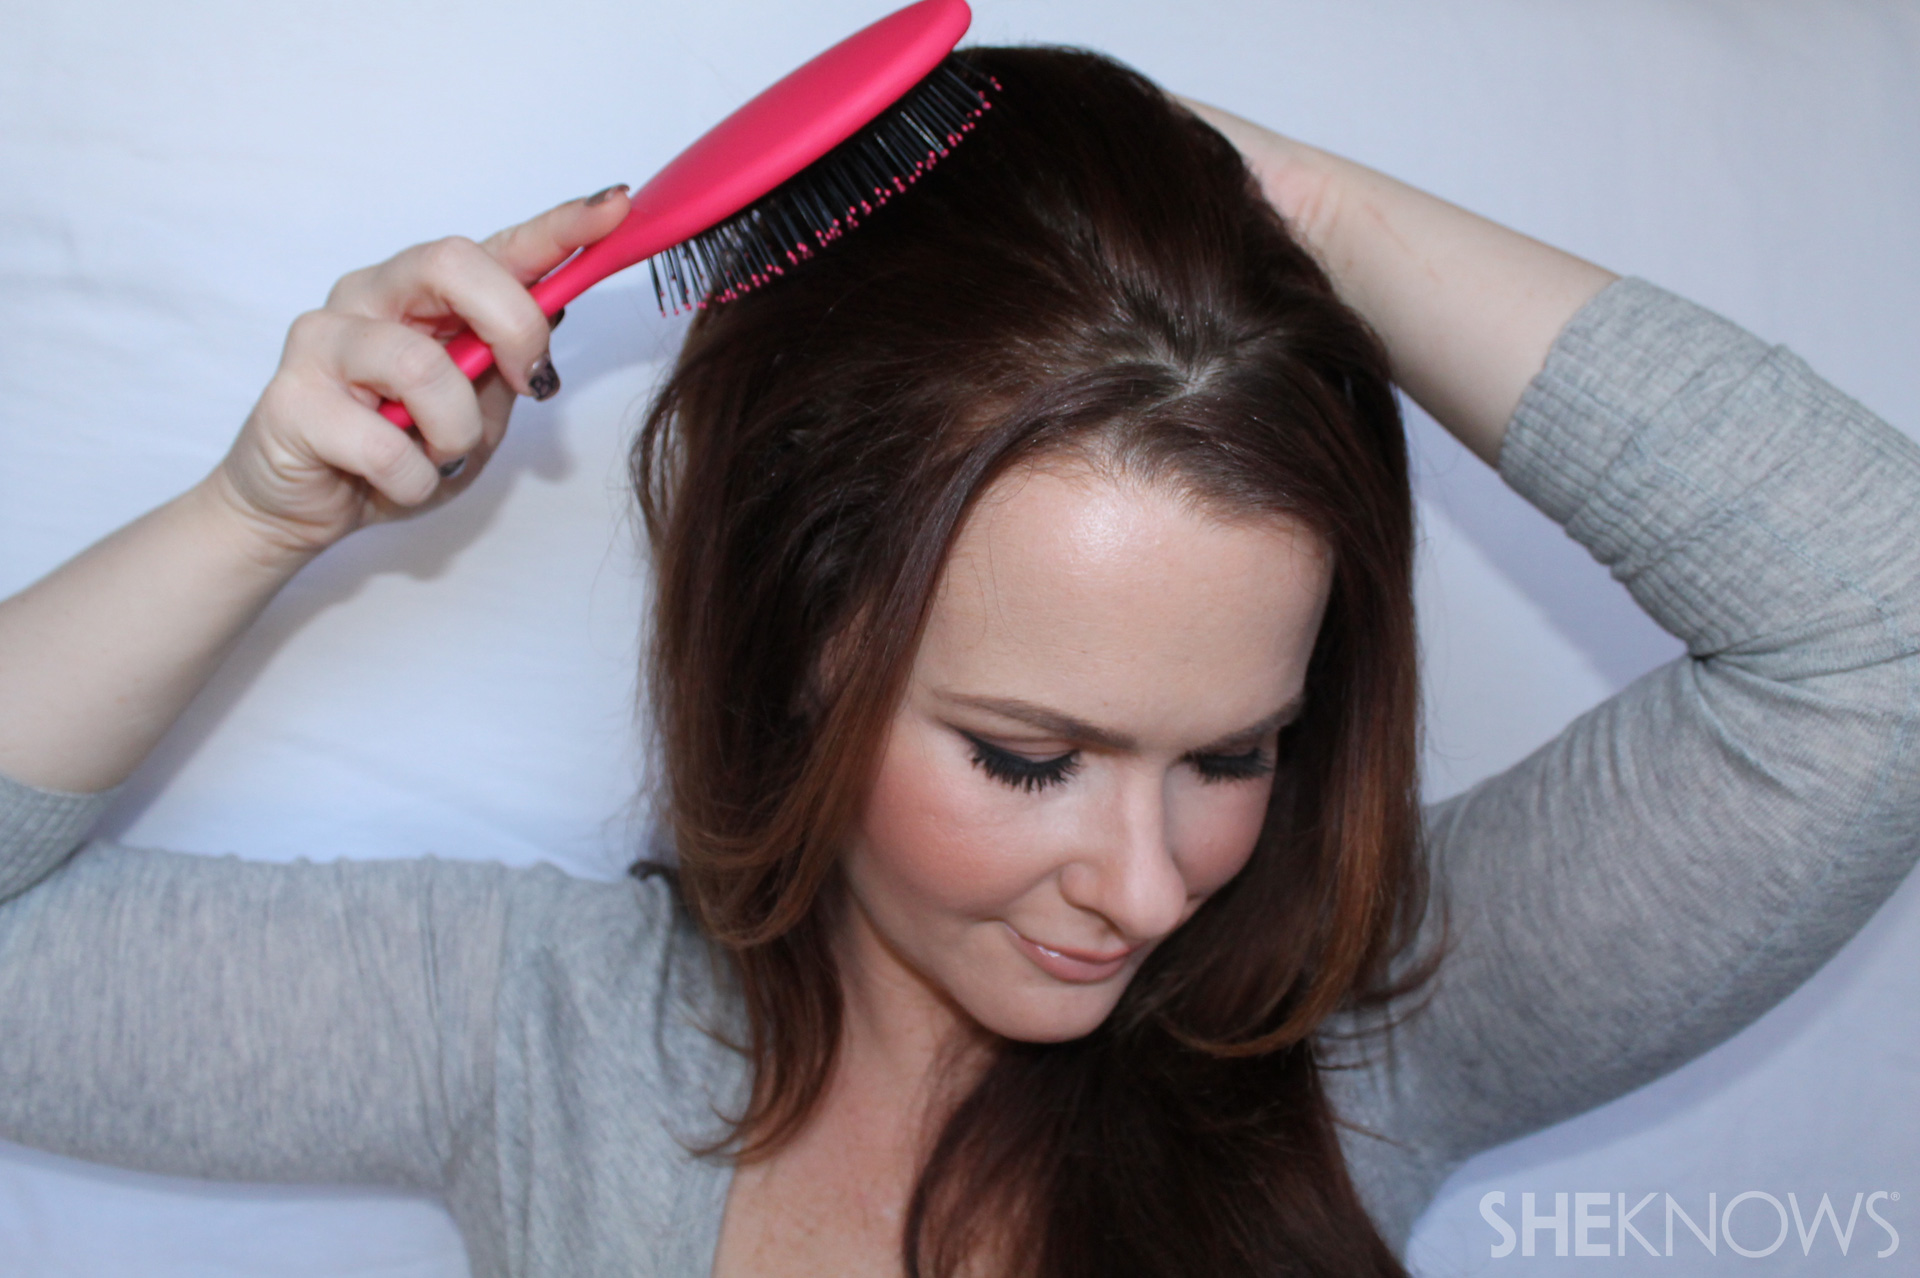
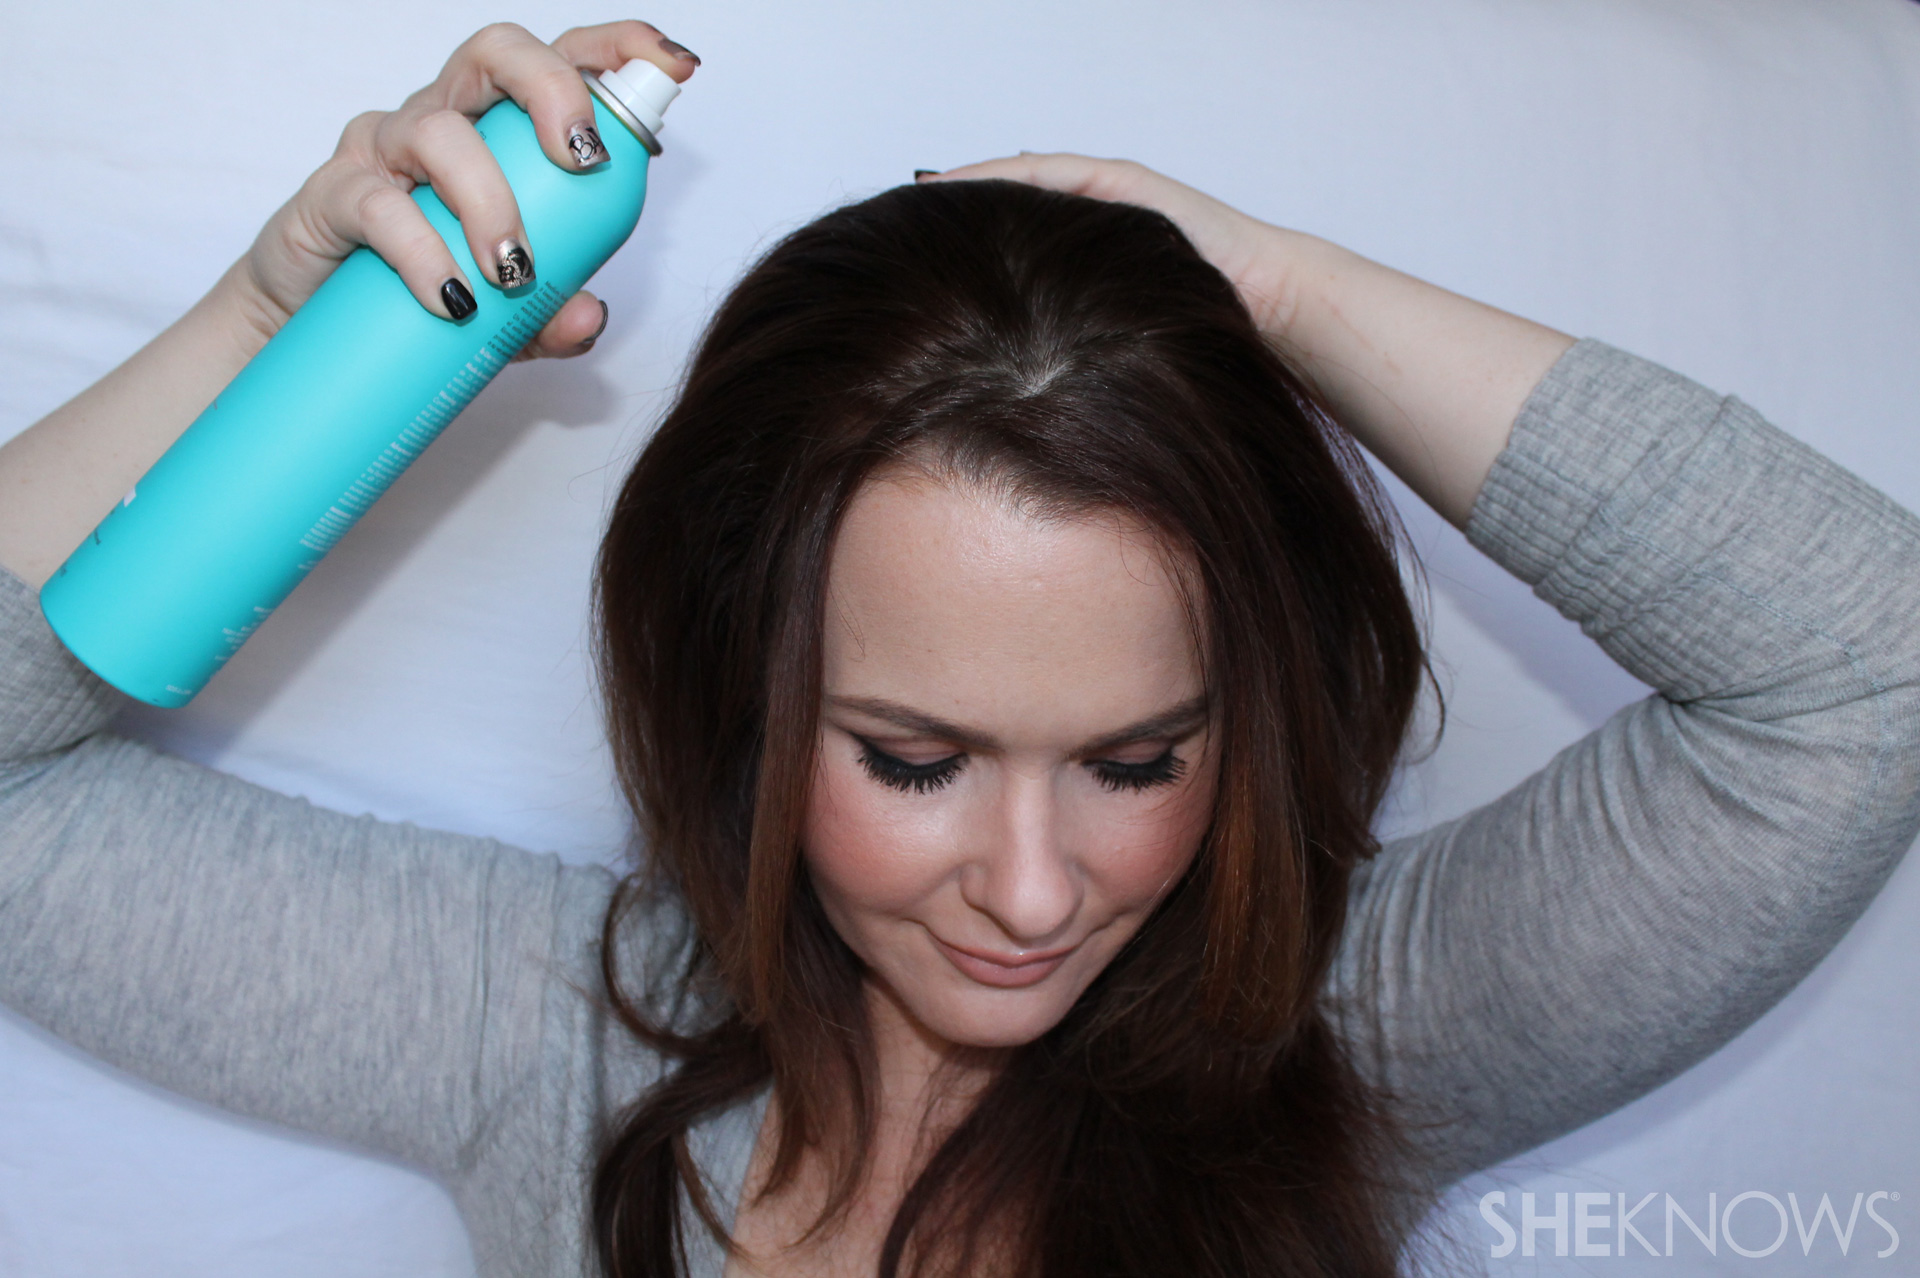
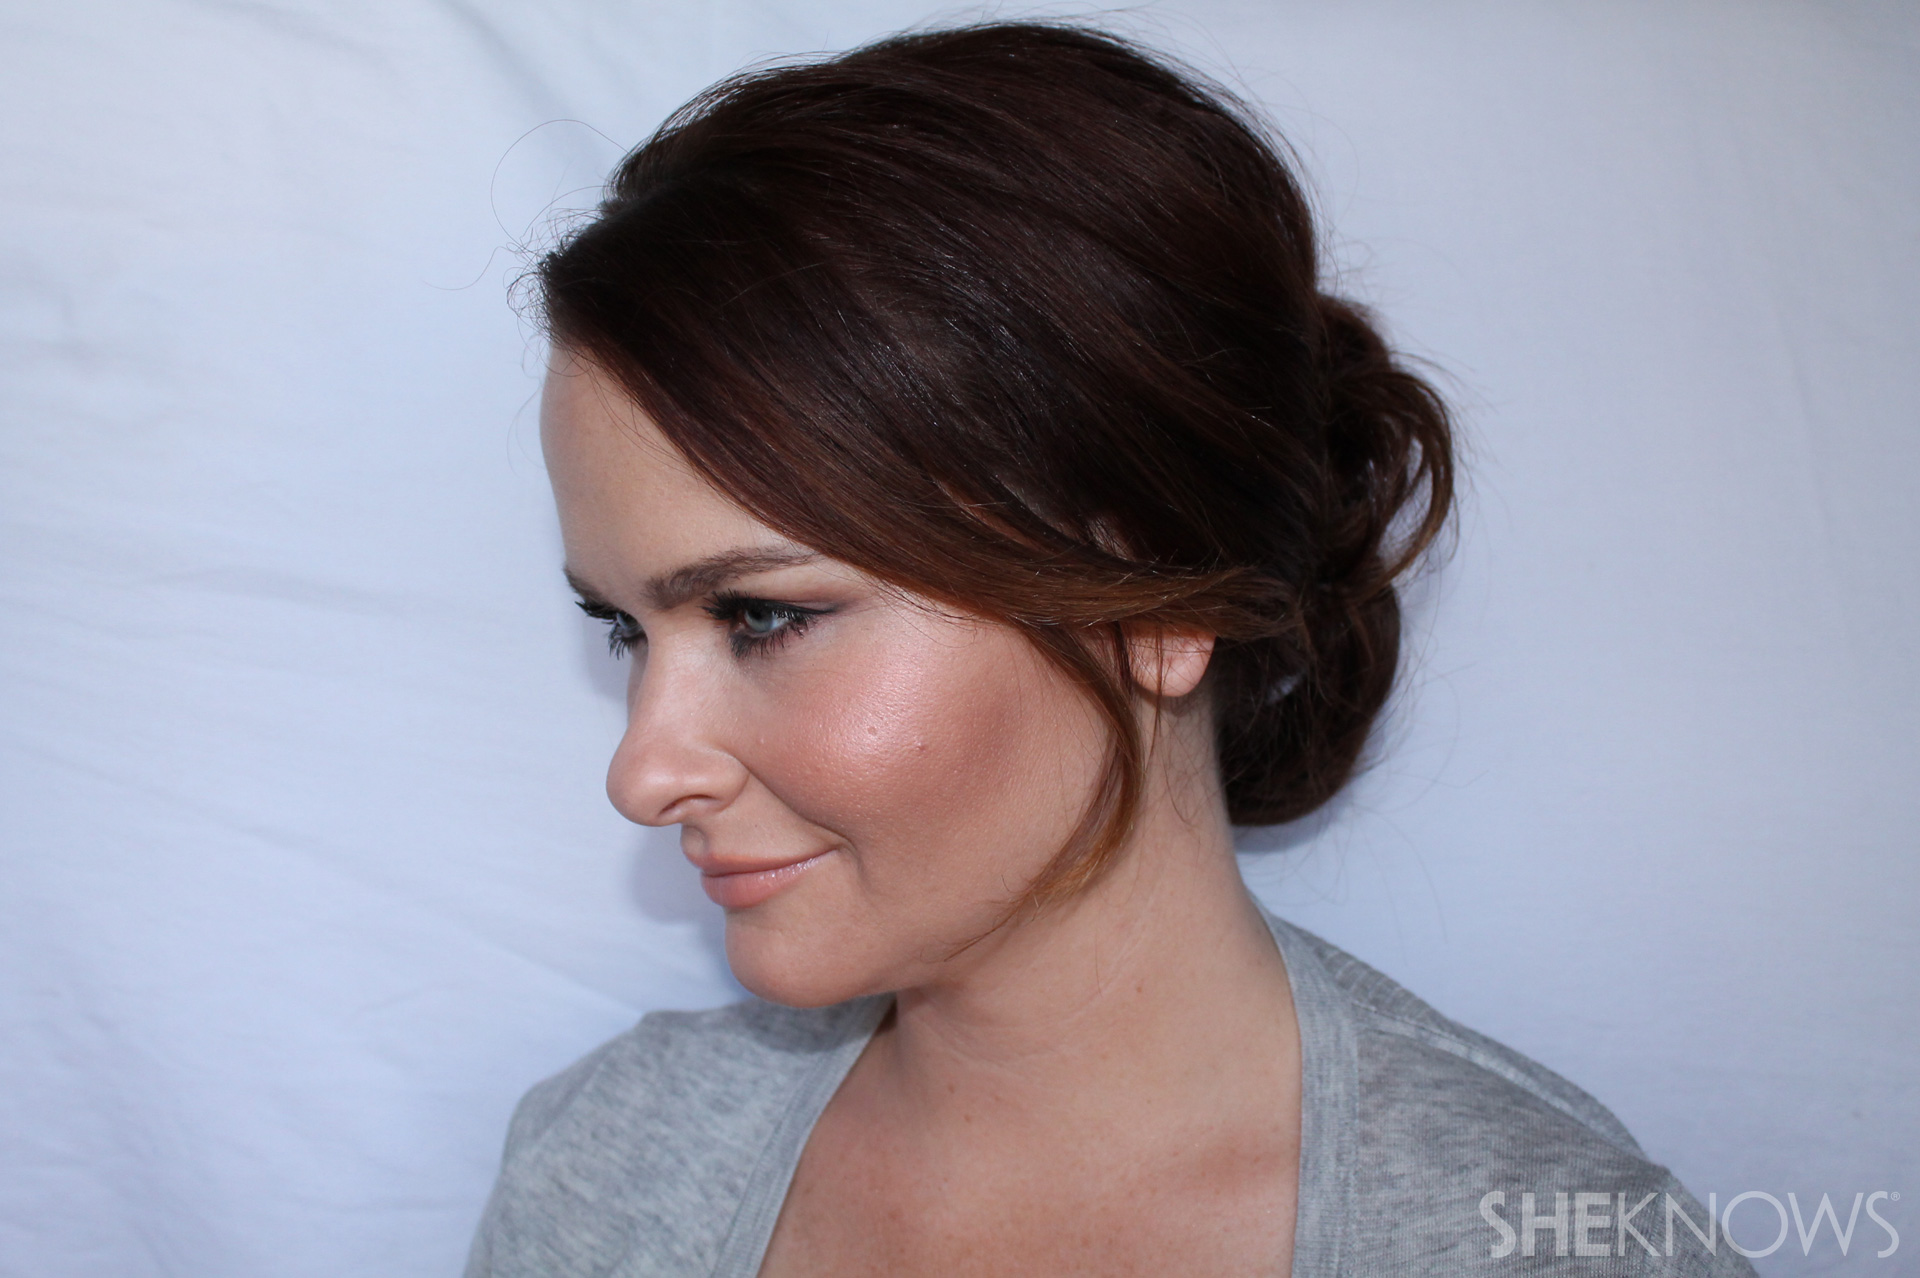
Finish the look with a middle part and low ponytail, then tie that ribbon around your ponytail, grab a couple of books or a wicker basket, throw on some black shoes and go find your Prince Charming!
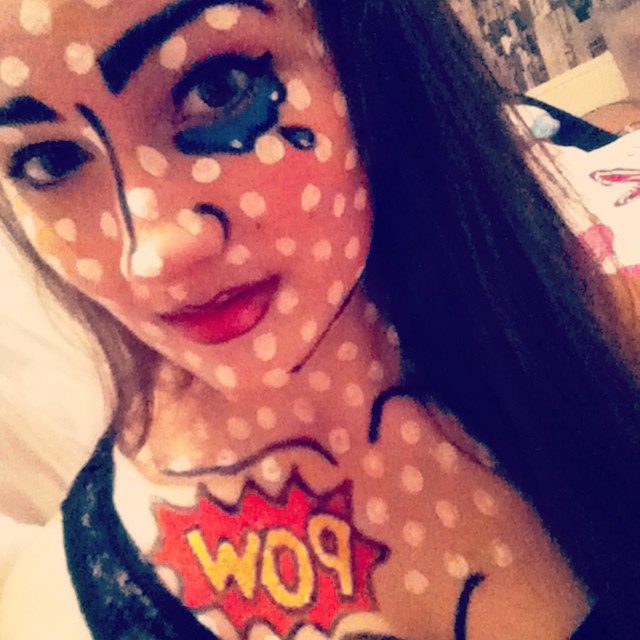
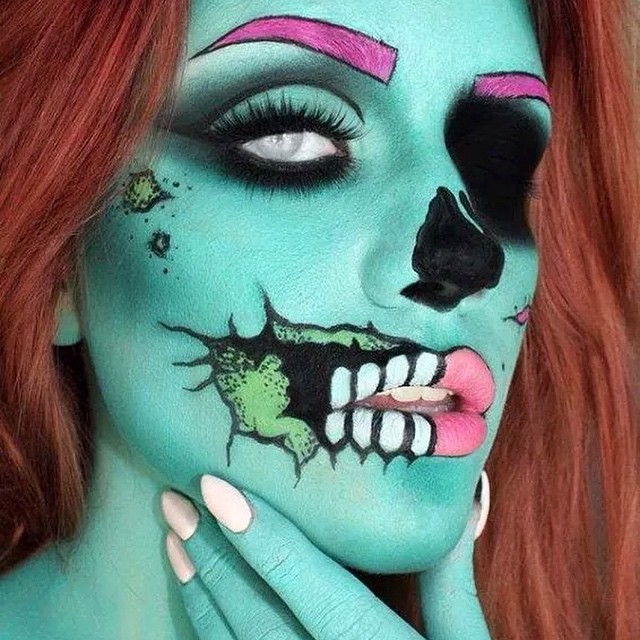
Pop art Halloween makeup
Plus-size Halloween costumes
Katy Perry Cleopatra Halloween makeup tutorial