
Supplies:
- 20-gauge jewelry wire
- Jewelry glue
- Faux pearls of different sizes
Tools:
- Wire cutters
- Pliers
Wire midi ring — wear it two ways
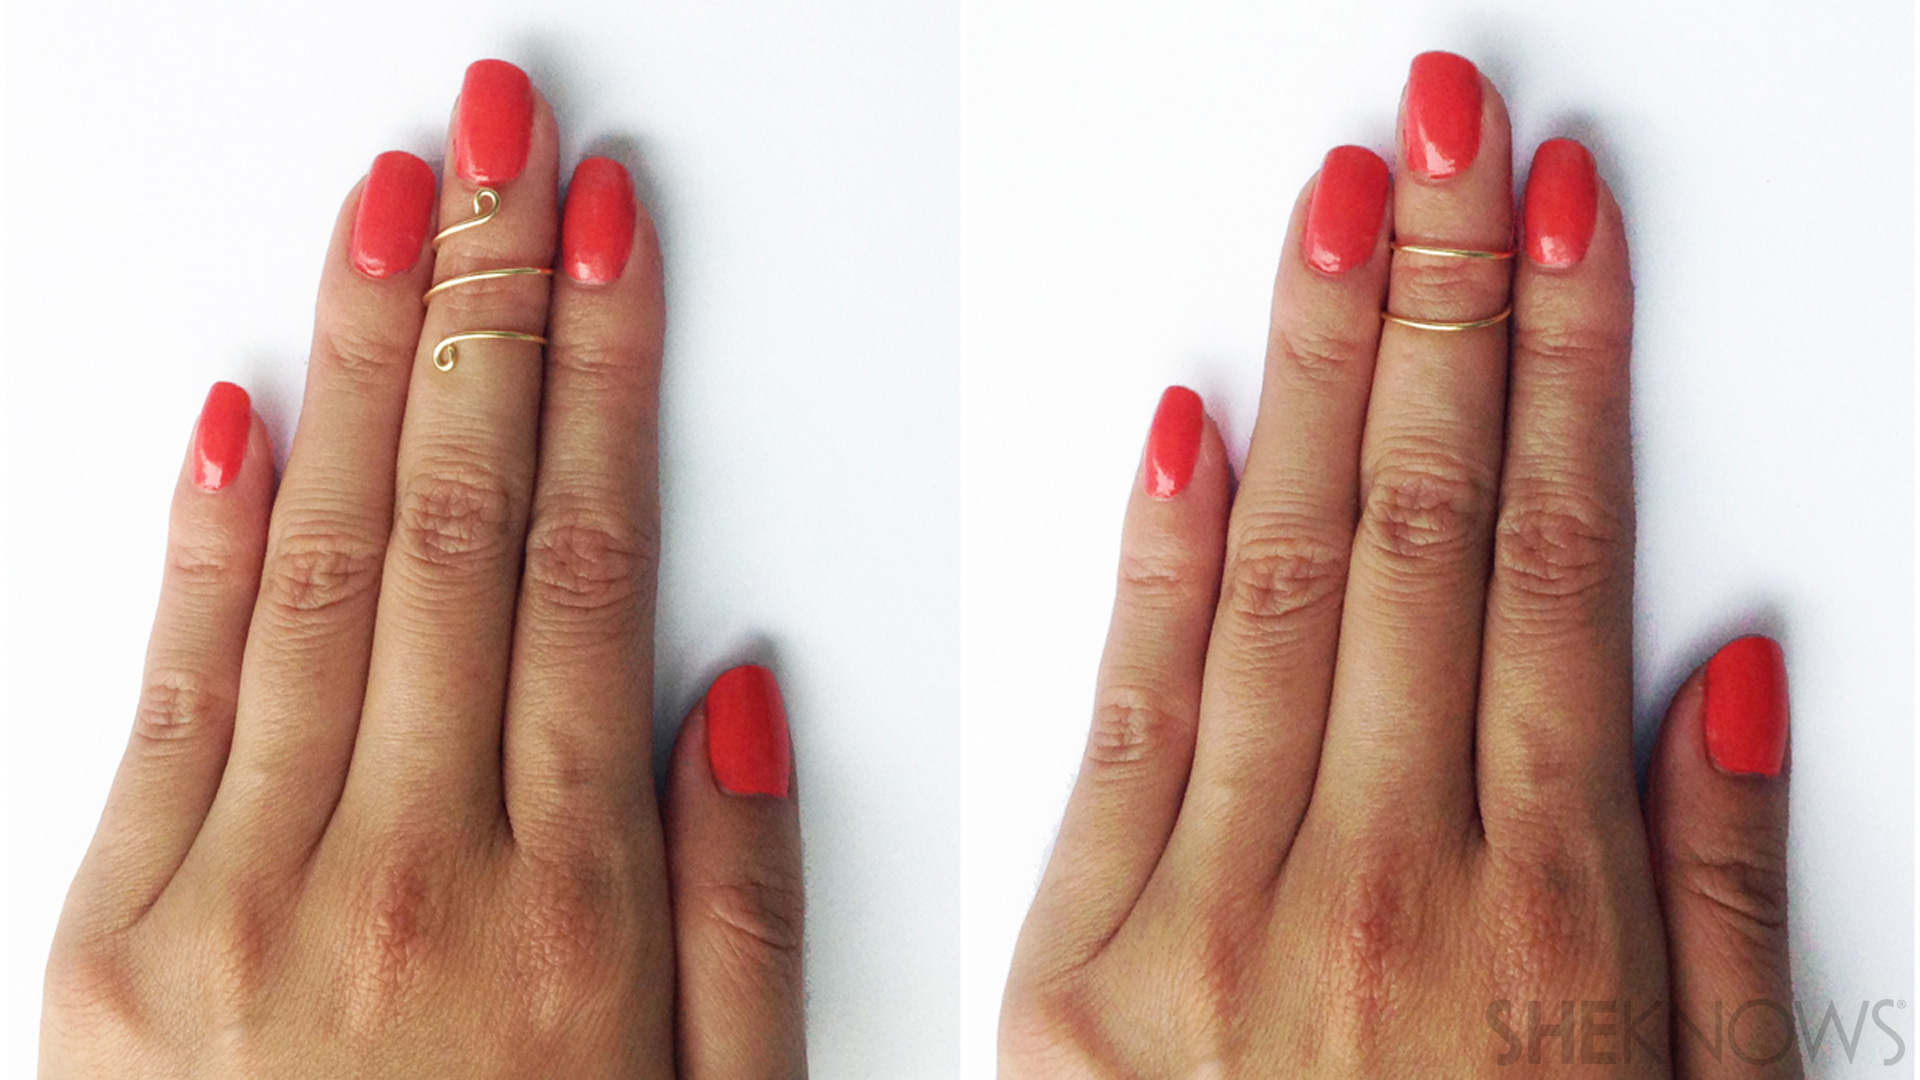
Midi rings have become a new fashion obsession. These dainty little rings are the perfect accessory to dress up your fingers. This tutorial goes over how to make a wire midi ring that can be worn two unique ways. You can either wear it with the ends showing for a chic, spiral look, or turn it over to create the classic stacked midi ring look.
Instructions:
Step 1: Cut wire
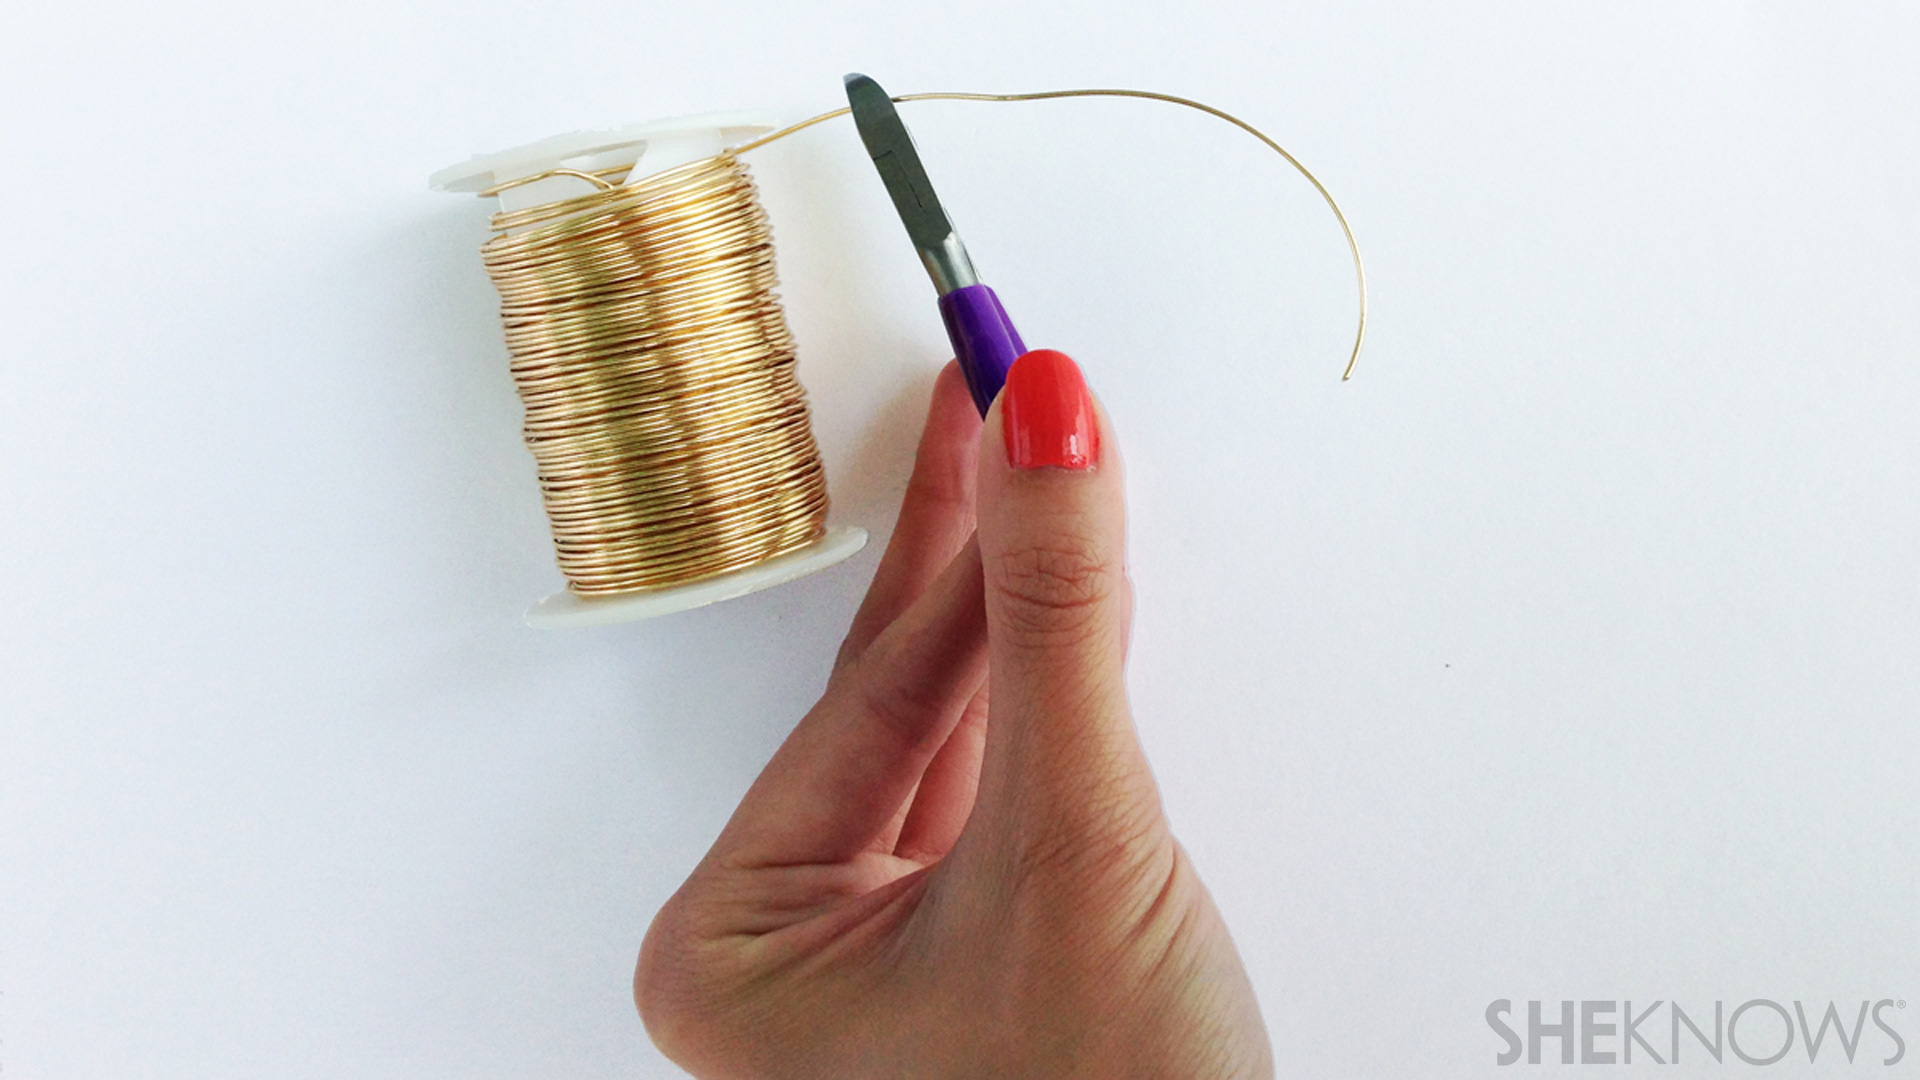
Use the wire cutters to cut approximately a 3-4 inch piece of wire.
Step 2: Shape the ring
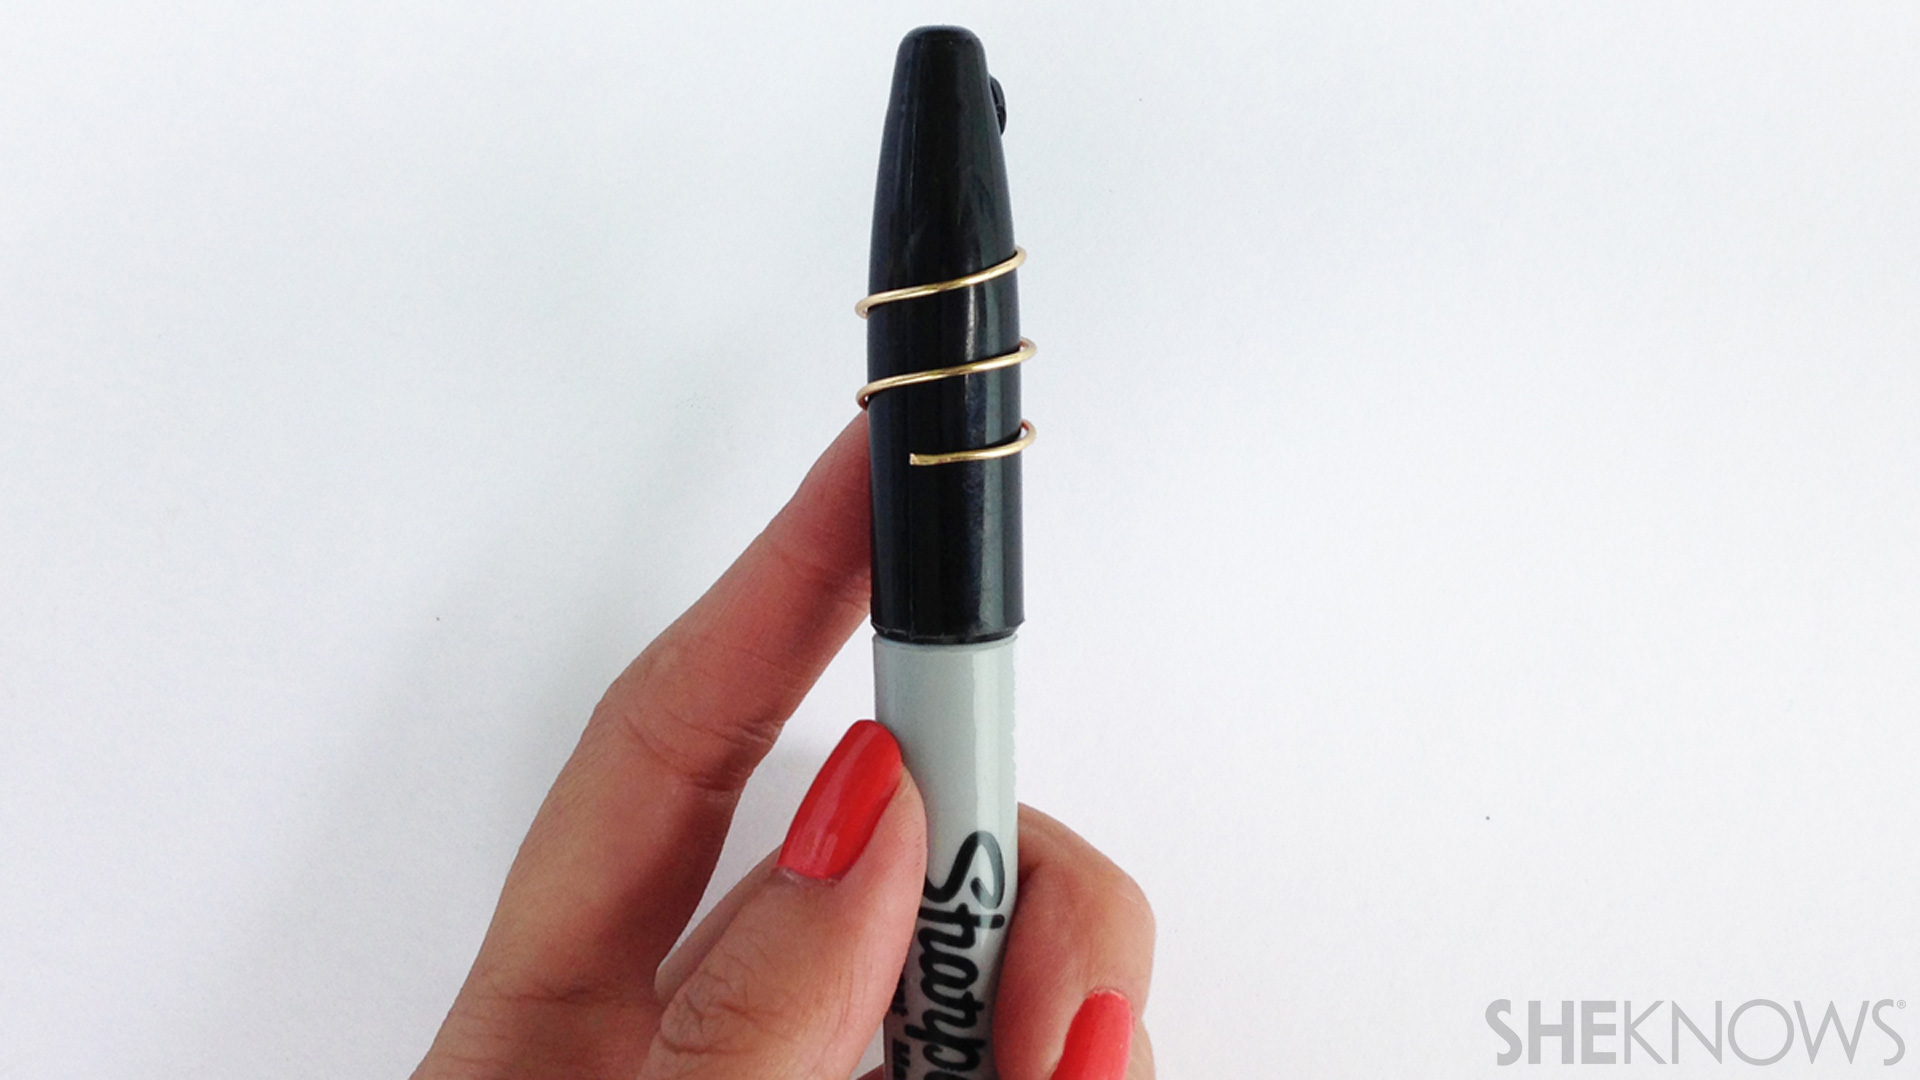
Find a cylindrical object like a marker or lipstick that is approximately the same size as your finger. Wrap the wire around the object to form a spiral coil.
Step 3: Finish the ends
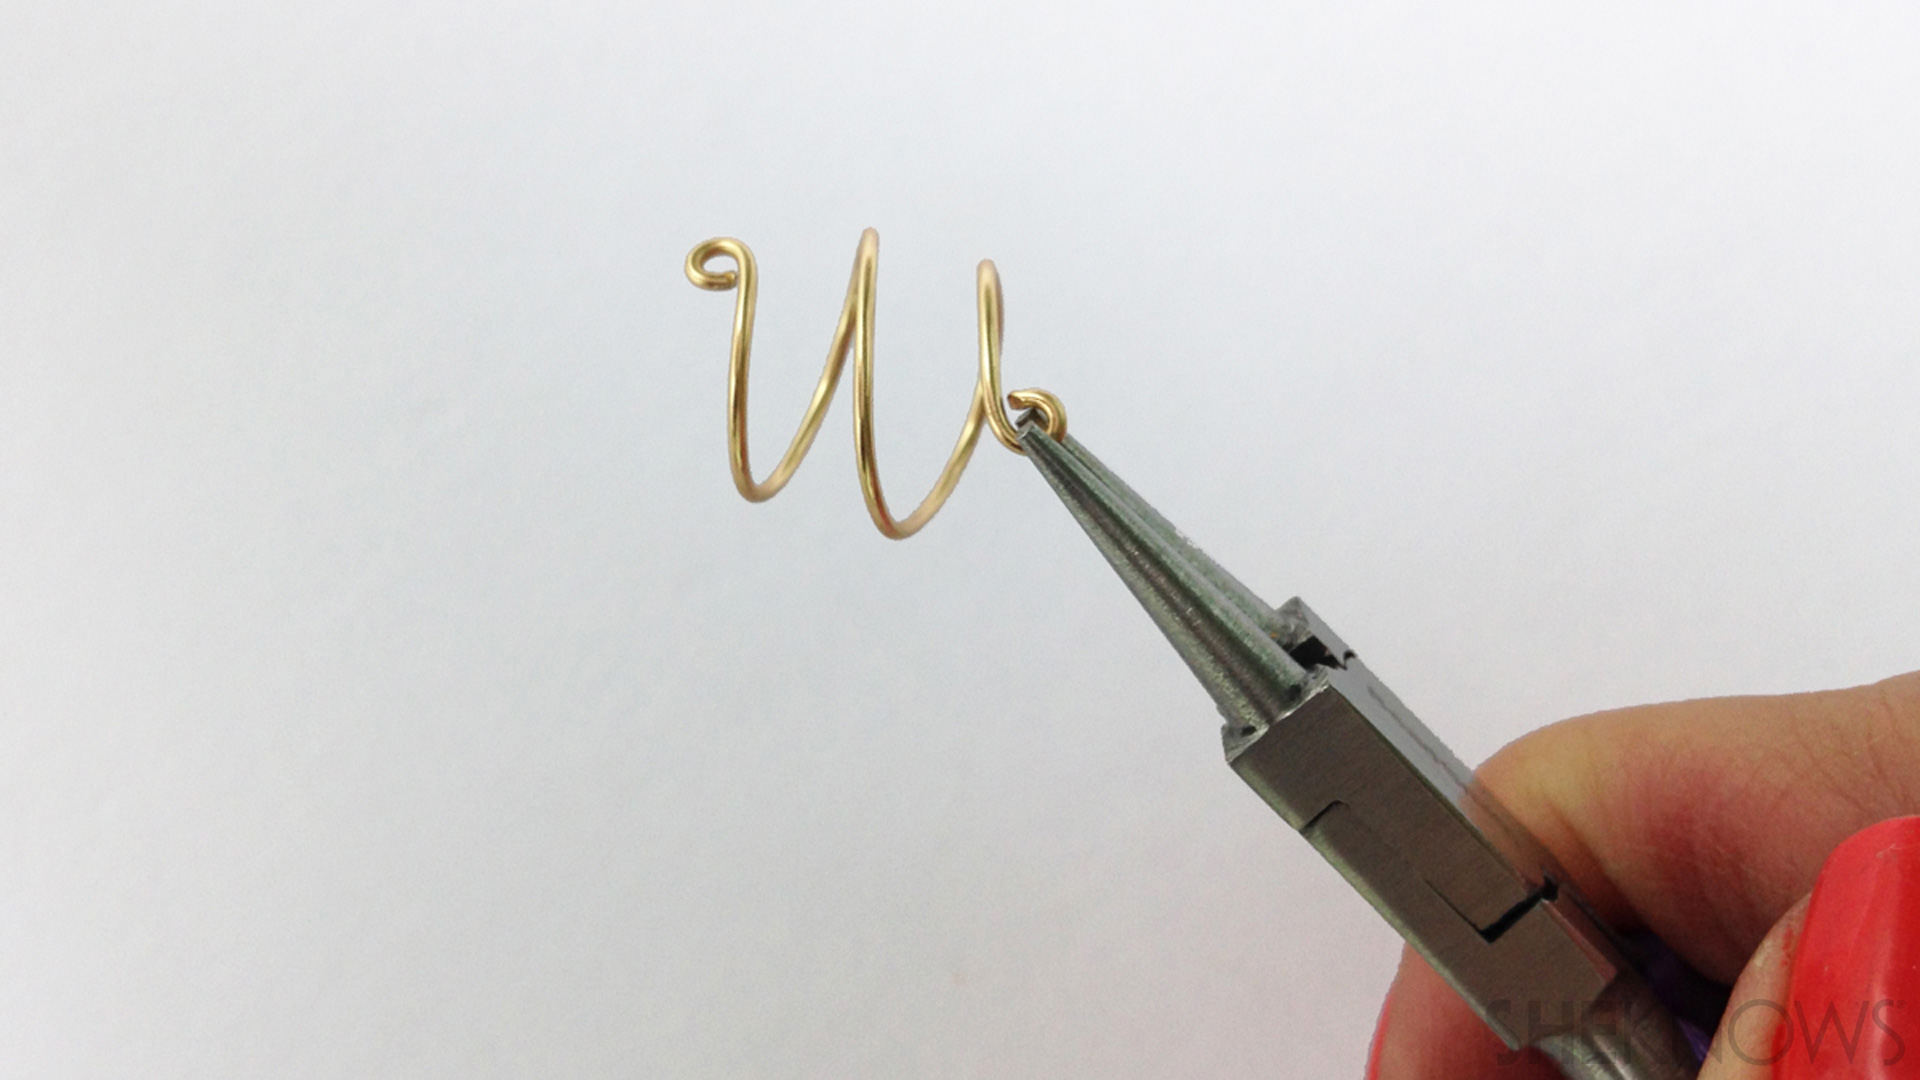
Using the pliers, curl the ends into a loop.
Chanel-inspired pearl ring
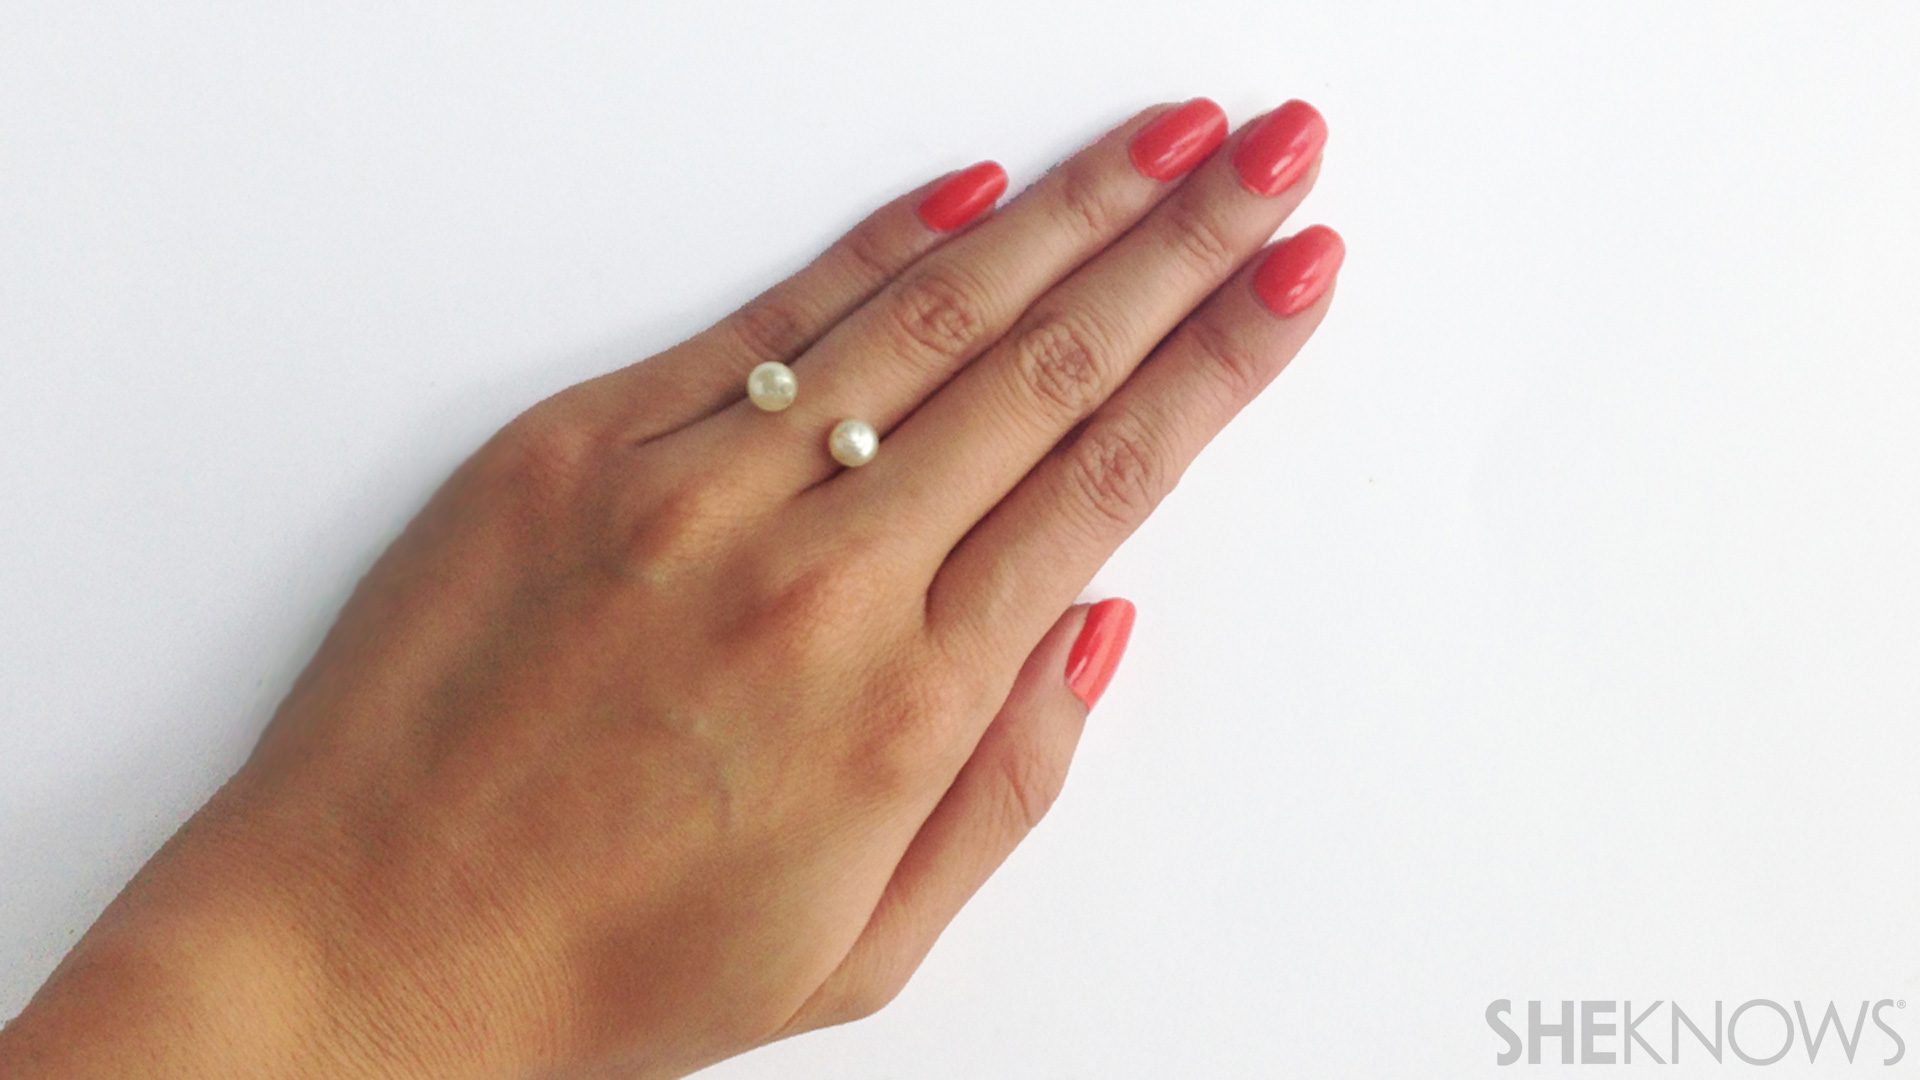
This Chanel-inspired pearl ring is a classy accessory that's also super-easy to make. In a few easy steps, you can make your own version of this trendy pearl ring.
Instructions:
Step 1: Cut wire
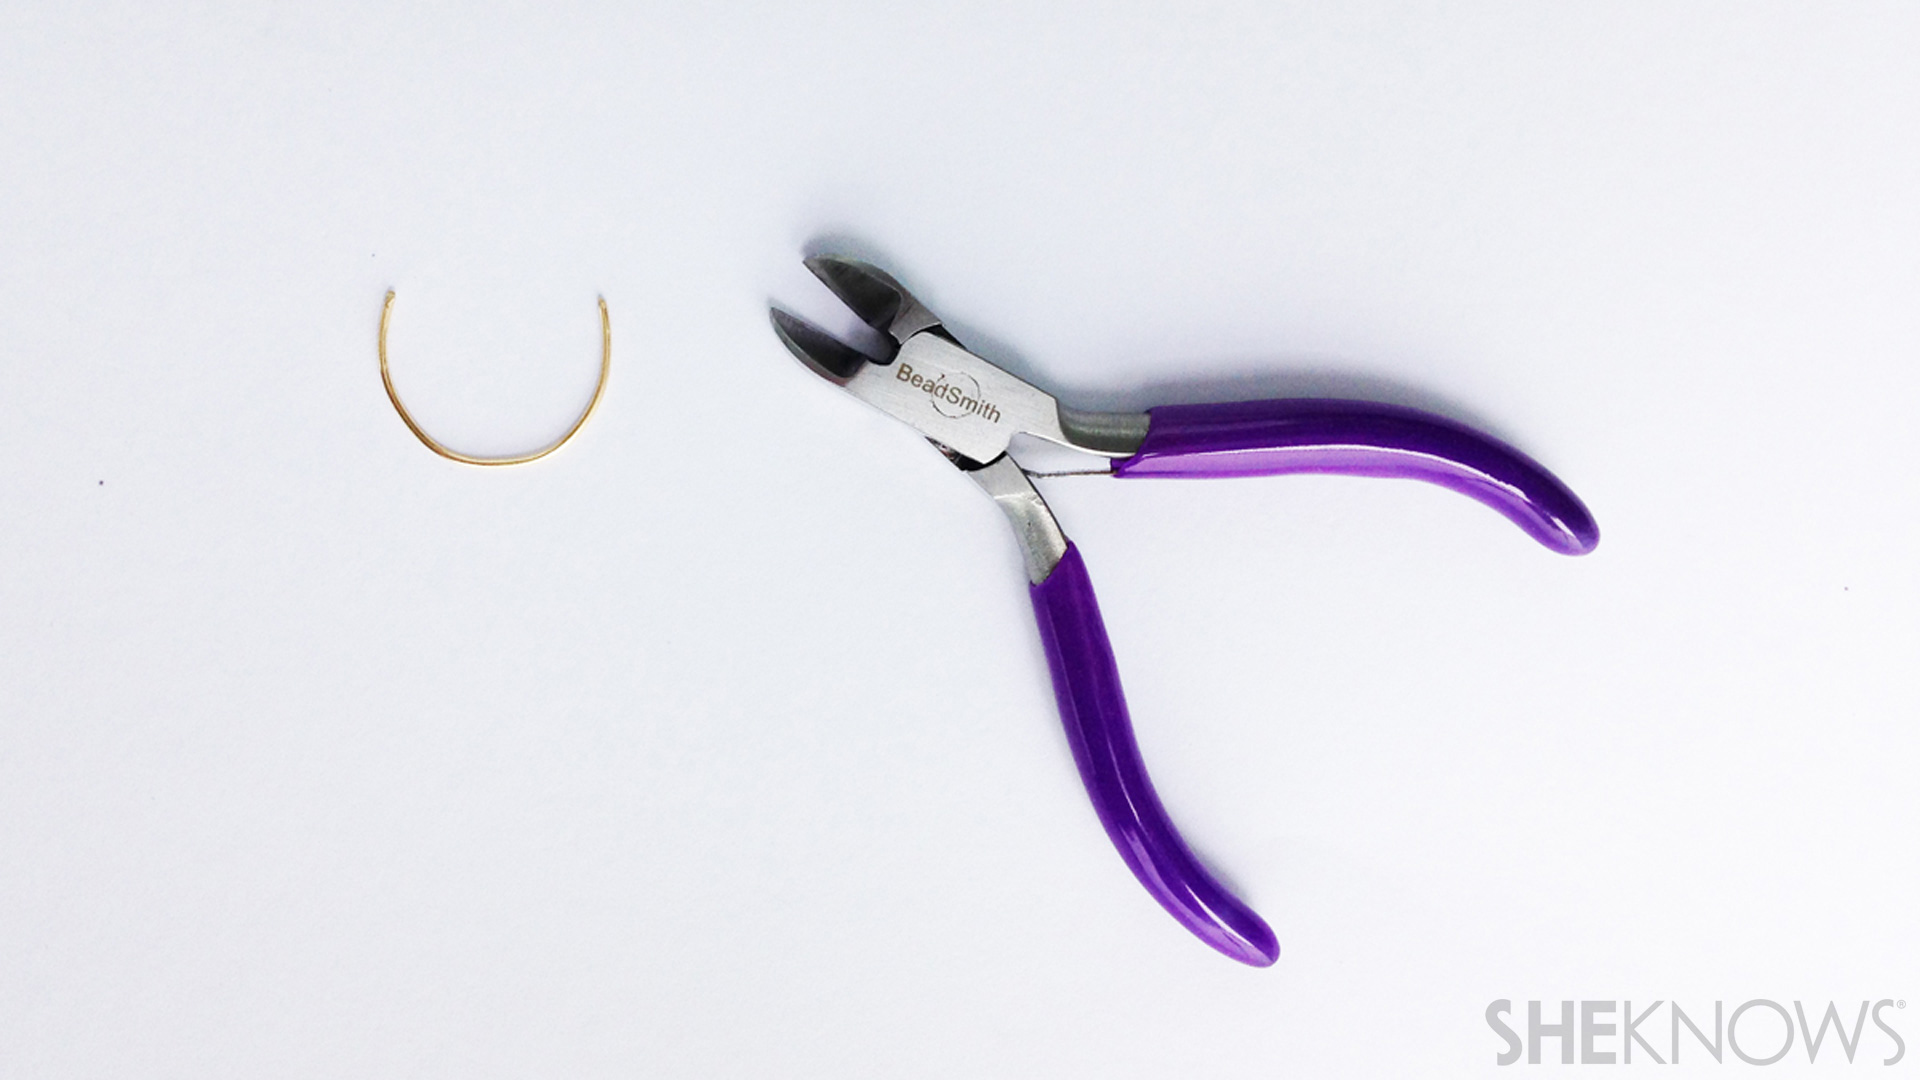
Measure and cut a piece of wire that goes 3/4 of the way around you finger.
Step 2: Apply glue
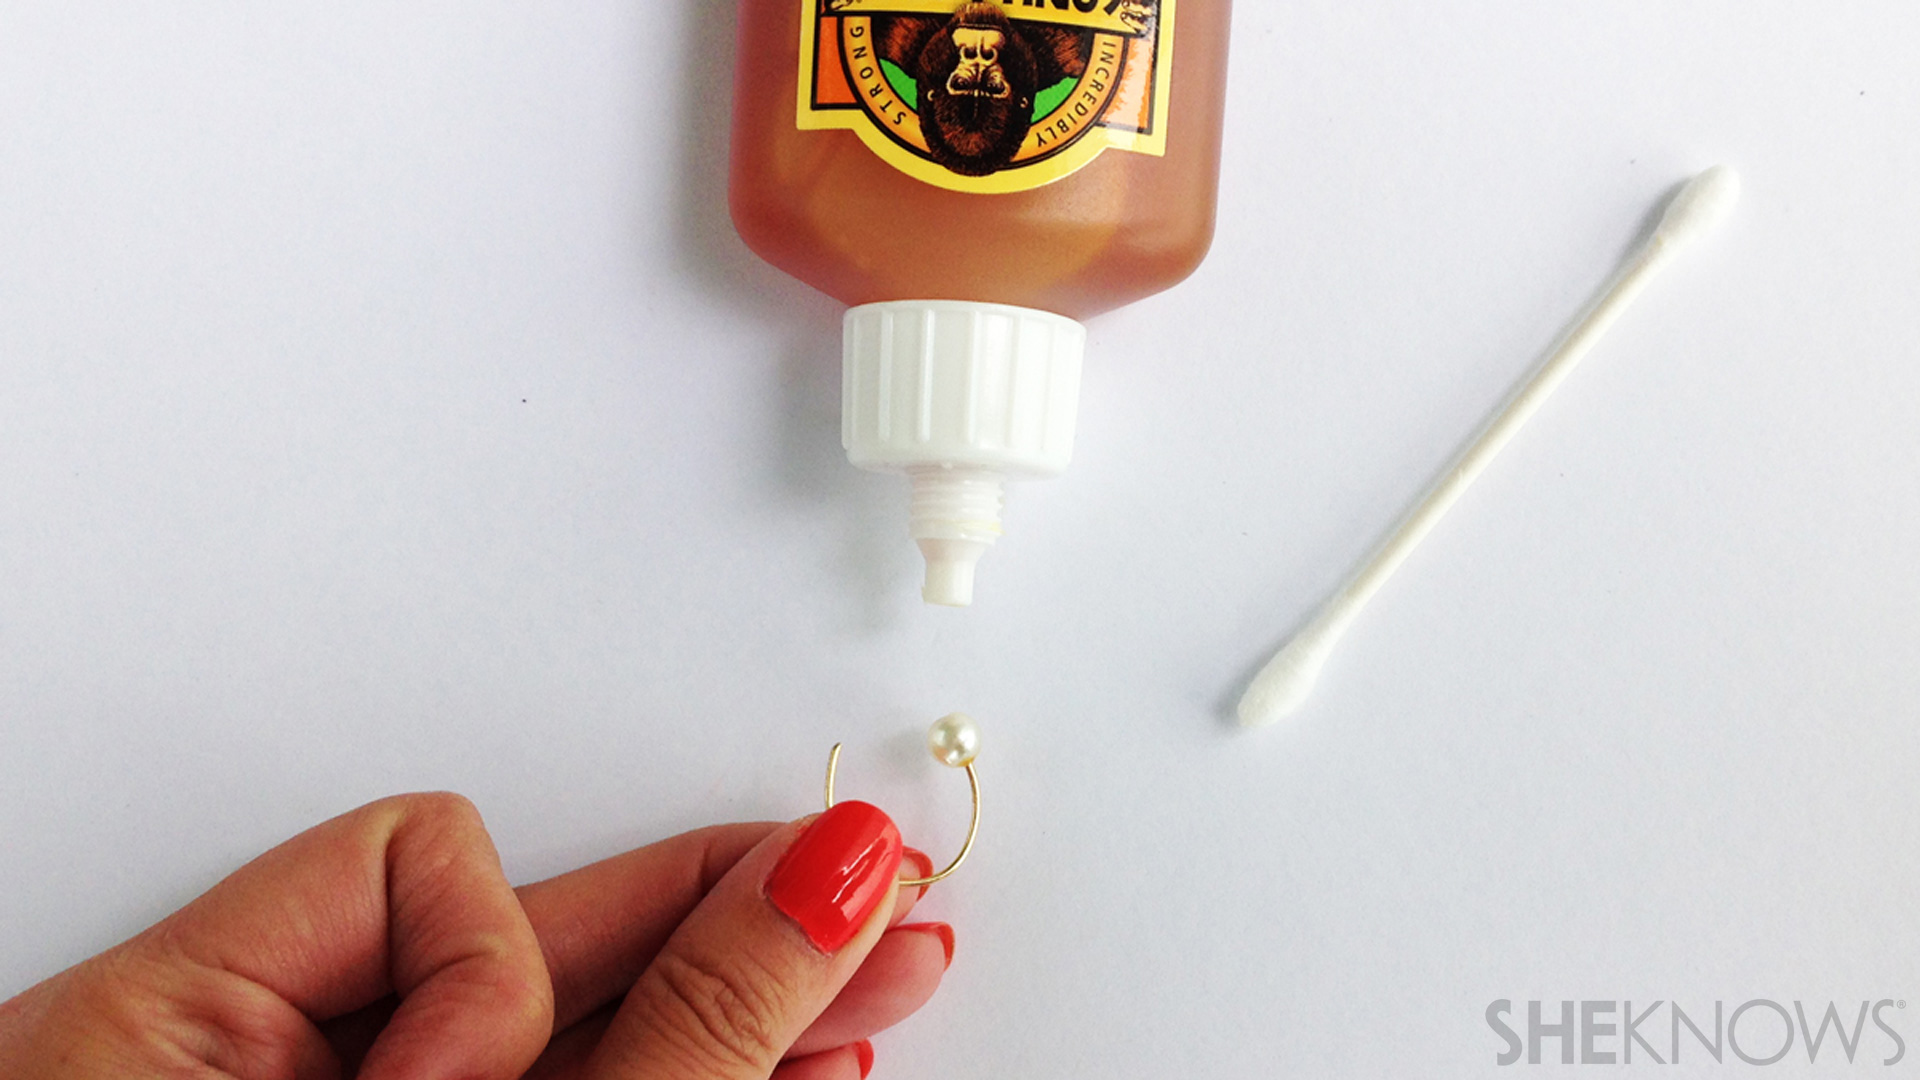
Apply glue to the end of the wire tip. Insert the wire into the pearl. It's good to have a cotton swab handy to clean up any excess glue.
Step 4: Repeat with other end of wire
Repeat steps 2 and 3 with the other end of the wire. Let the glue set before wearing.
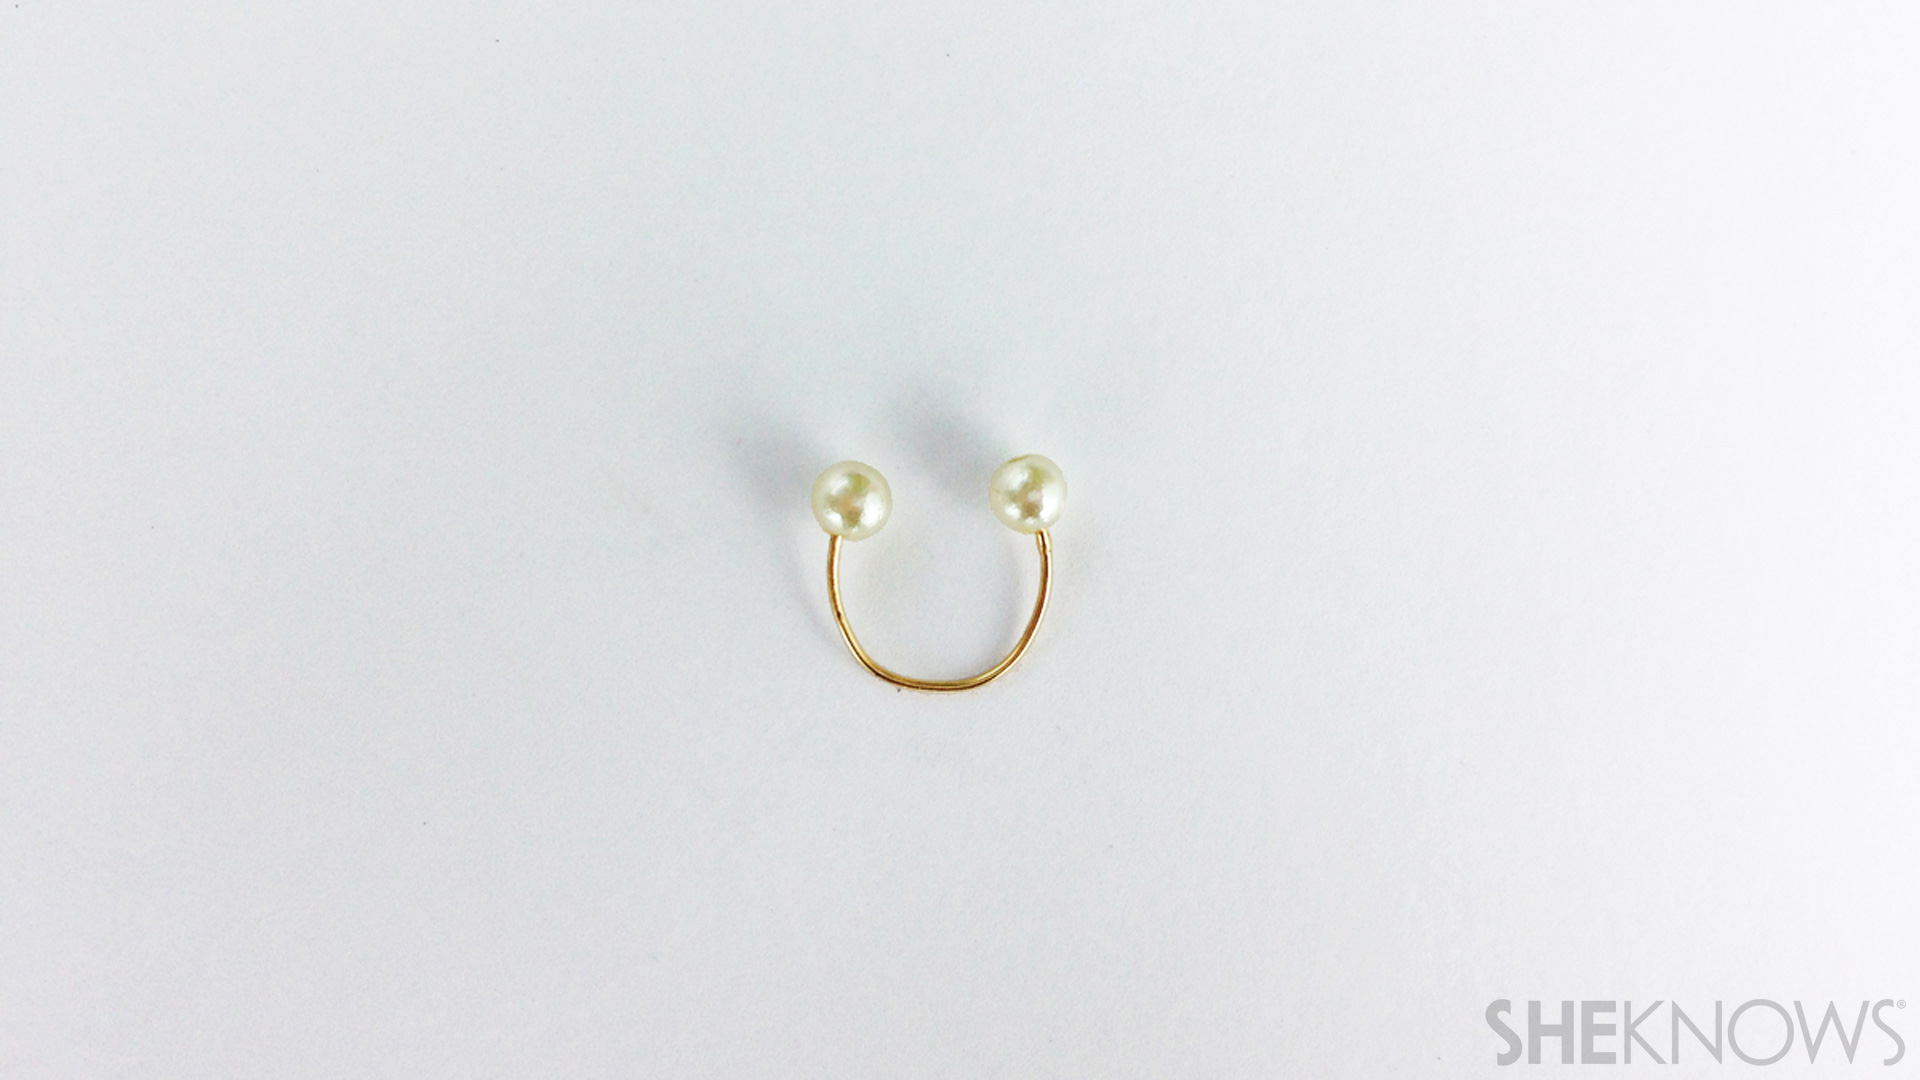
DIY Chanel-inspired pearl bracelet
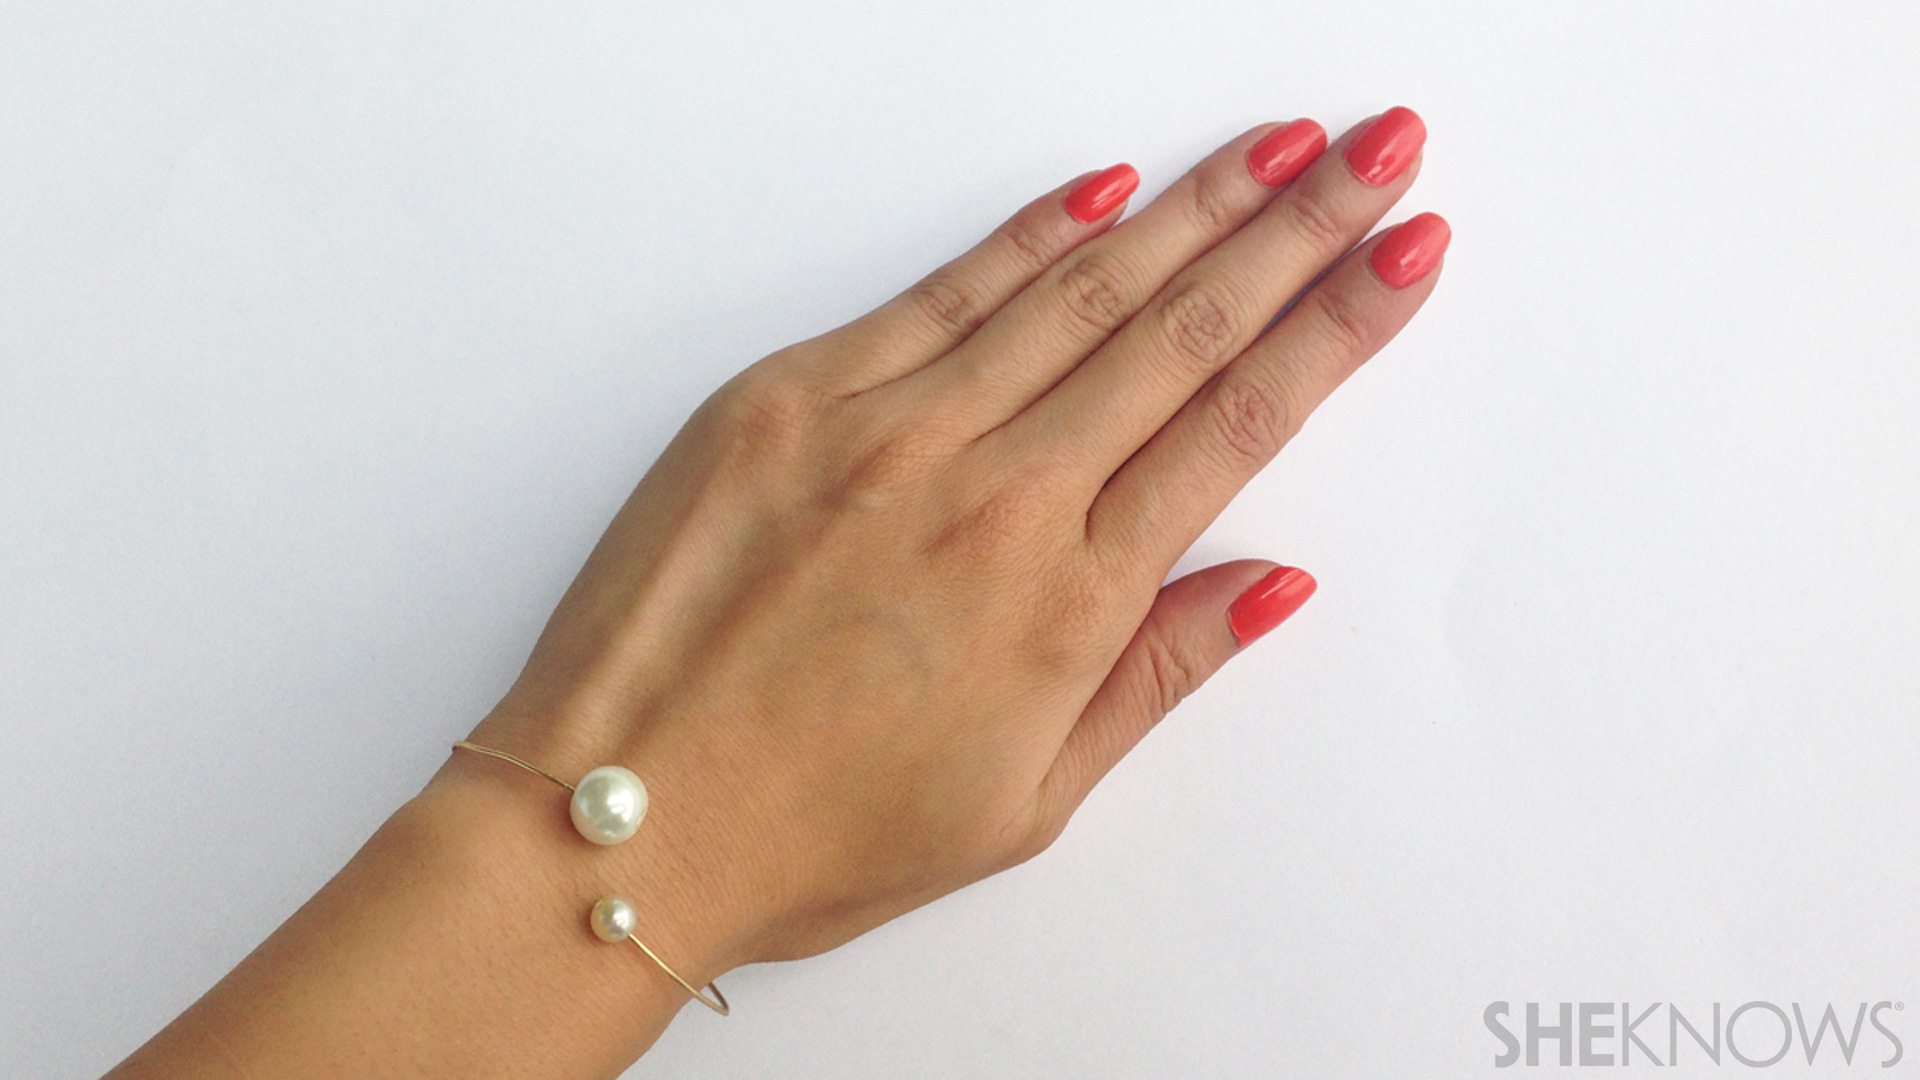
Now that you have your fingers bejeweled, here's how to make the a matching bracelet for your jewelry set. Also inspired by Chanel, this DIY pearl bracelet is similar to the ring, but features two pearls of different sizes.
Instructions:
Step 1: Measure and cut wire

Measure out how much wire you'll need around your wrist and then cut the wire with a pair of pliers or wire cutters.
Step 2: Apply glue
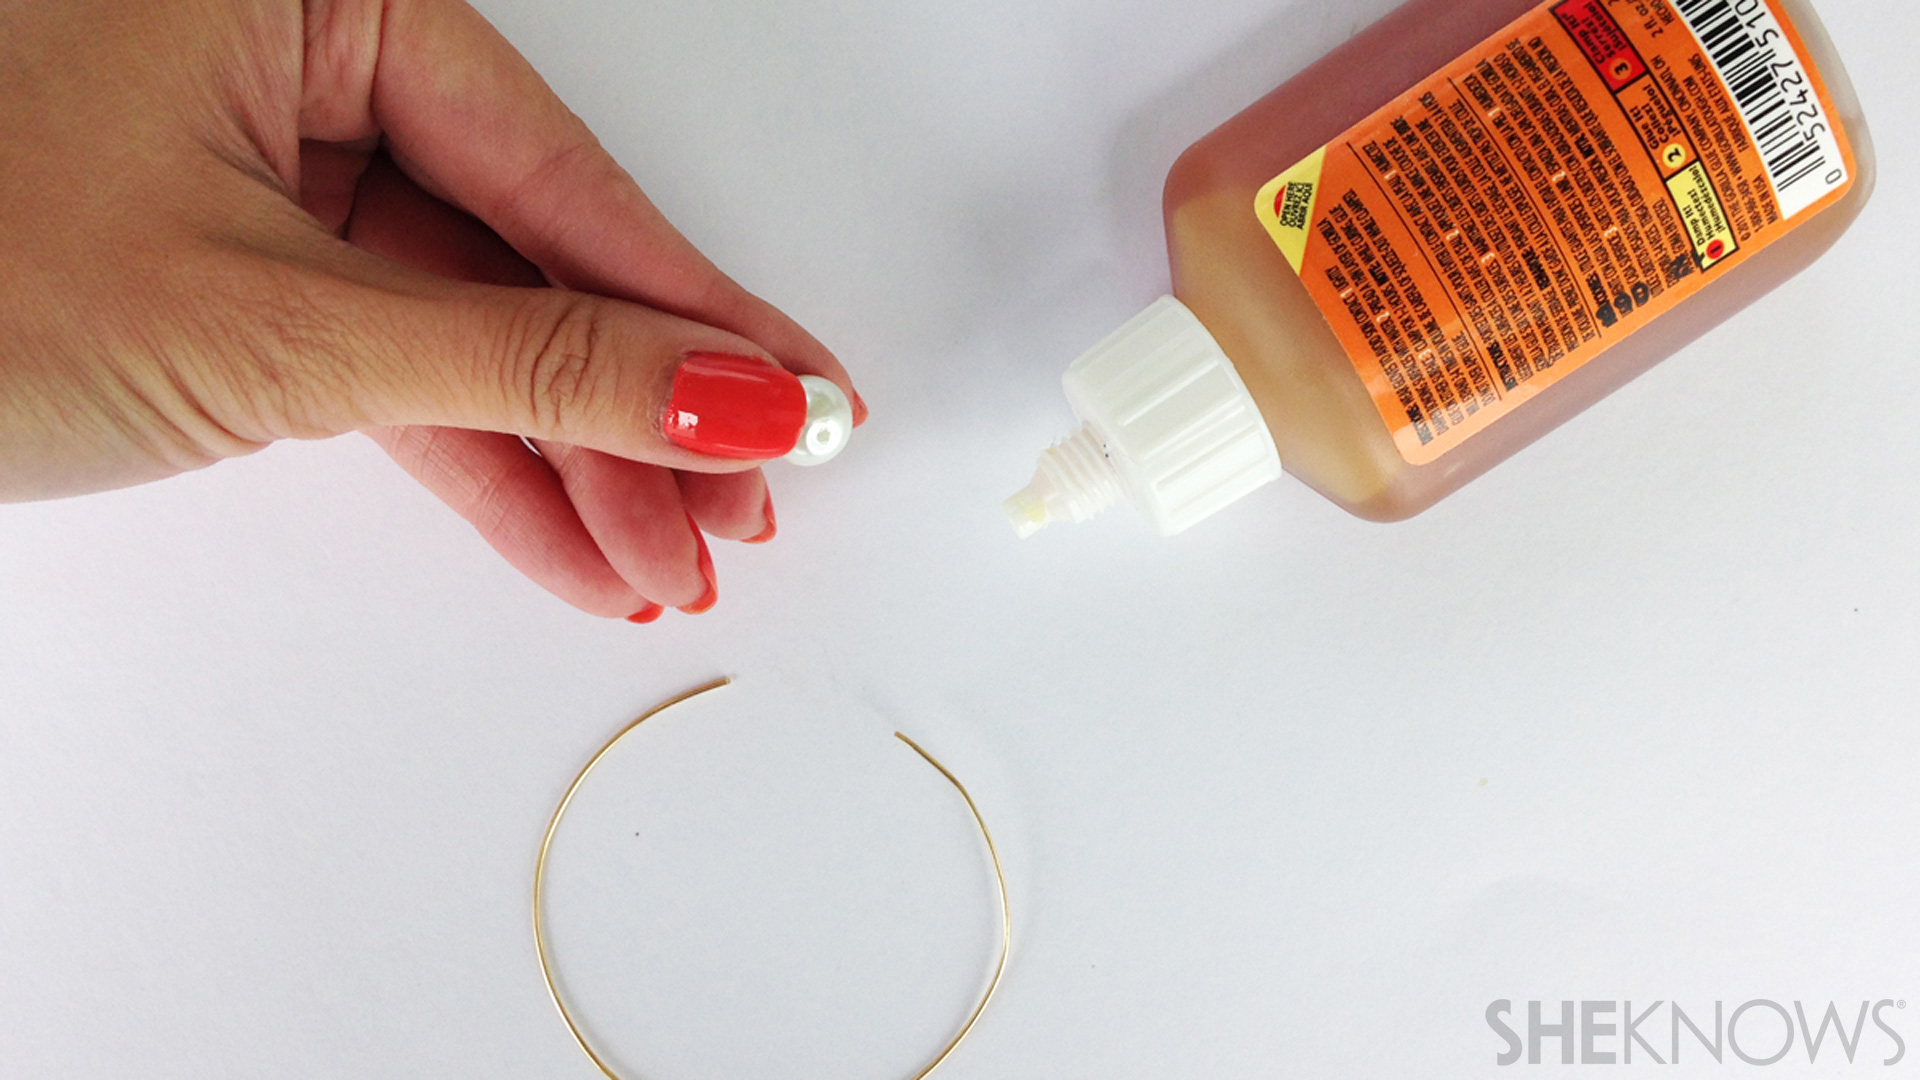
Apply glue to the end of the wire tip. Slip the large pearl onto the end of the wire.
Step 3: Repeat the same with the other end of the wire, using a smaller pearl.
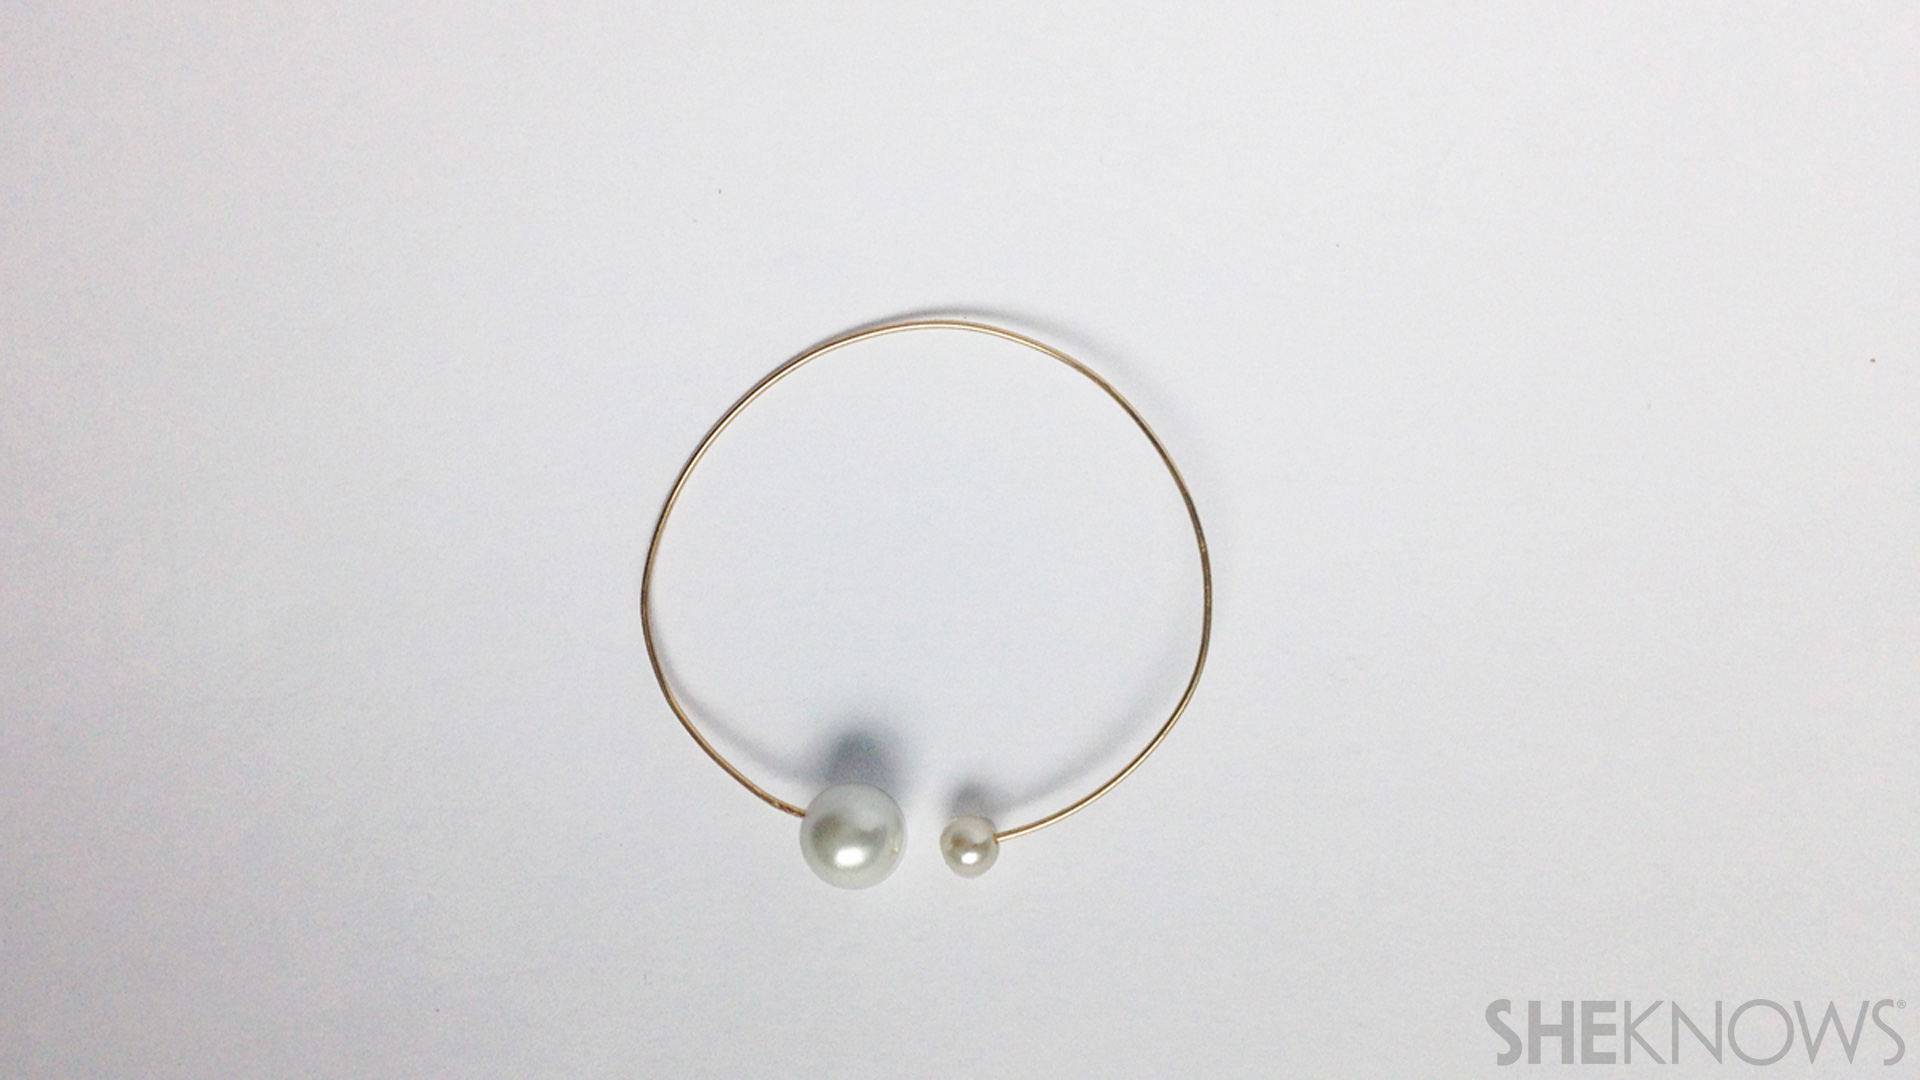
Let the glue set and then you can enjoy wearing your new bracelet.