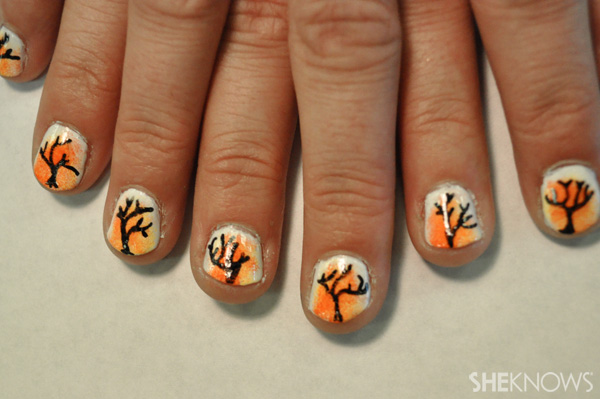
DIY sunset nail design
Supplies:
- White polish
- Orange polish
- Yellow polish
- Black nail pen
- Thin, flat nail brush
- Sponge
- Top coat
- Polish remover
Instructions:
Paint all of your nails completely white, allowing them to dry all the way before moving on to the next step.

Take the orange polish, pour some out onto a paper towel or plate, and dab the sponge tip into the orange. Then, lightly blot your nail so that the color is dispersed evenly, and let it dry.

Then, take the yellow polish, pour some onto the paper towel or plate, and dab the other tip of the sponge in the color. Then, repeat the blotting technique on top of the orange polish, giving it that sunset look, and let it dry completely.


After your nails are dry, use the nail pen to draw a tree on each nail. This may be hard depending on the length of the nail, so try your best to limit the stems of the branches on your smaller nails.

Apply the top coat and let it dry completely.

More nail design tutorials
Collar nail design
Rebecca Minkoff-inspired nail art
5 Nail designs we're going nuts for