Nail design tutorial
Follow these easy steps to create this nail design at home. Here is what you'll need.
Step 1: Gather materials
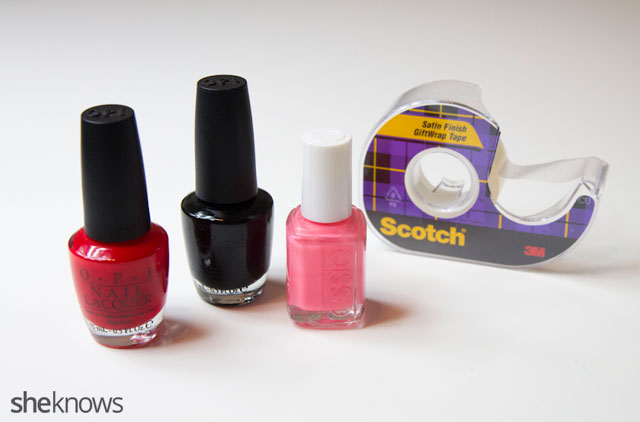
- OPI Color So Hot It Berns
- OPI Black Onyx
- Essie Knockout Pout
- Scotch tape
Step 2: Choose your base color
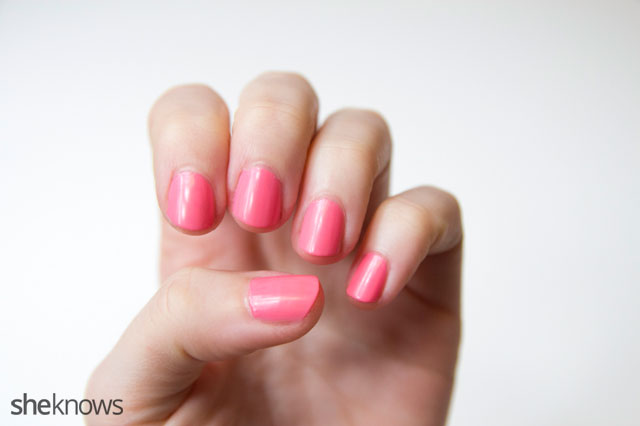
Start with a base coat — we chose pink.
Step 3: Create your lines
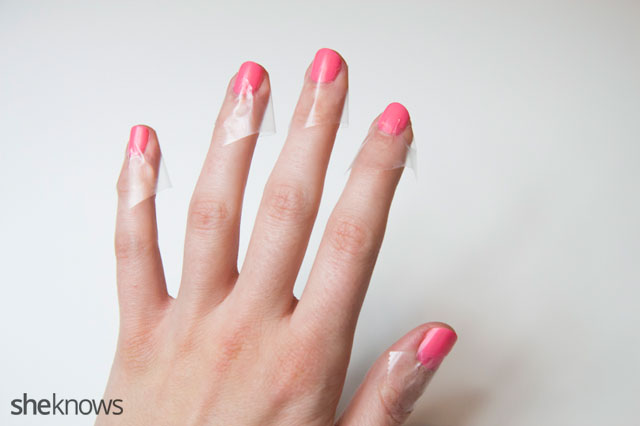
Place a piece of tape diagonally across each nail, making sure to press down firmly.
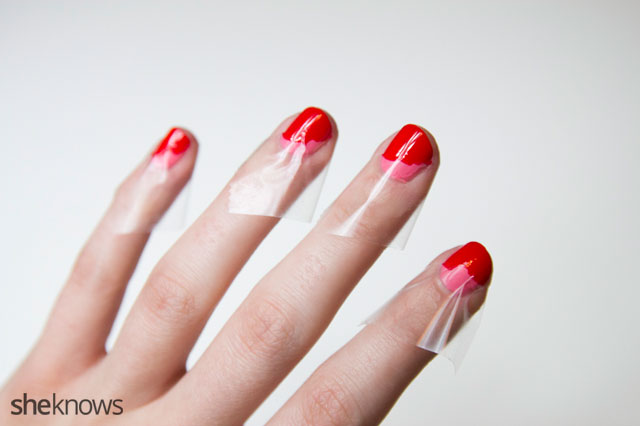
Step 4: Paint your second coat
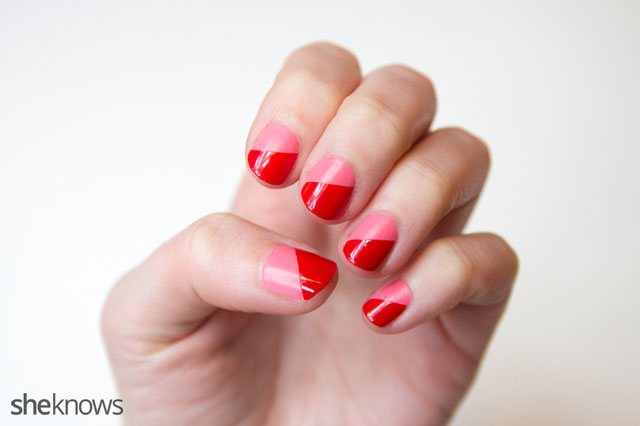
Paint a coat of red over the area not taped off and let dry.
Step 5: Paint nail tips black
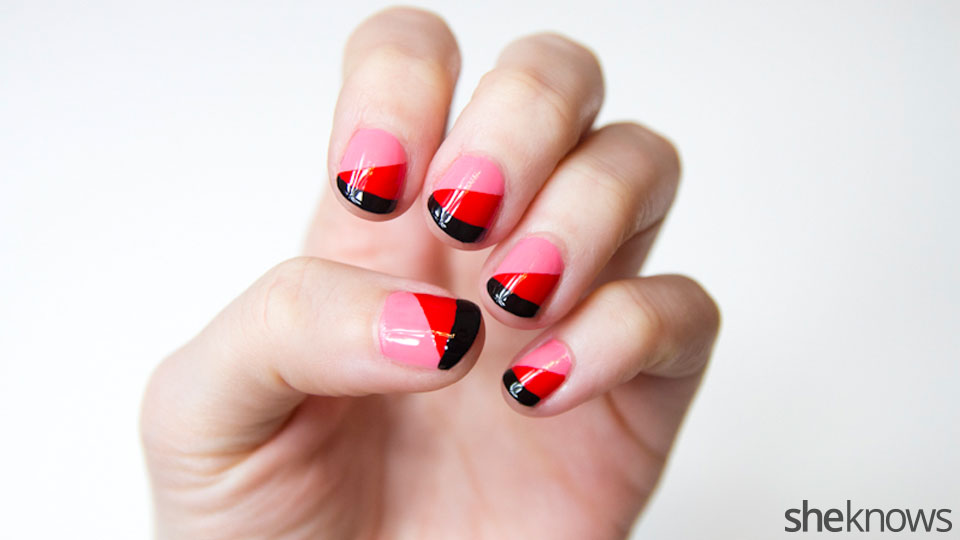
Gently peel off tape. Paint a line of black on the tips. You can do this by hand or tape it off. Follow with a top coat.
Before you go, check out our slideshow below.
