Step 1
Brush your hair, being sure to smooth out any kinks or knots.
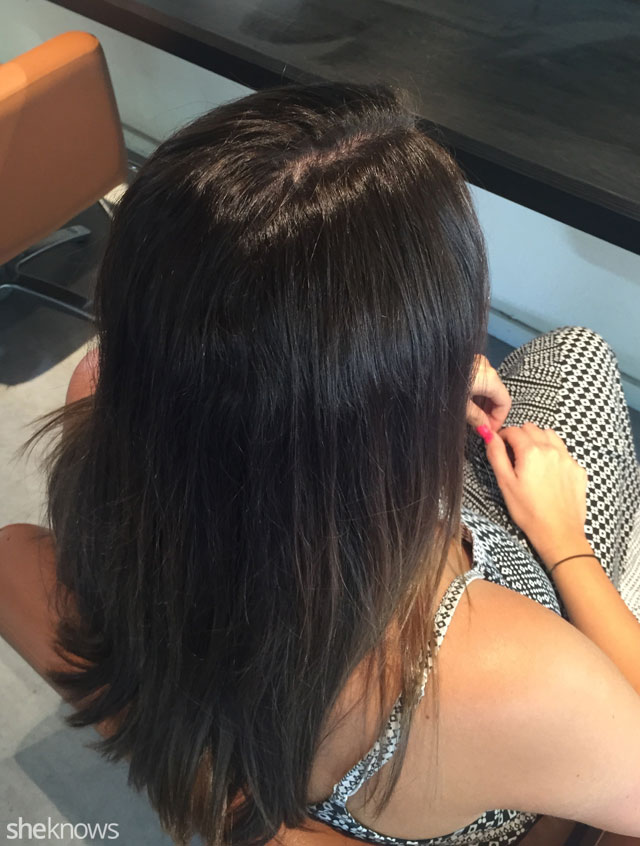
To nix flyaways, lightly mist your hair with water.
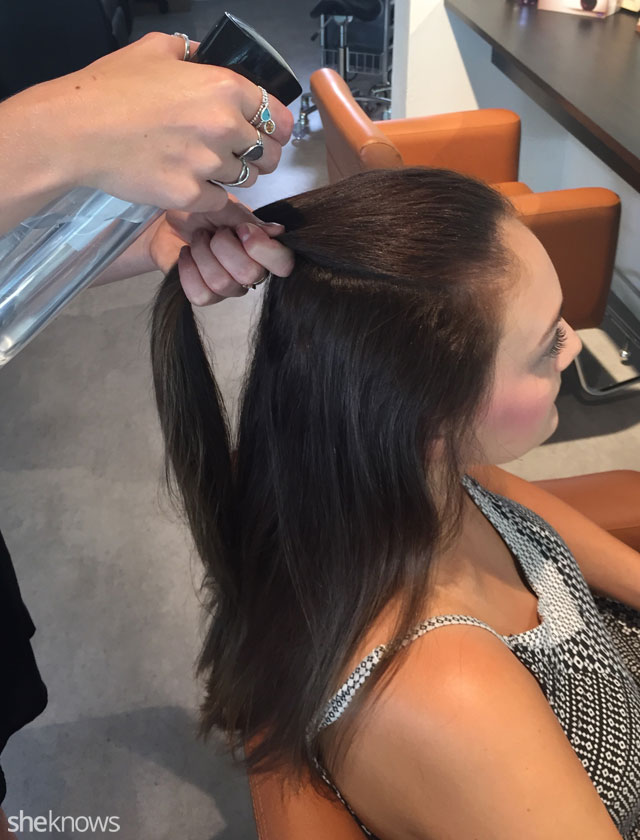
More: 5 Great hacks to combat hair static
Step 2
Gather hair from the crown of your head, and divide it into three equal sections (as if you were about to do a regular plait). The key is to position your hands correctly, so hold the right section in your right hand, left section in your left hand and the middle section between your thumb and any other finger.
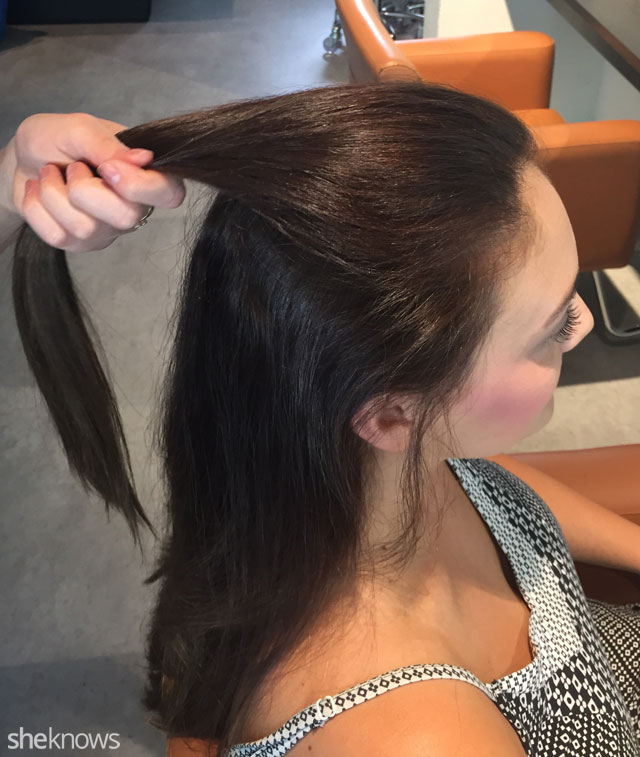
Starting your braid a little farther back — that is, not at the hairline — helps to prevent any awkward bumps.
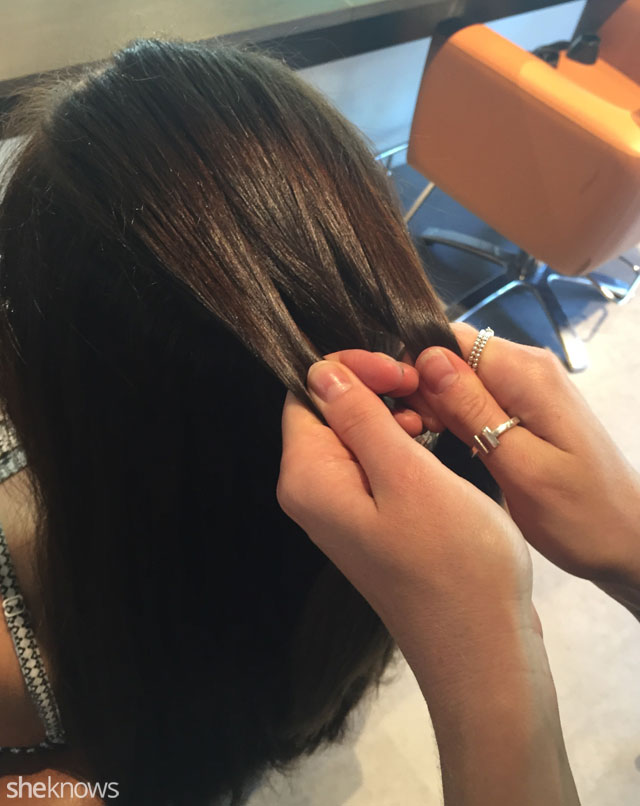
Step 3
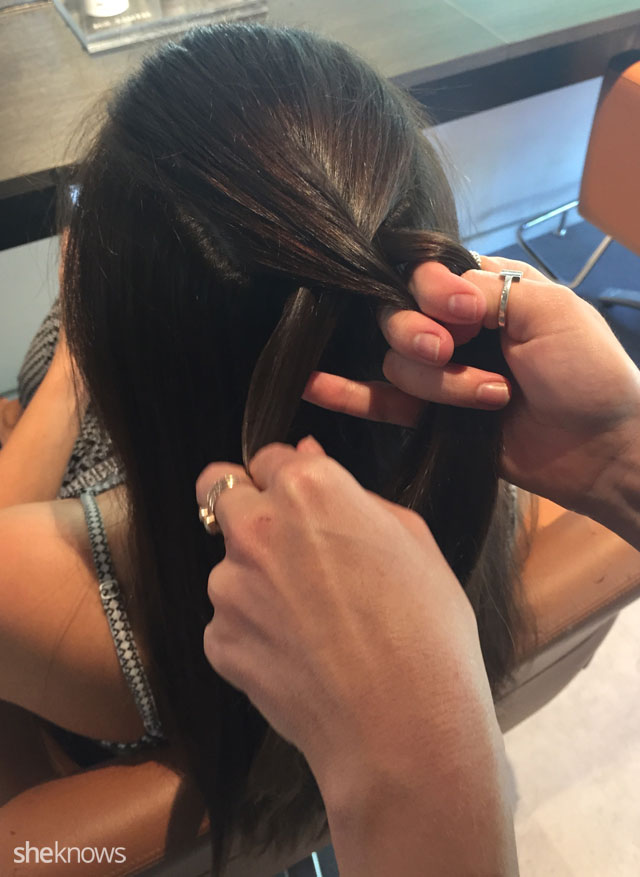
To start your braid, bring the right section over the middle section, then the left section over the middle section. Tug and smooth each section a little as you go — this will make sure the braid isn’t too loose.

Step 4
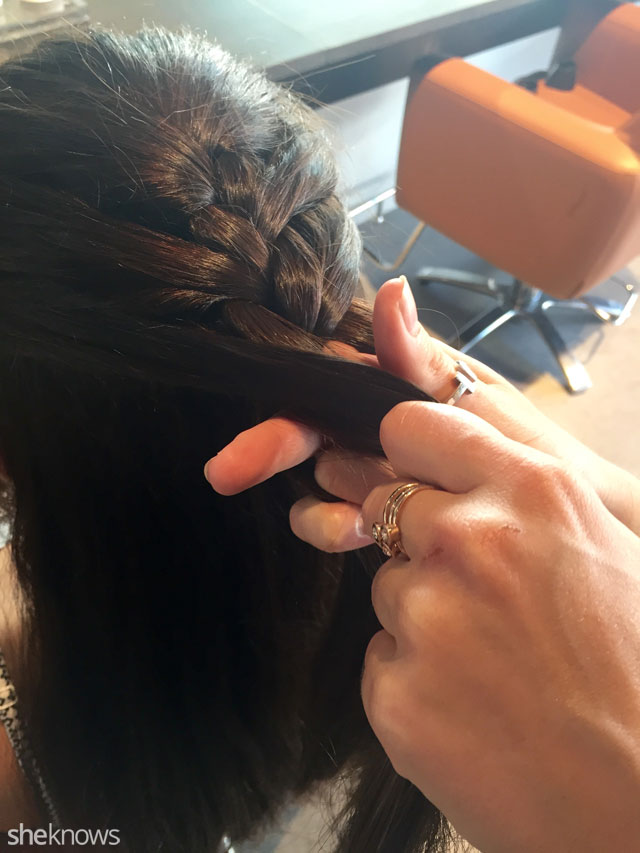
Repeat step 3, working in another piece of hair every time you cross over. So before you cross the right section over the middle section, add a little bit more hair from the right side of your head. Do the same with the left. When you’re working in bits of hair, hold all hair in one hand. Take your time with this step, as you want the bits of hair you’re adding to be equal — unless lopsided is the look you’re going for!
More: 14 Tips to style hair based on texture
Step 5
Continue this cross-over motion, adding pieces of hair until you reach the nape of your neck.
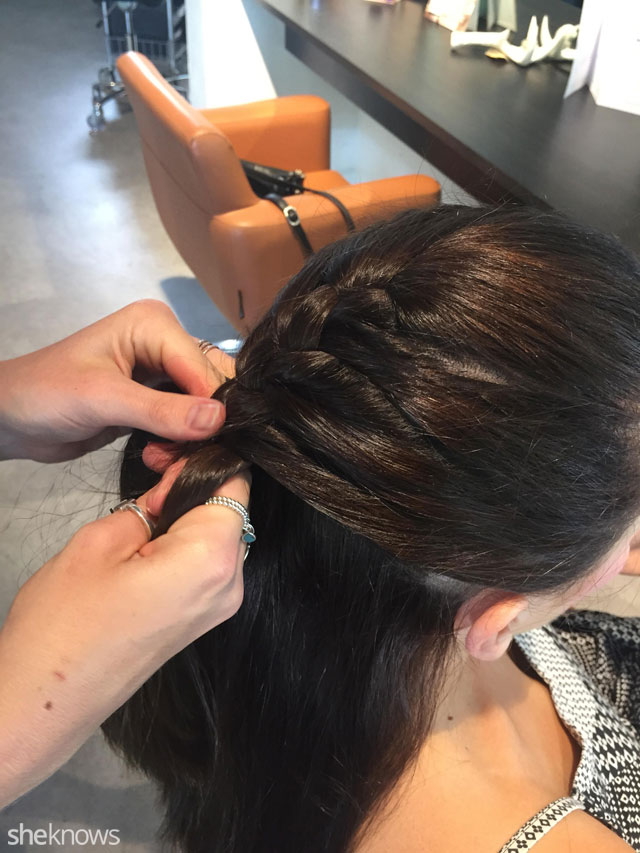
Hot tip: If you can, start with second-day hair, as slightly dirty hair doesn't slip so much when you're trying to braid. Or cheat your way there with a bit of dry shampoo.
Step 6
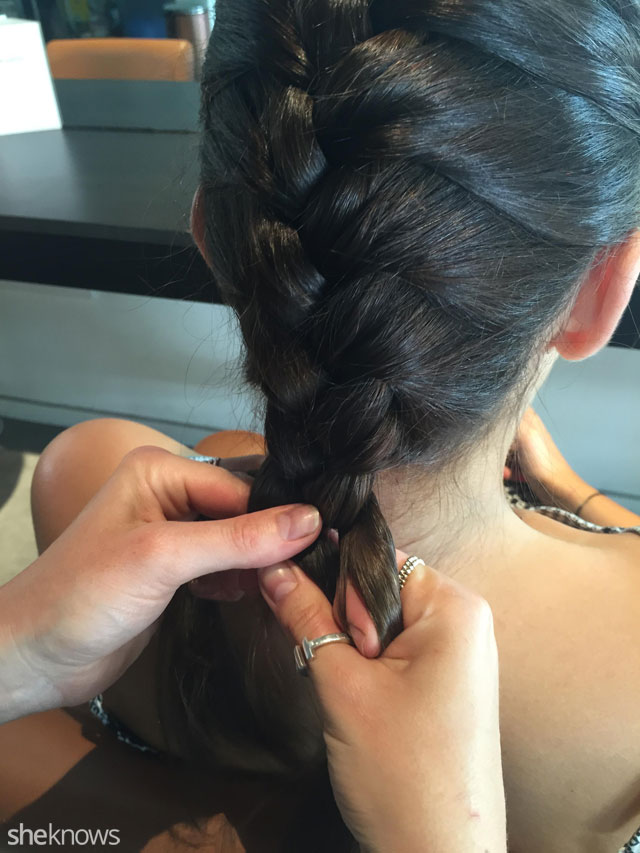
Squeeze your hair to tighten it, then do a regular plait until you reach the end of your hair. Secure with an elastic.
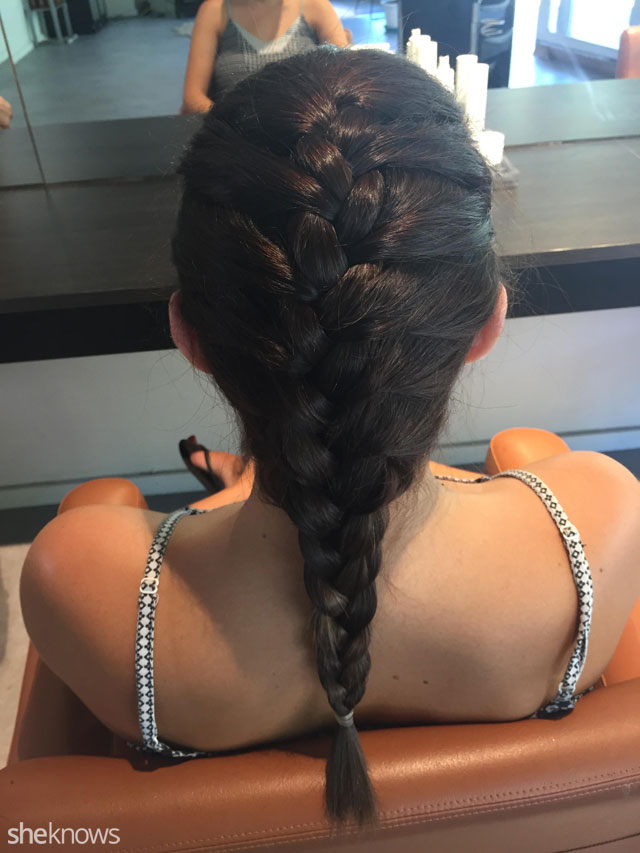
And that’s it. Now it’s your turn!
All images courtesy of Katia Iervasi and Leana Vacop from MOB HAIR, Sydney, Australia.