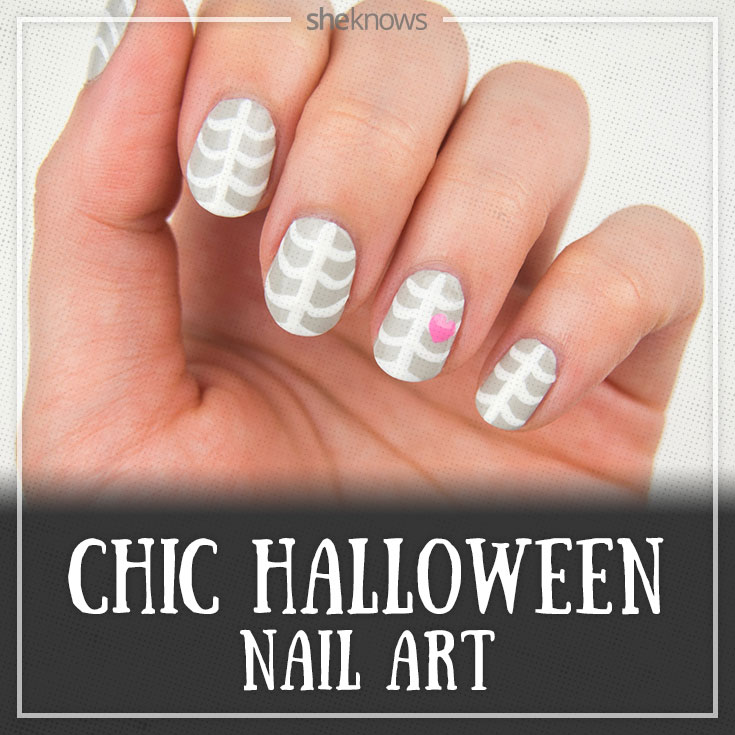
Supplies:
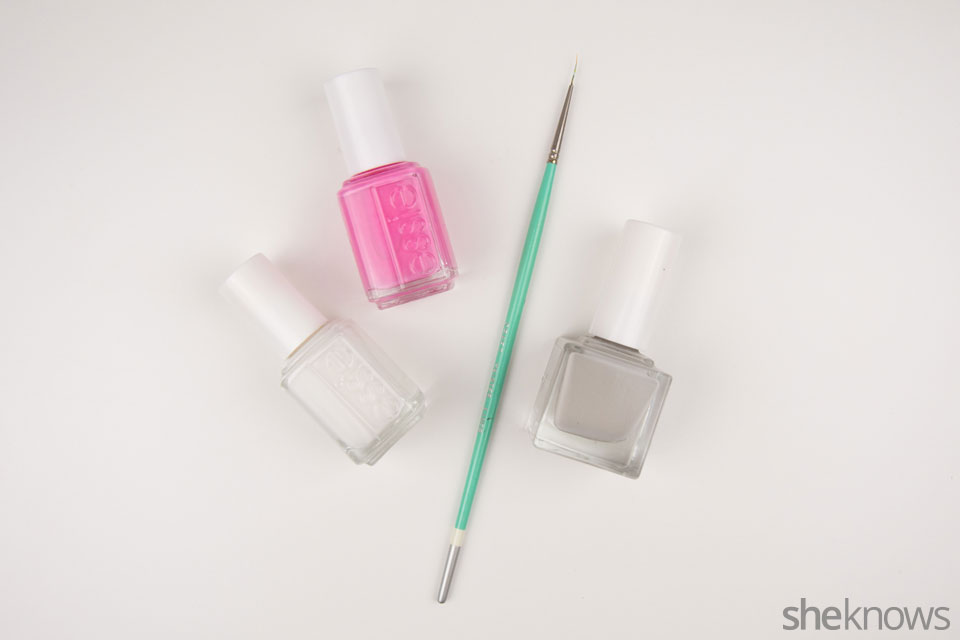
- Essie's Blanc
- Essie's Lovie Dovie
- SquareHue's Lincoln Road
- Small brush
- Dotting tool
Directions:
Step 1:
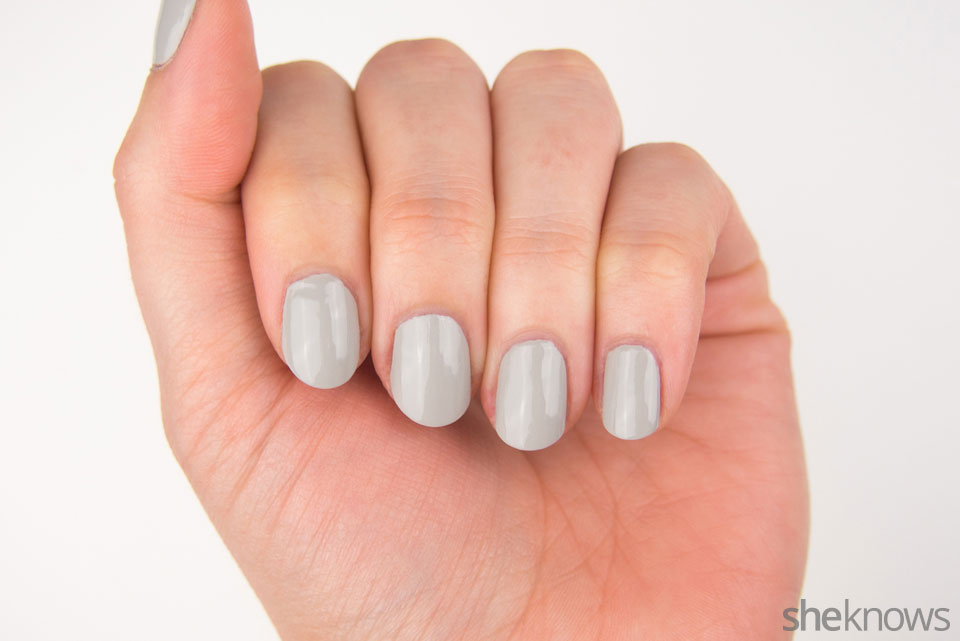
Begin with a gray base coat.
Step 2:
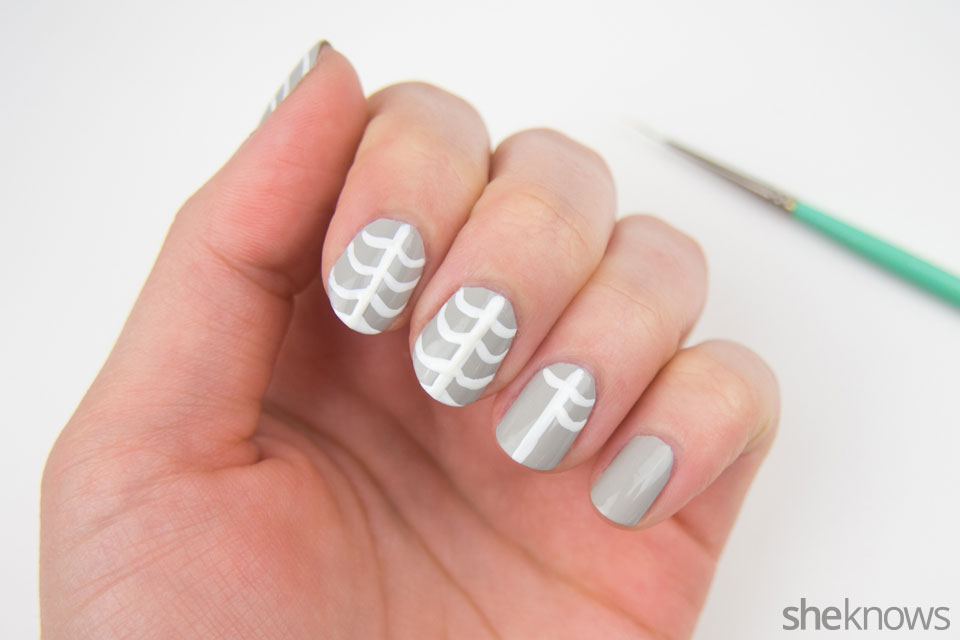
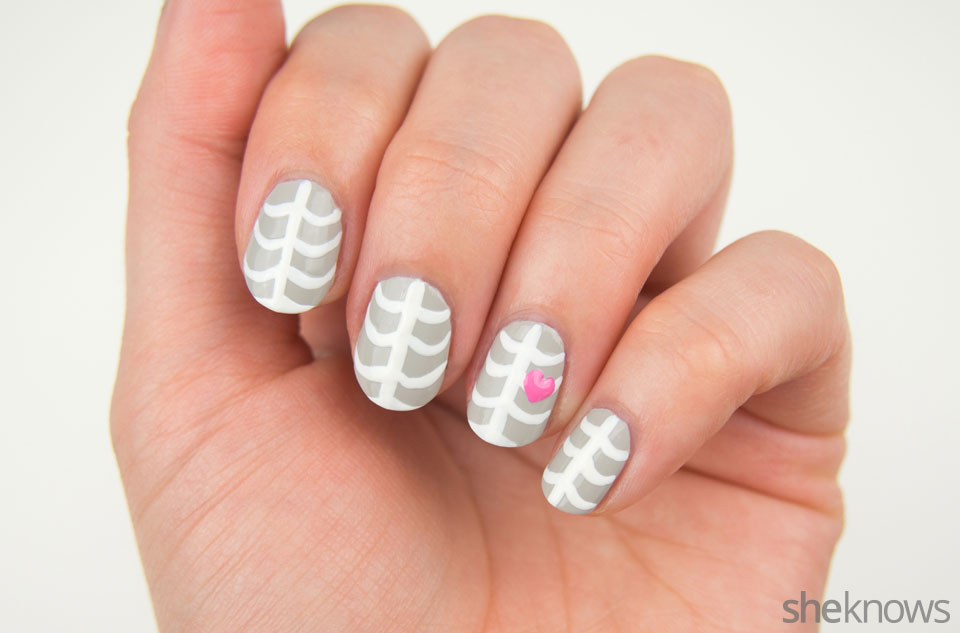
Using the small brush, paint a white stripe down the center of the nail. Then make a swooped line off either side of the center line, coming up a bit toward the side of your nail. This is your "rib." Continue making these lines all the way down the nail. Repeat for each nail and let dry.
Step 3:
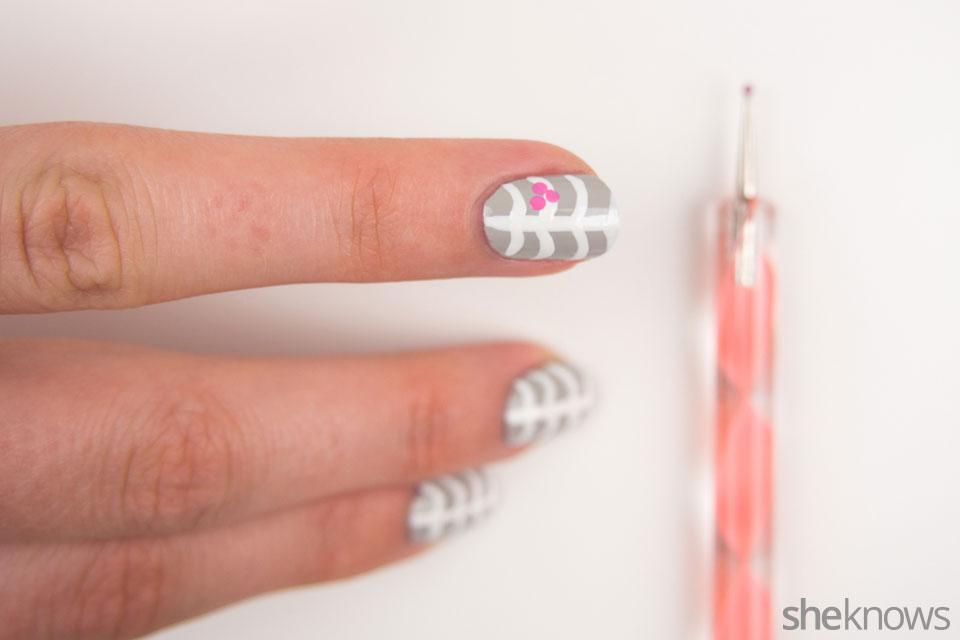
Using the dotting tool, make three pink dots in a triangle just to the right of the "spine" on your ring finger. Fill in the rest of the heart shape with either the dotting tool or the small brush. Let dry and follow with a top coat.
More: How to make the perfect heart in your nail designs
Pin for later
