There are a couple of different ways to twist your hair using hair extensions but I've found that this is the easiest way to do it yourself, because who has time to spend hours at the salon?
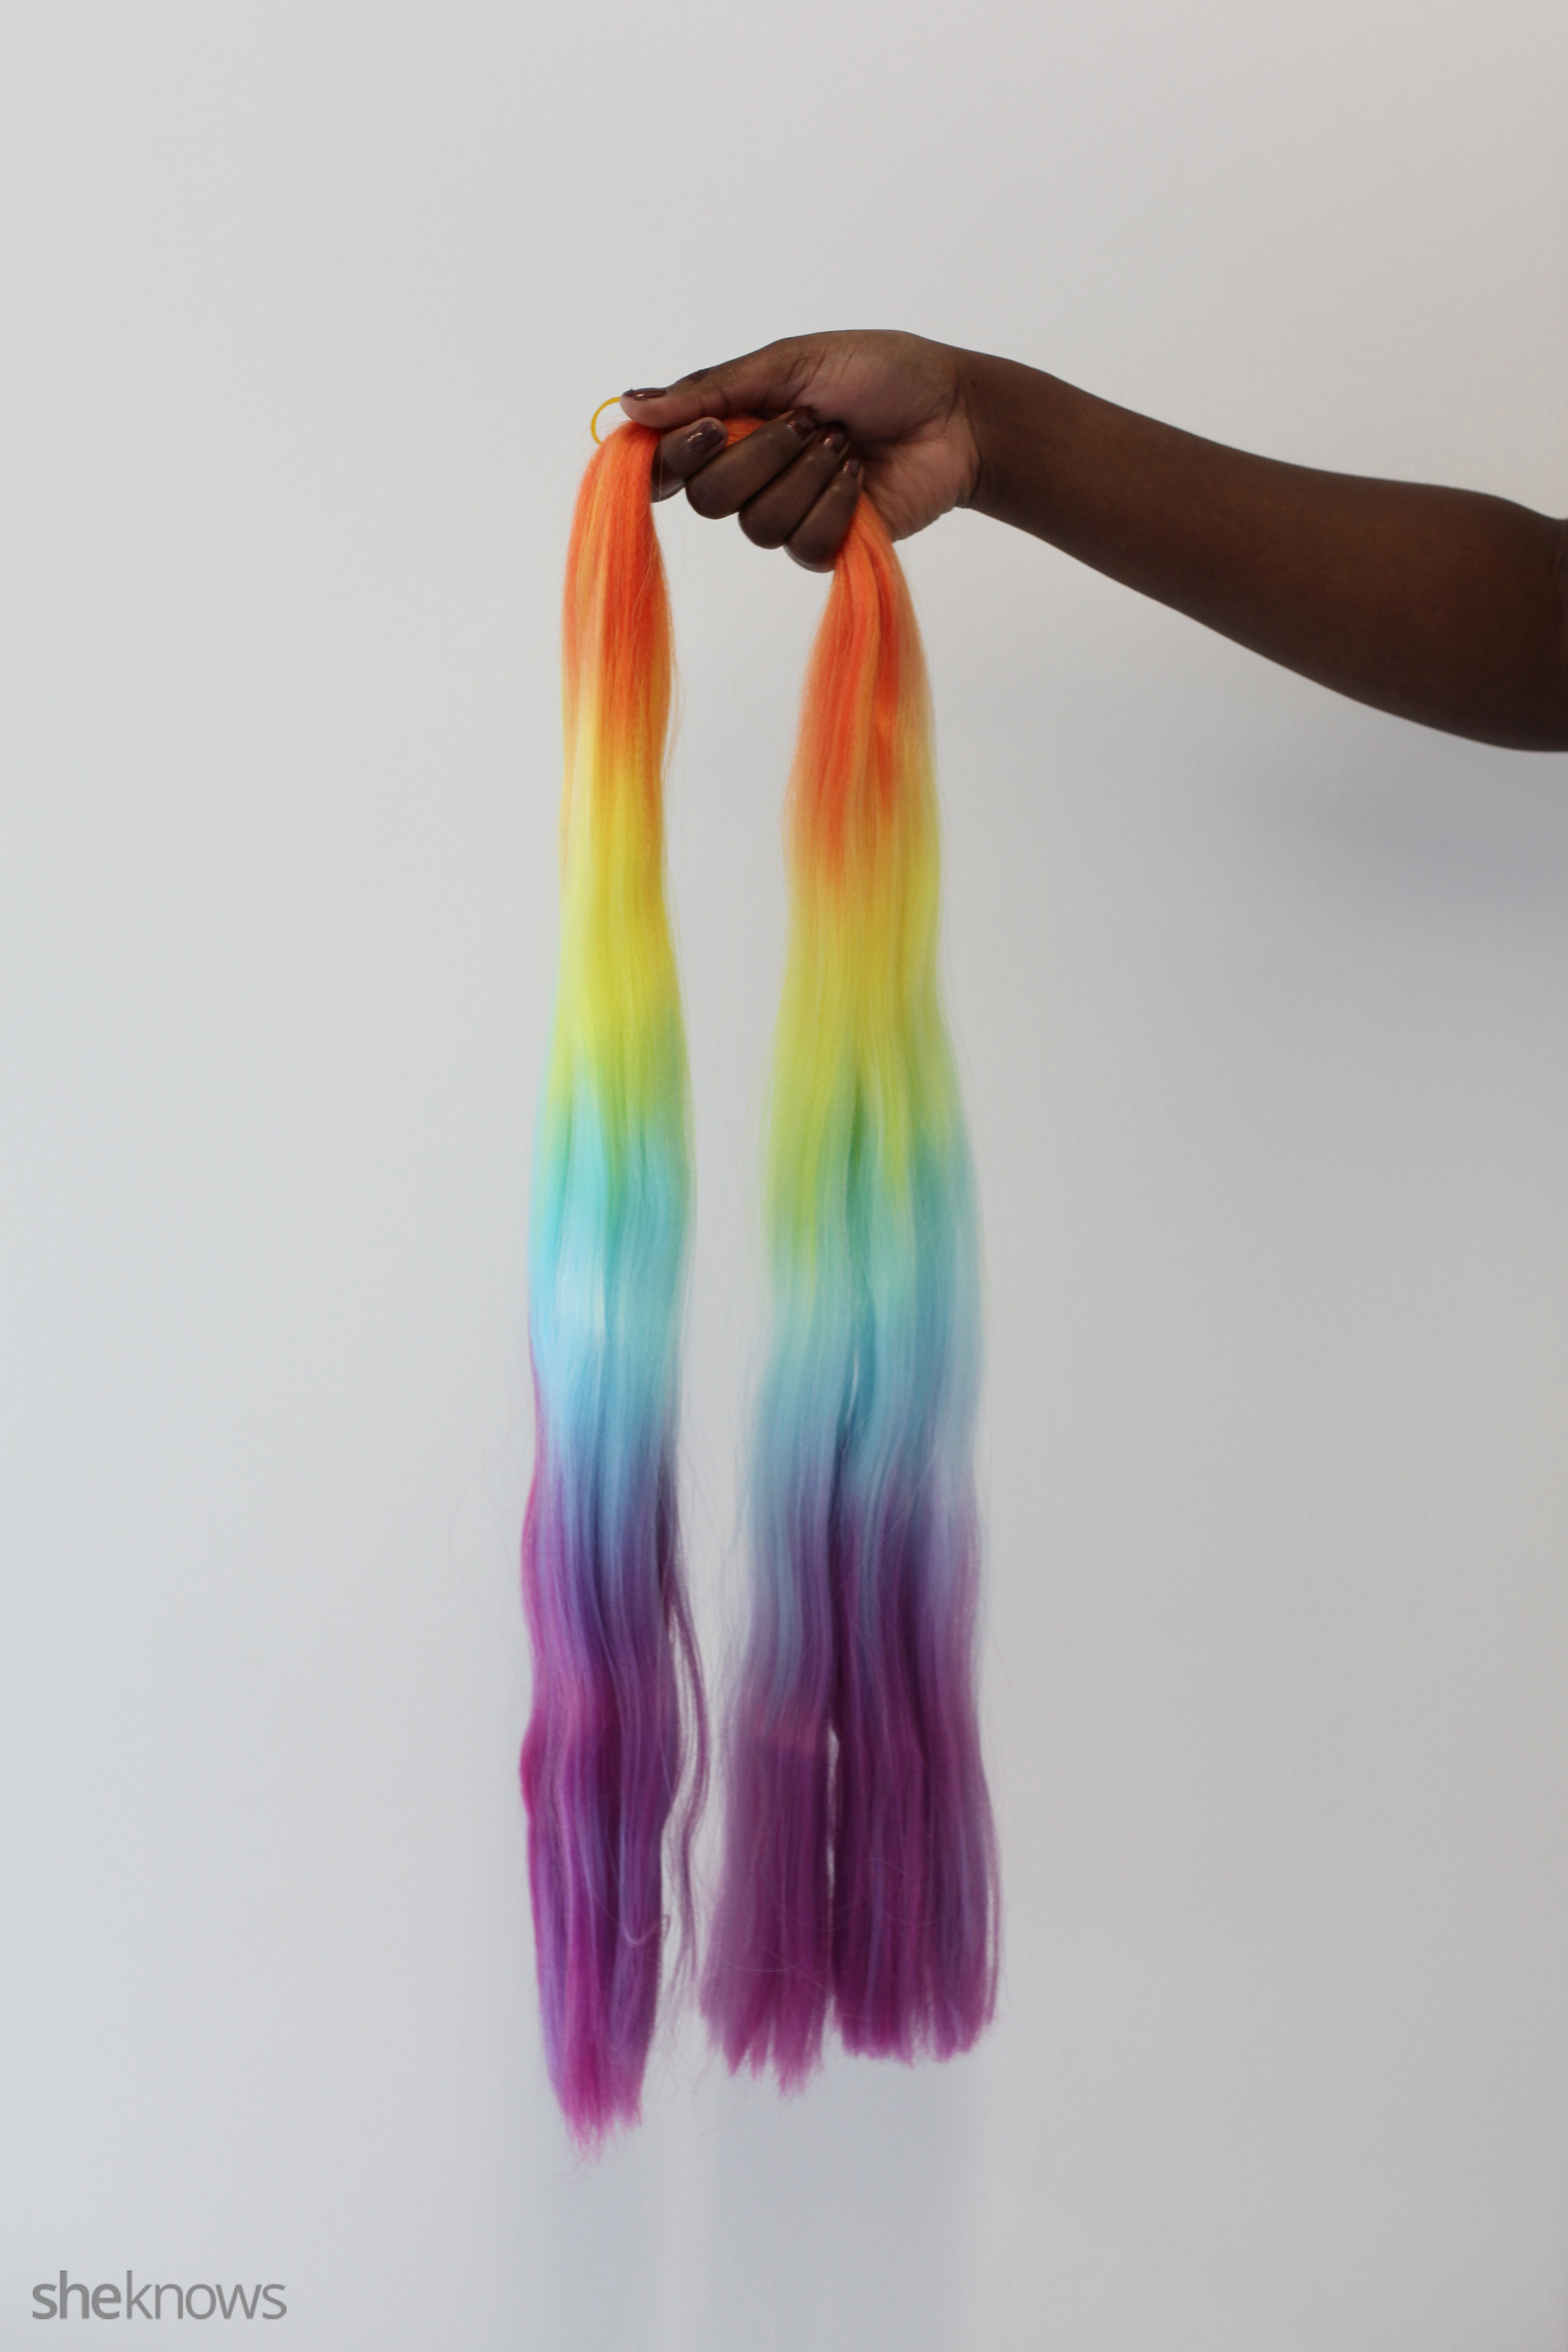
1. Grab a portion of hair extensions

The thickness will depend on how thick you want your braid. Use less hair for skinnier, lighter braids.

2. Separate your selected portion into two sections

3. "Make" your braid
Lay one section of the hair over the other in a criss-cross pattern.

Pull one set over the other so they are interlocked.

The pieces should be even and the same length when held together.

4. Plant the braid
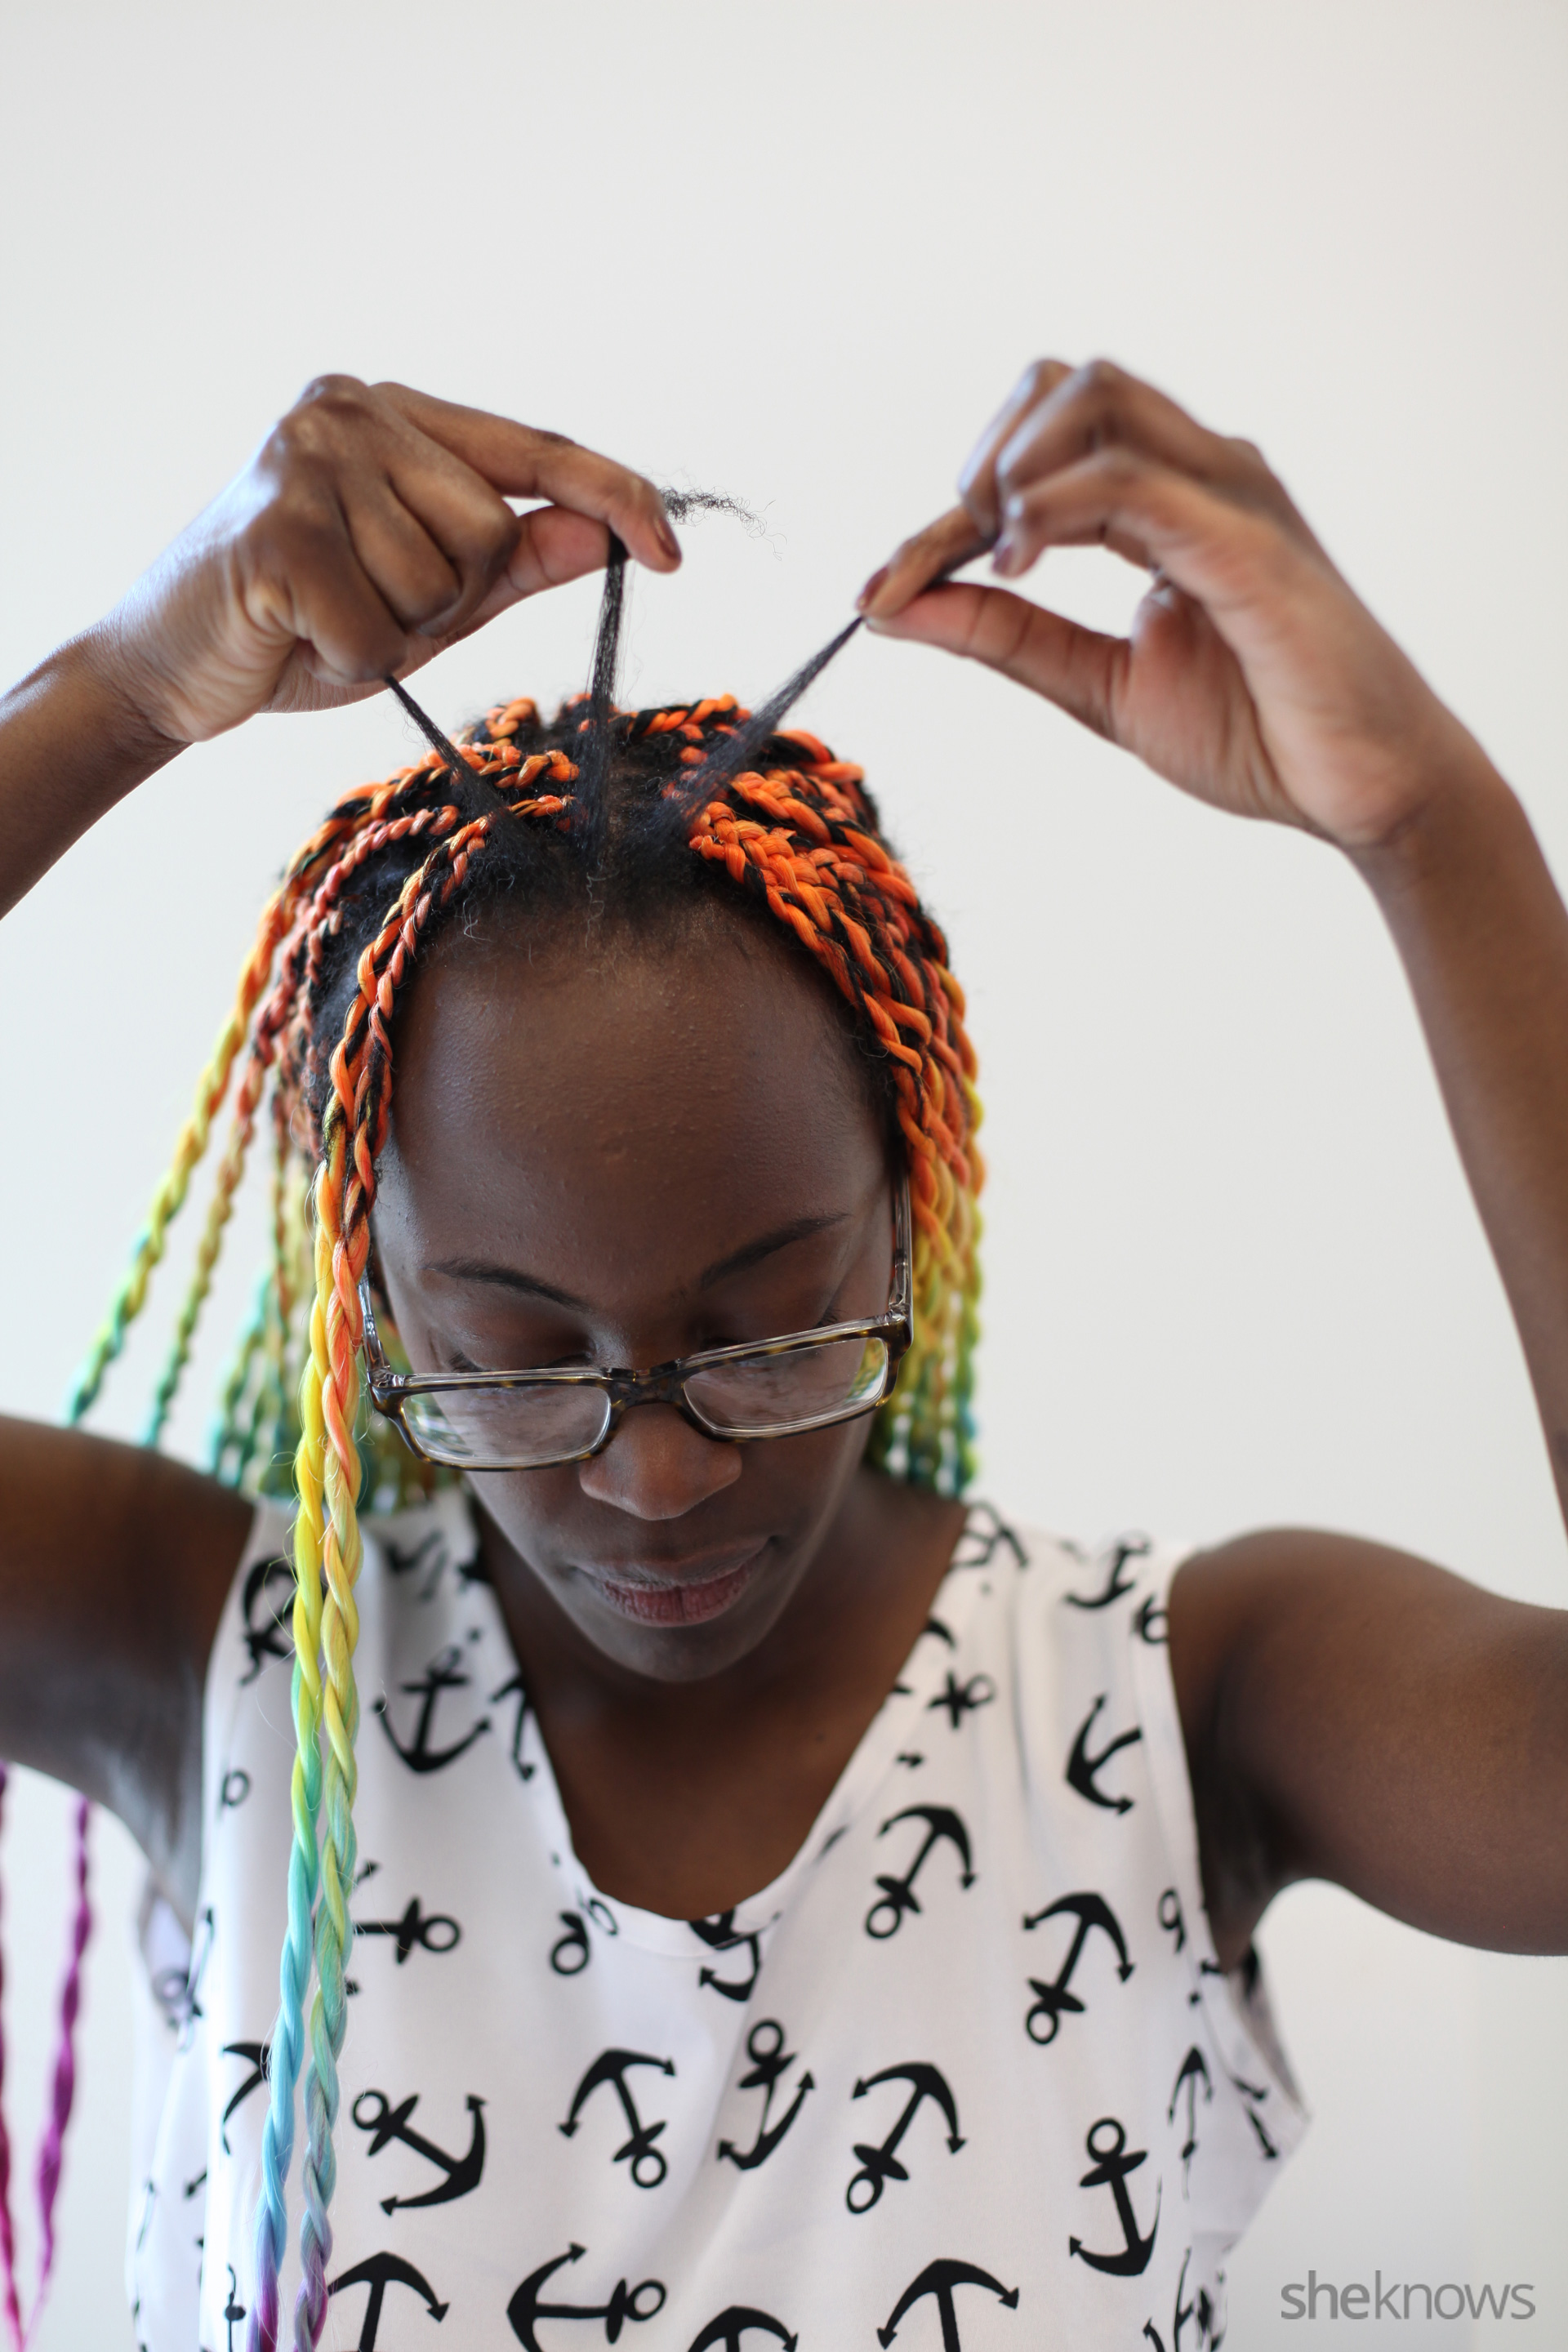
Grab a section of your hair. It can be as small or as big as you want — the bigger it is, the fewer braids you'll have on your head.

Separate the selected section into three smaller sections.

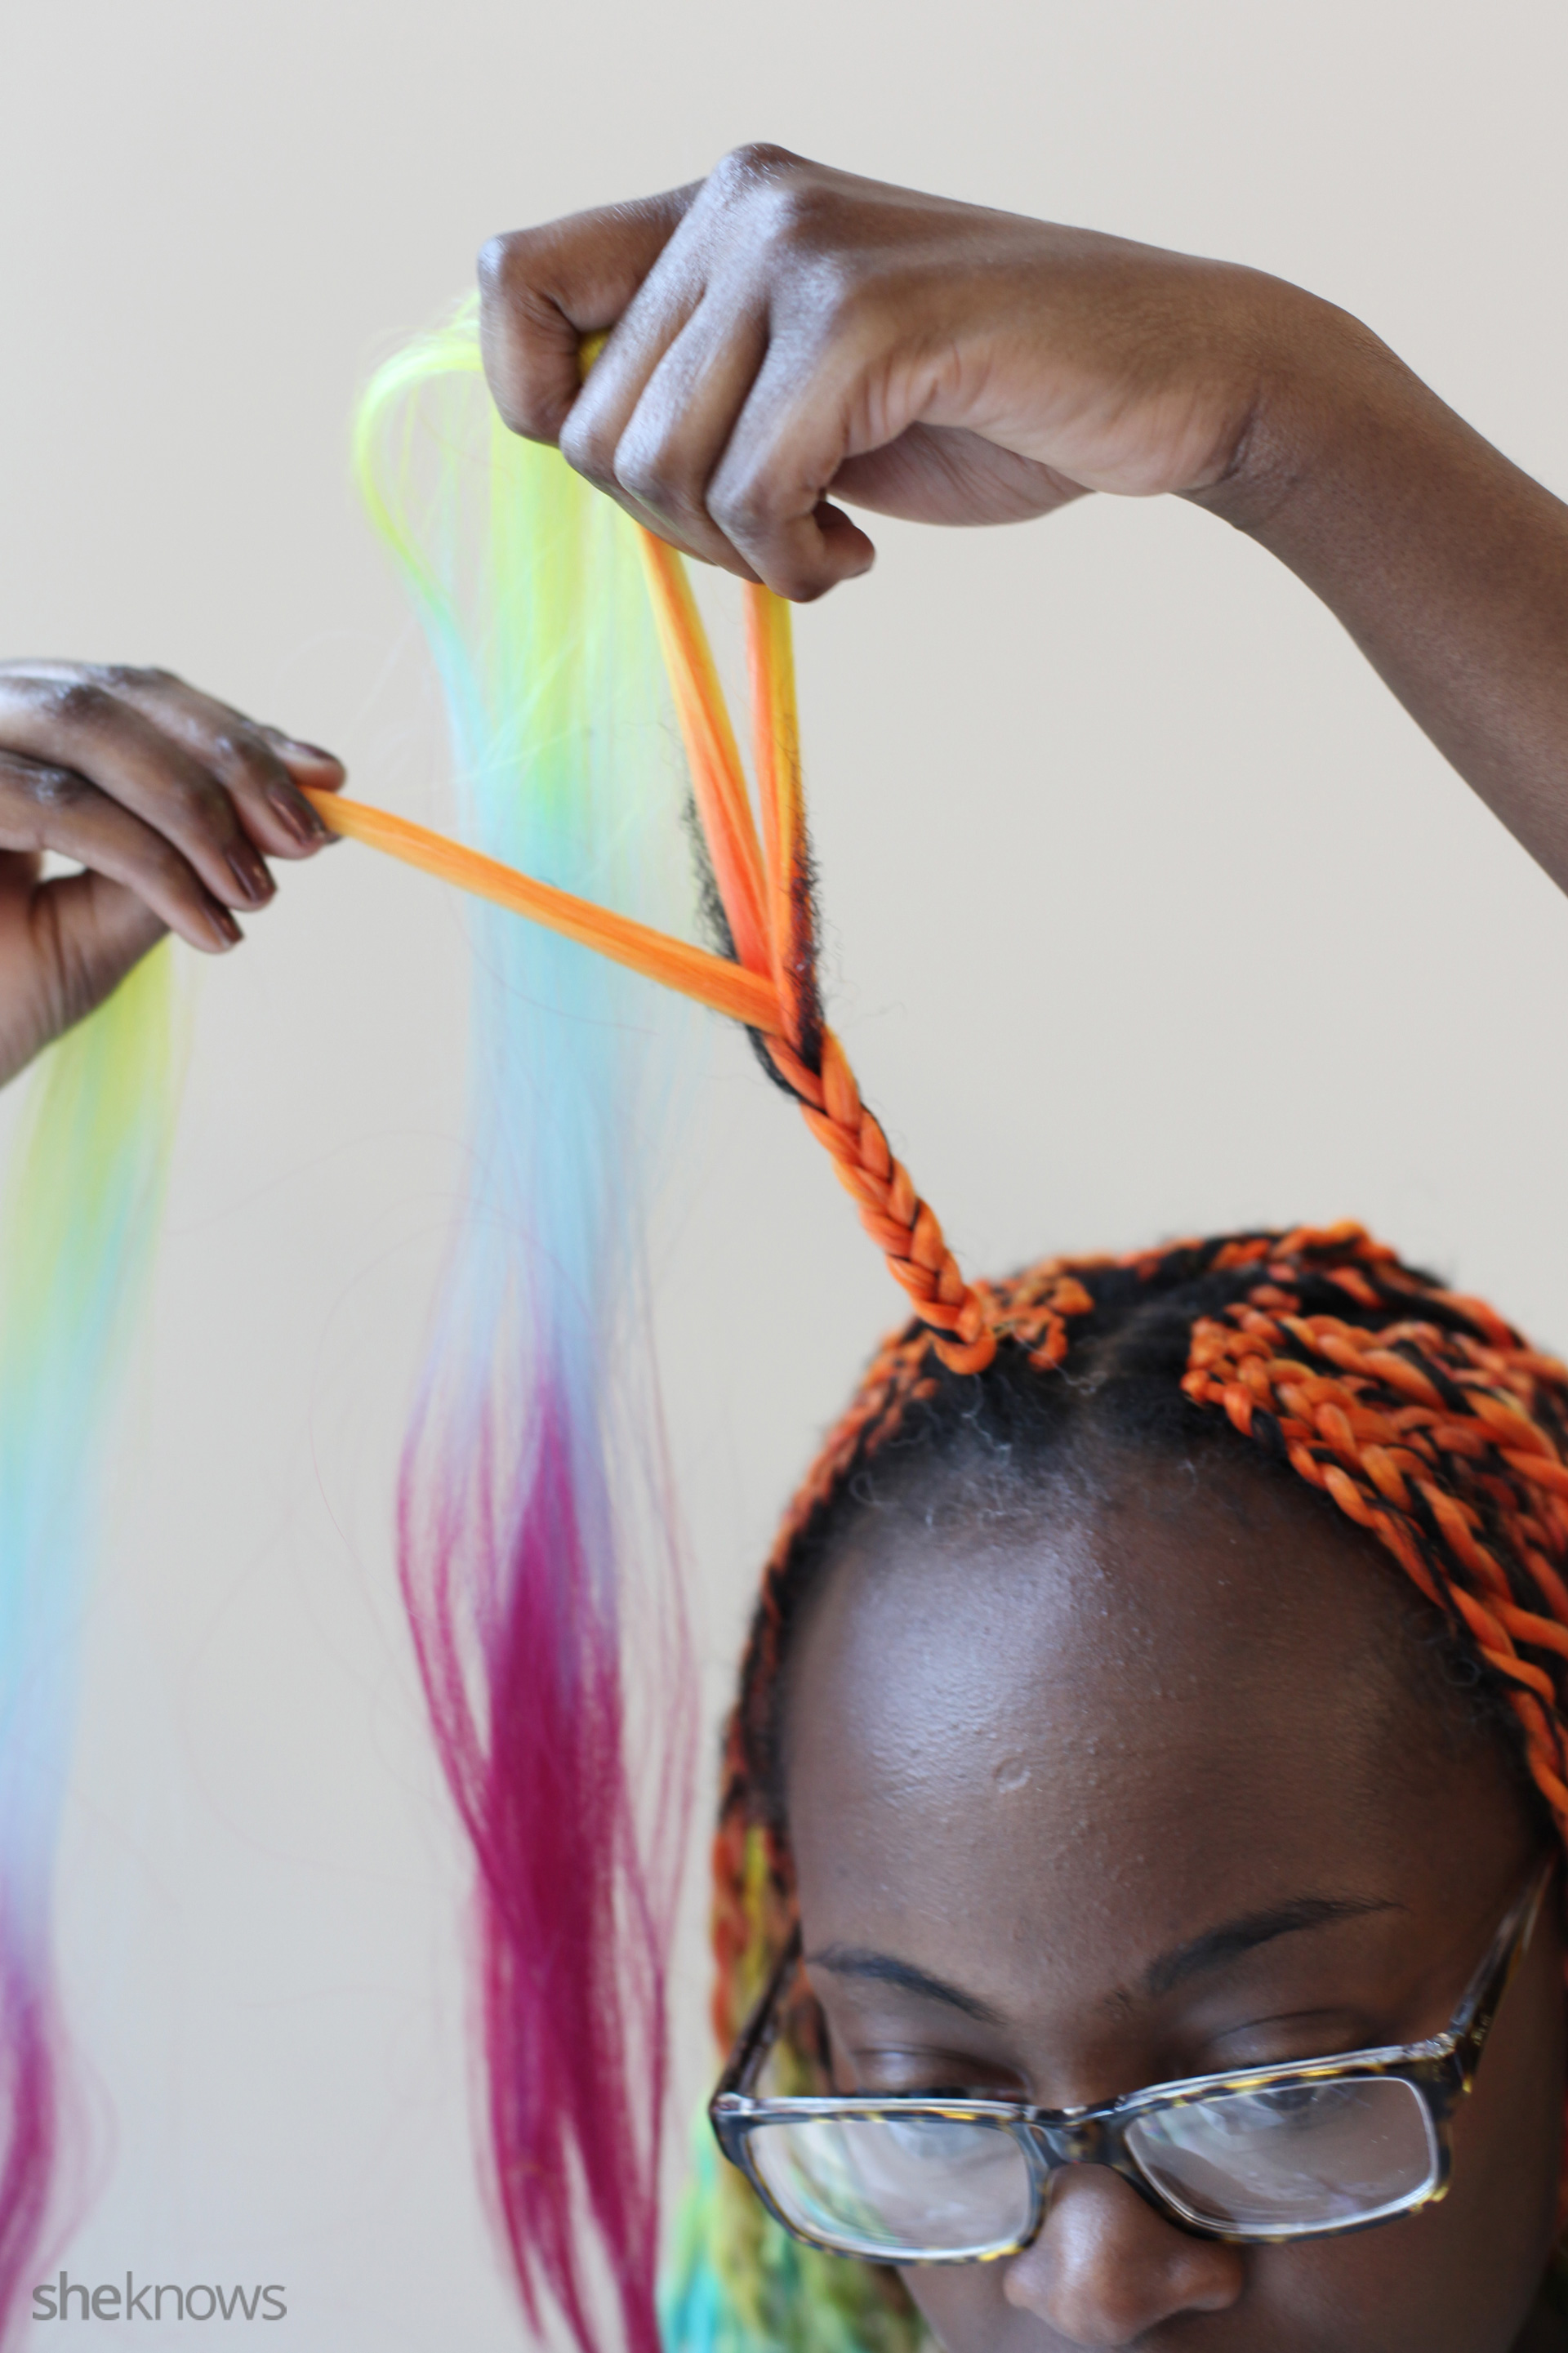
Then, separate your braid into three sections — two of the four pieces will be held together.

Match each of the three sections of the braid up with a section of your hair and then plait it into your hair.

Keep going until the braid is firmly locked into your hair.

5. Twist the braid
Split the three sections of hair into just two sections and then start twisting them around each other.


Keep going until you get to the end of the braid and then simply twist the end between your fingers until it reaches a point where it no longer unravels.

You can also apply anti-frizz gel to your hair at this time. I like this Smooth Edges anti-frizz conditioning gel by African Pride.

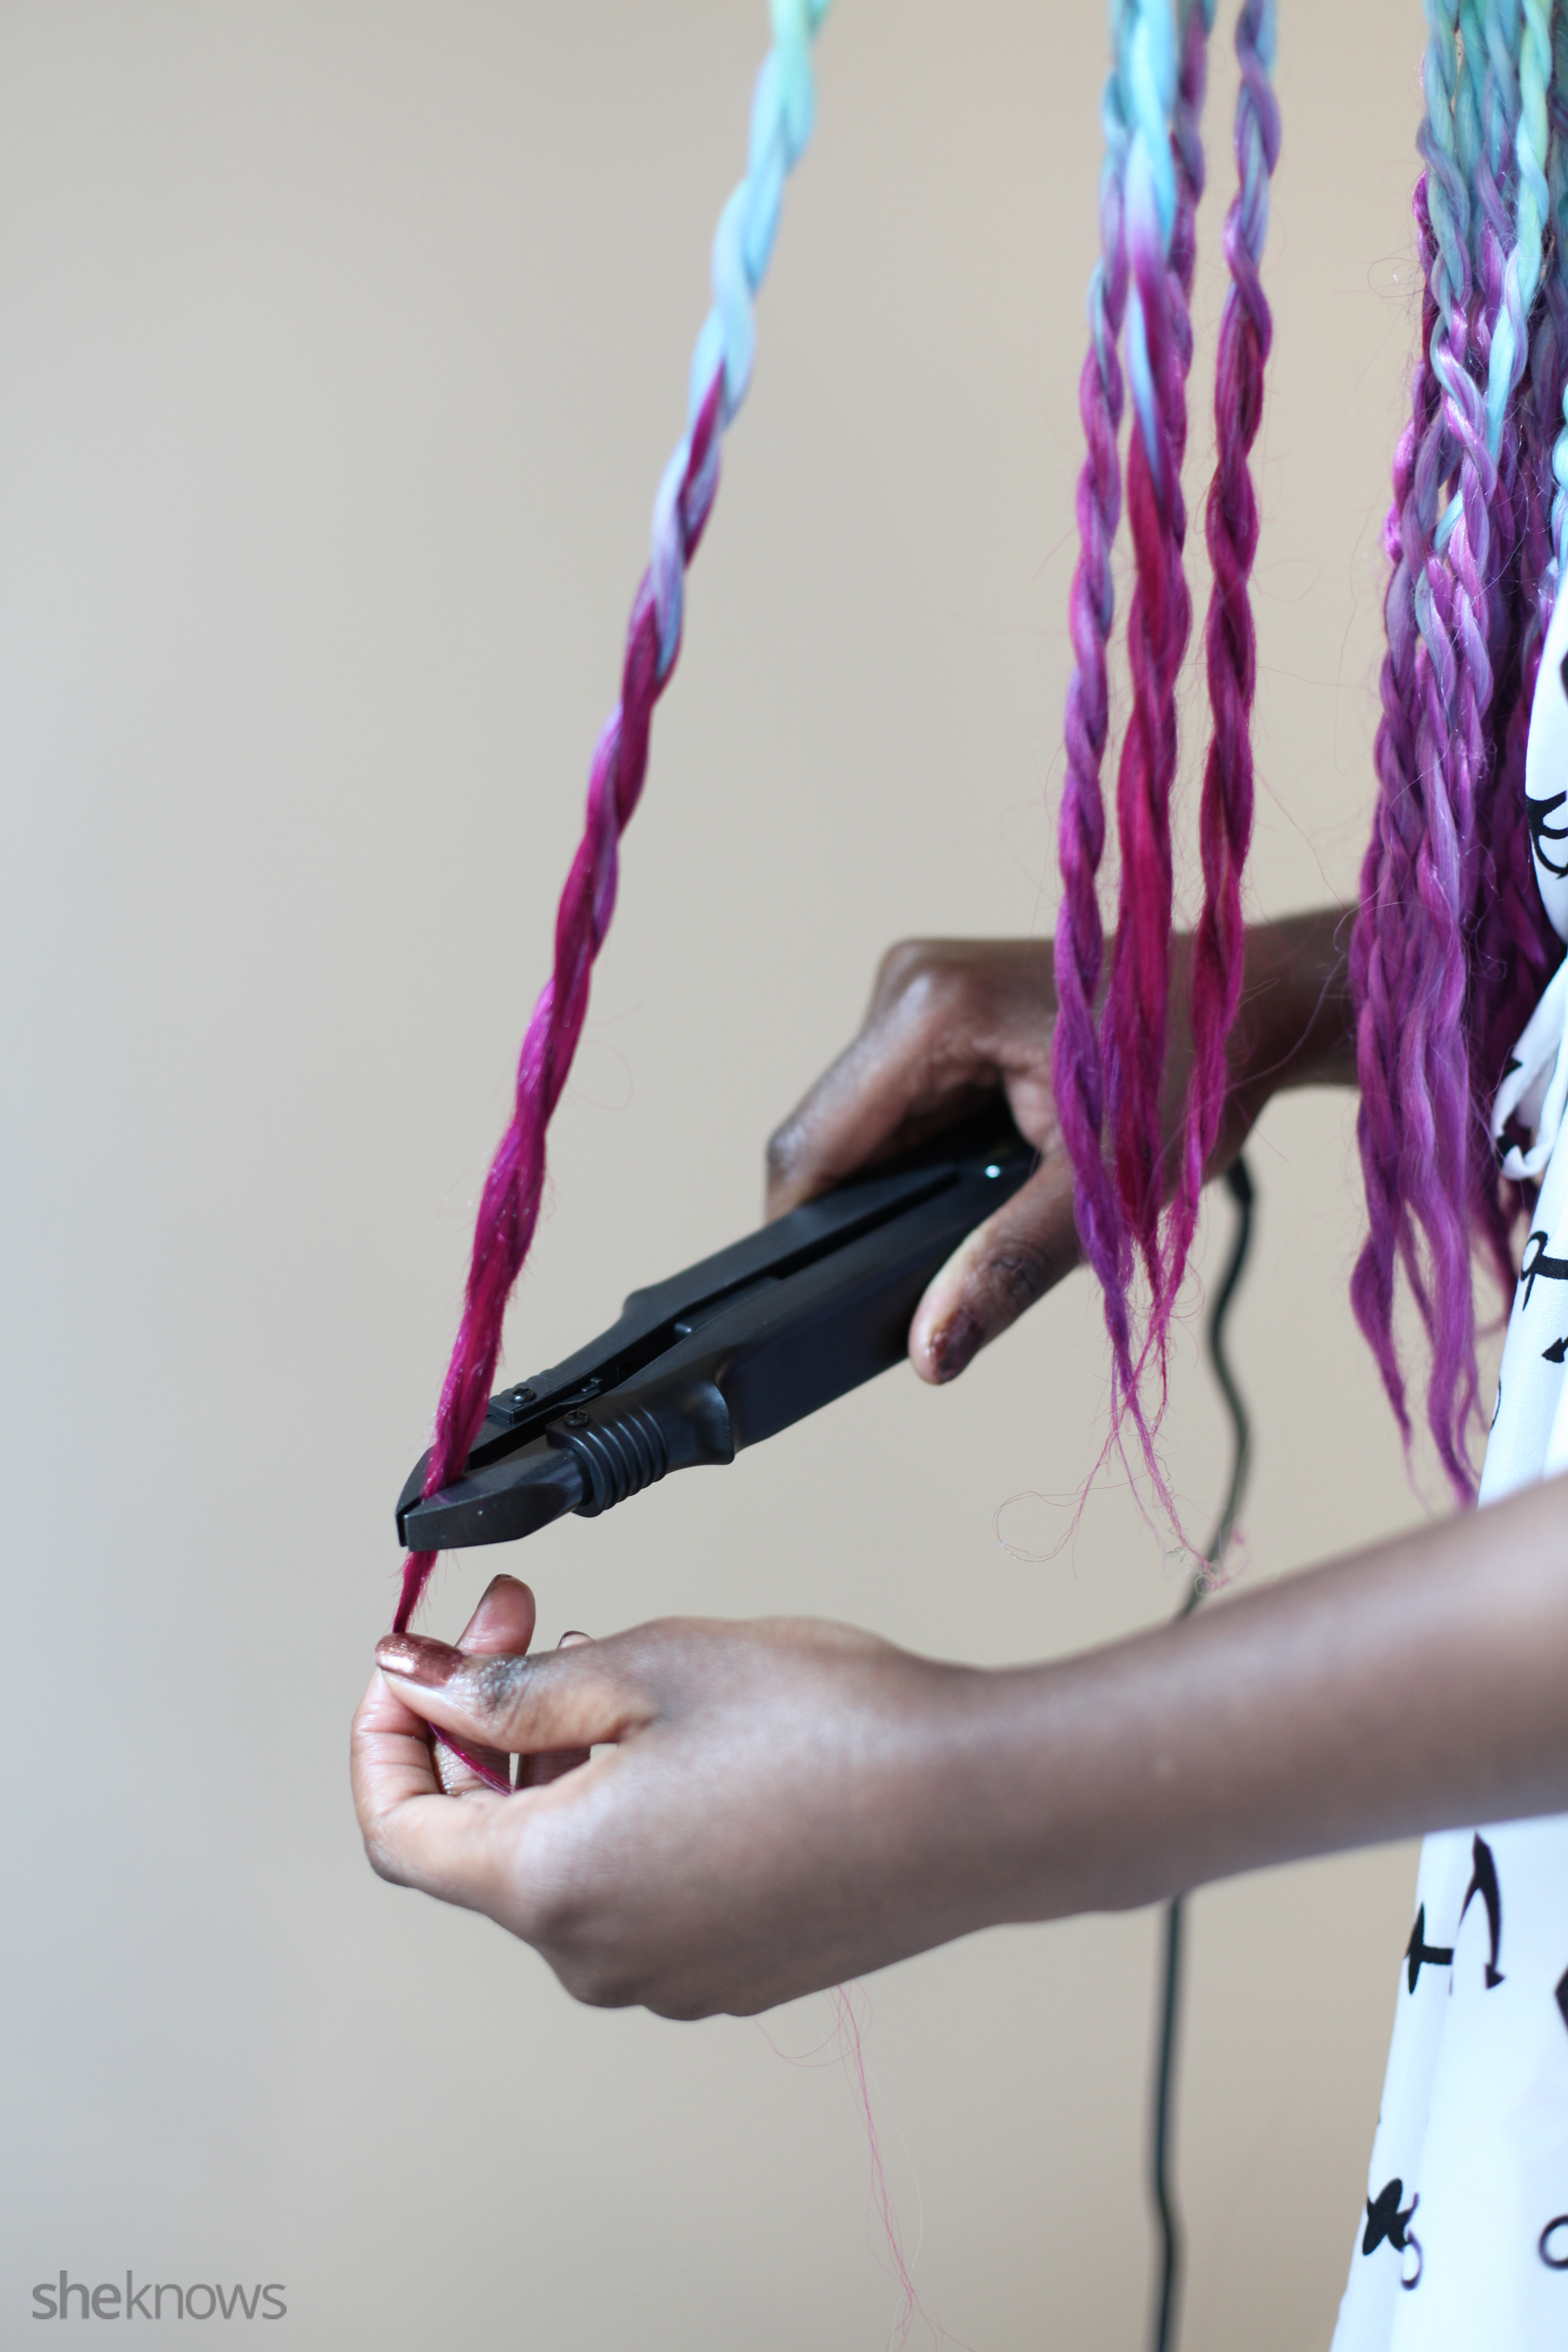
6. Seal the braid
This is an optional step to permanently keep your twists from unraveling. Simply apply heat to the end of your braids with a flat iron on braid sealer. You can also heat seal your braids with hot water.

And you're done!

More: How to style your braids