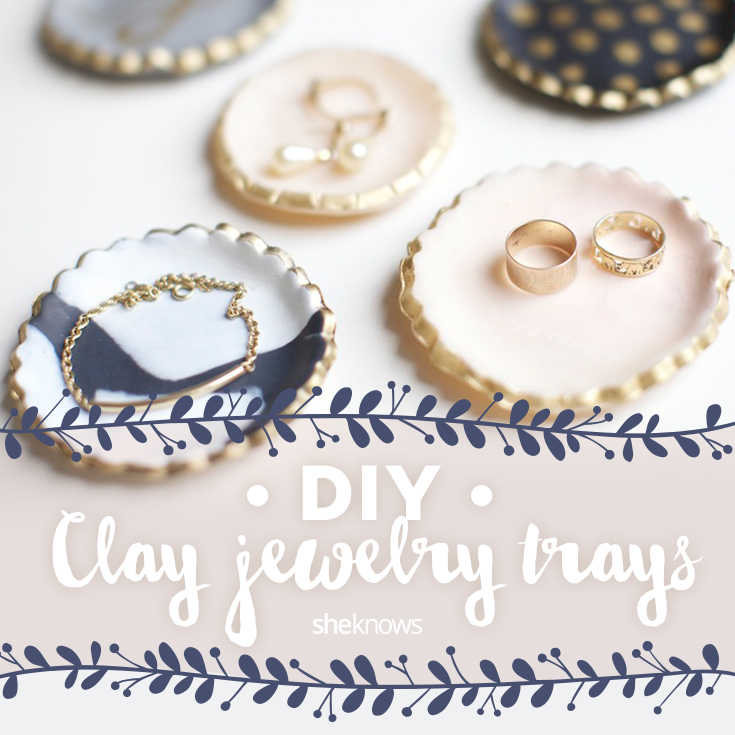
Supplies:

- Oven bake clay (I used Sculpey and Fimo brands)
- Cookie cutters in desired shapes, or glassware for cutting rounds
- Permanent metallic paint pen
- Rolling pin or piece of pipe
Directions:
Step 1:

Working with one color at a time, roll out your clay block about 1/4-inch thick.
Step 2:

Cut with a cookie cutter. I really loved my vintage crimped edge cookie cutter for this project because it gave a neat little rounded shape to my trays. If you’d like to stamp a design into the clay, now is the time. I used a crocheted doily to make a printed pattern in my pink heart, but you can use any stamp to create a design as well. A monogram or floral stamp would be pretty cool.
Step 3:

Bend the edges of each tray upwards, being careful not to make scratches in the clay with your fingernails.
Step 4:

I decided to make a couple of heart-shaped pieces, but had such a hard time bending the edges up I consented to turning them into hanging tags instead, so they needed a hanging hole, which I made with a toothpick. Be sure and make it large enough to slip twine or a ribbon through.
Step 5:

Blend your leftover scraps of clay together to make some tie-dye patterns — these actually turned out to be my favorites! Bake according to directions. Mine didn’t include any, but Google told me to bake at 220 degrees F for 30 minutes.
Step 6:

Let them cool completely before handling, as they come out of the oven still pliable. Decorate with a permanent metallic paint pen (I used gold) tracing around the edges, drawing a monogram or some of my Kate Spade-inspired polka dots. Geometrics would be fun too — triangles, arrows or even random lines.
