Sadly, non-Disney humans are only about a quarter as hairy. If you were born with beautifully bouncy and voluminous locks, you can probably rig up a French braid in no time and get the Elsa seal of approval. For the rest of us with normally endowed scalps, here are some little hints to get hair to maximum Disney fanciness.
1. Create big volume with hot rollers
Curling irons are a good alternative, but nothing will give you that bouncy, root-boosted look that a good bake under the rollers will. If you're all in, give your hair a mist or two of hairspray while it's setting.
Before: Sad, greasy and limp (and faintly pink because there's no such thing as semi-permanent hair color for blondes).

After: Happy and bouncy and full! It's like uppers for your hair! Wee! Too bad you're about to destroy it all!

2. Texturize with volumizing powder and/or dry shampoo

If you've never used volumizing powder, think of it as dry shampoo with 'roid rage: It'll give you a bigger, bulkier, way less clean-looking result. To use, sprinkle a little on your fingertips and then work in at the roots, pulling your fingers away from the scalp to extend the volume. It's also a great texturizer, so get it into your ends as well (don't have any? Dry shampoo will do).
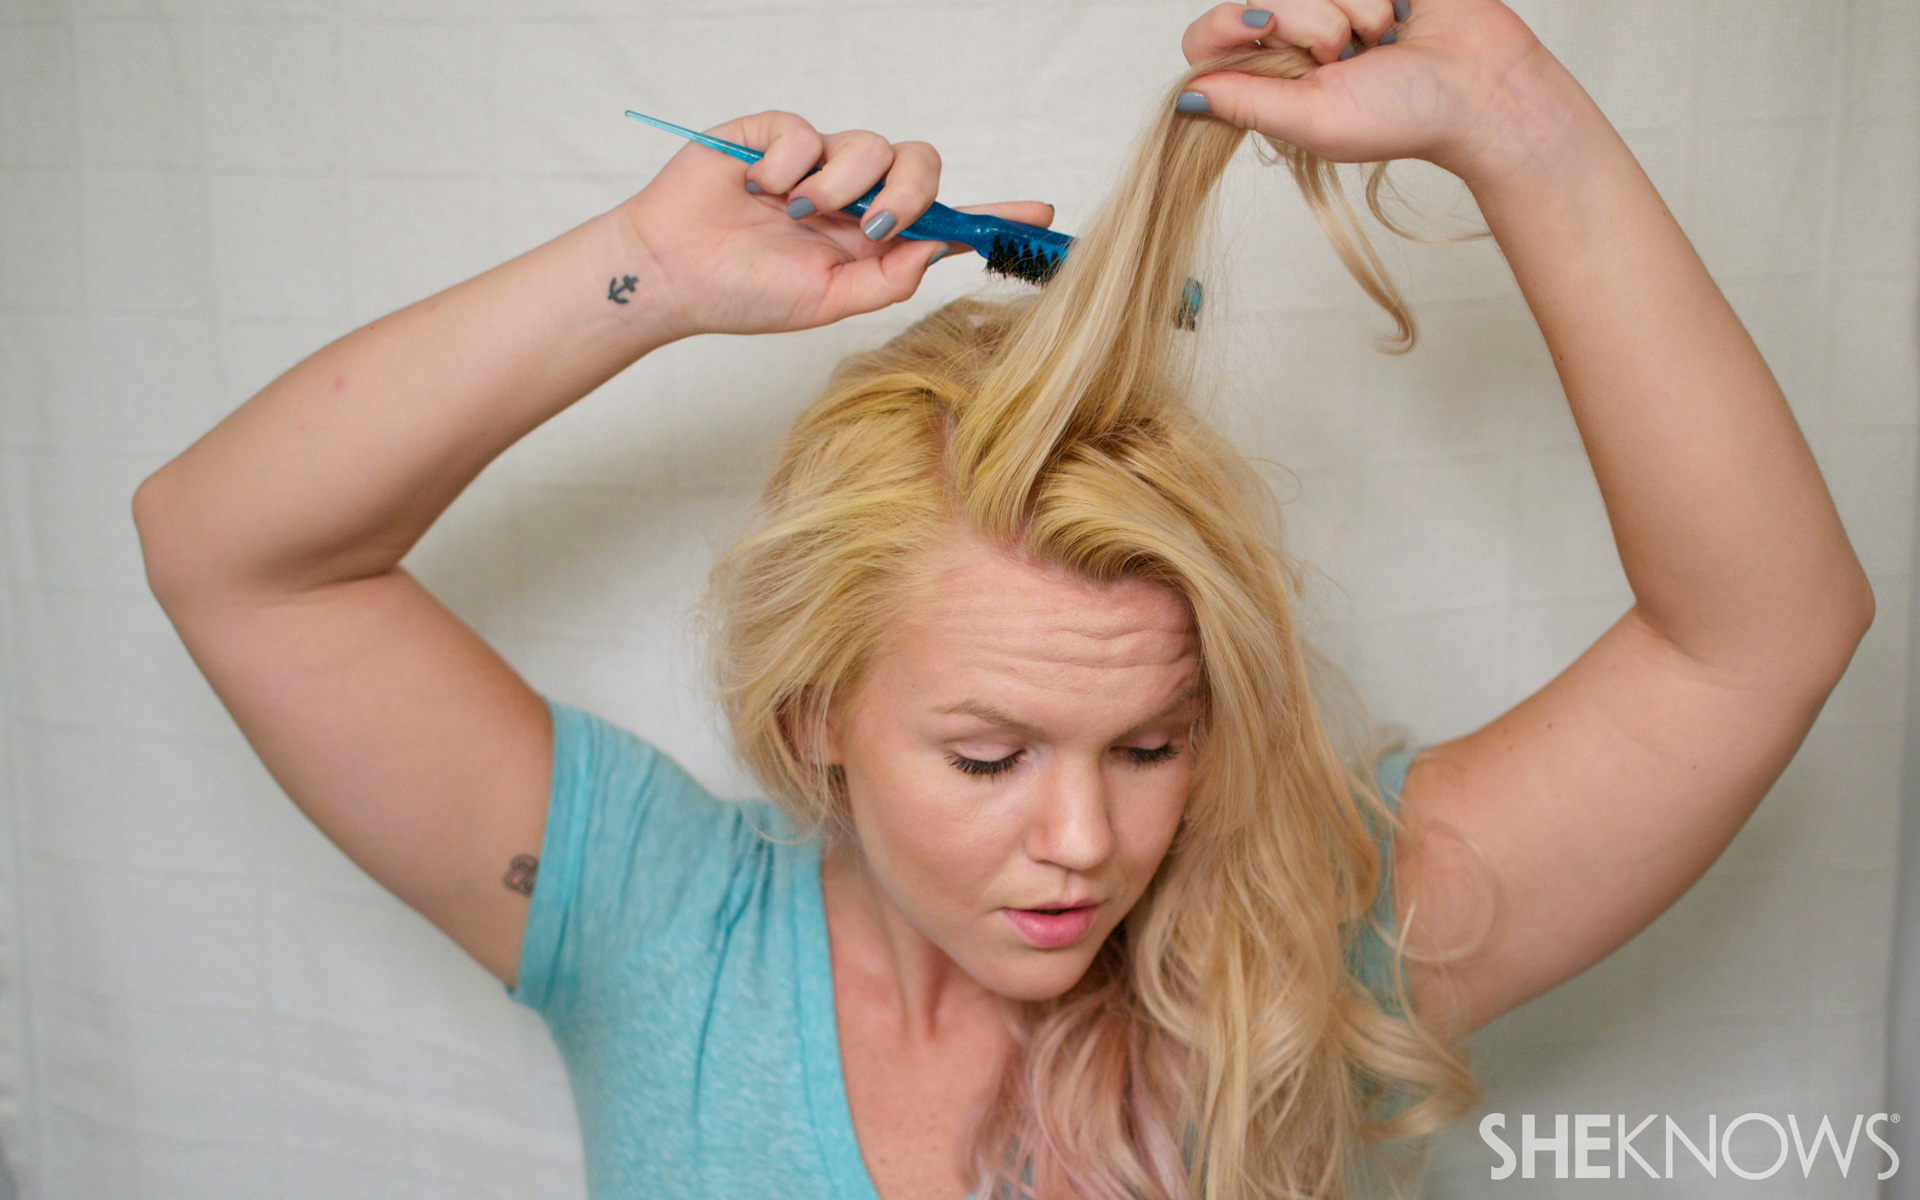
3. Tease all over, not just the crown

Since we want this braid to be big 'n' fat, spread the teasing love down to the ends of your hair so it will look thicker when it's in the tail and will be less likely to slide around. At this point, your hair would probably make a Texas beauty queen blush, but it doesn't need to be purdy now. Just big.

Optional step: Roll your eyes at your husband, who is now laughing at how gigantic your hair looks.

4. Create an anchor before you braid

As you separate the top three pieces of hair to be braided, gather the middle one into a ponytail and secure with a small, clear elastic. Then, secure the elastic to your head with a bobby pin. This little trick will help anchor the whole braid and keep the volume on top from being crushed as you work downwards.
5. Go slowly!
You've just spent, like, half an hour teasing and curling and abusing your hair. Take your time as you braid. If you feel it doesn't look right, gently undo a few plaits and do it again.
6. Give the ends a little boost before starting your tail

When all of your hair is incorporated into the braid and you begin the free end, pause and lay each of the three strands out. It helps to have one on each side and one in the back. Give each one a little once-over with your teasing brush. As you finish the braid, don't plait too tightly and secure with an elastic about an inch down from the last plait (this will give you room to pull and tug at it later).
7. Create some bobby pin "scaffolding"

As you pull the braid to give it more body, some top parts may want to come loose. Stick a few pins underneath the sides to keep them perky and in place.
8. Pile on the hairspray

Just go for it. Get it on the bottom, on the top, and bask in an acrid cloud of sweet, sweet chemicals. You're about to do some deconstructing so we want every hair to brace itself.
9. Pull the braid (gently!) from the bottom to fluff it out

If you pull from the top, you'll loosen the plaits too much. If you have layers and some hair pokes out, gently tuck it through to the back of your braid and seal it down with a little styling wax. No one will ever know, and if it doesn't look perfect, whatever. You're not CG animated, after all.
10. Do the "lift and set"

This is a neat one. Gently grab the braid from the back of your head and (gently!) pull up and away from your scalp. Spray some hairspray on the sides and under, and wait for it to dry before letting go. Bazinga, even more volume.
11. Tease yo' bangs!

If you don't have bangs, just loosen the front of your 'do and proceed. For the bangers, tease your fringe from behind and coax it into a backwards wave.
Now this is where a lot of Elsa impersonators get it wrong: Elsa's hair was governed by fantasy world gravity, which let her pompadour float about with effortless grace. If you try to go full on pomp, you'll end up looking like you have a weird mullet with a braid trying to sneak out the back door. Just arrange the bangs in a flattering, realistic way and you'll be fine. Promise.
12. Add definition with styling wax

Get the ends of your bangs all Elsa-y and defined by twisting in some styling wax or light gel. Shellac the whole shebang with shehairspray one last time.
Boom! You're basically a Disney princess now.
How to DIY an Elsa Frozen Halloween costume >>

More beauty and style ideas for Halloween
Pop Art Halloween makeup is easier than it looks
Yes, you can be plus size and wear a sexy Halloween costume
Katy Perry DIY Halloween makeup from "Dark Horse"