Materials and tools:

- Base coat
- Top coat
- A few colors of nail polish
- Nail polish remover
- Nail file
- Plastic bag
Directions
Step 1: Paint

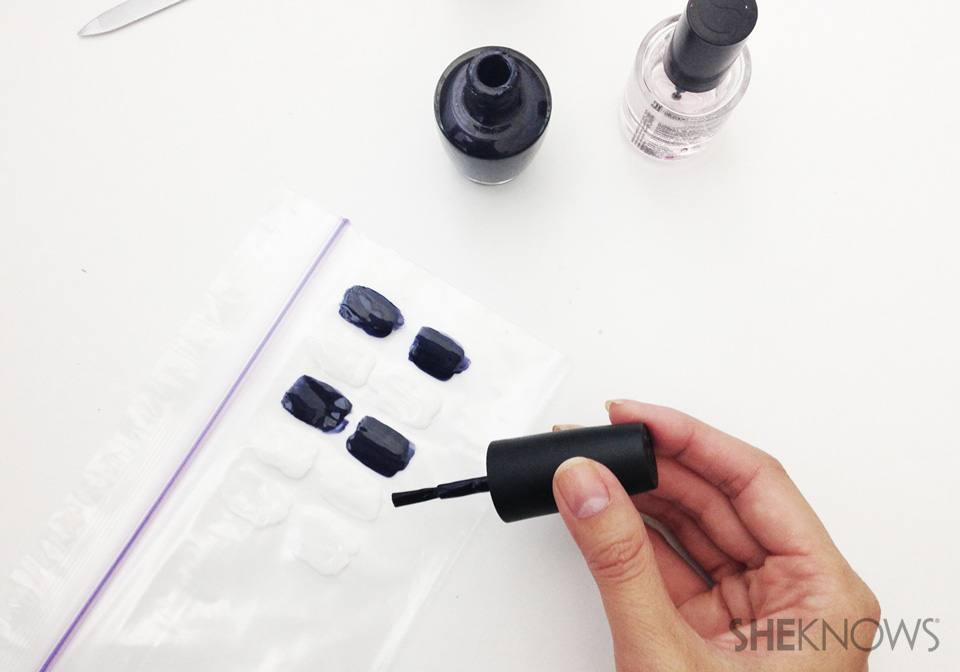
Paint 10 small rectangles on a plastic bag. Make sure the size of the rectangles will cover your nails. Wait 5 minutes, and apply a second coat.
Step 2: Start designing

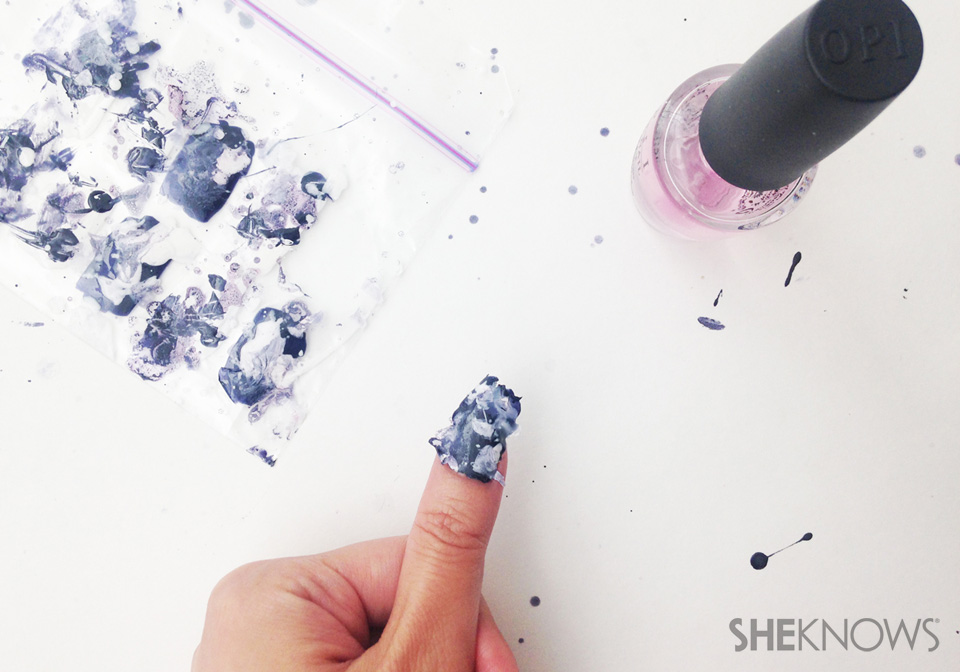
Here is where you can add whatever nail art design you'd like to your nail stickers. For this look, I've chosen to go for an abstract splatter look. This is simply done by splattering some polish over the nail appliques.
Step 3: Make sure you wait between layers

Let the polish dry between layers. Next, I splashed on some black and gray nail polish to finish off the look. Depending on how many coats of polish you've used, wait about 1 to 2 hours for the polish to fully dry.
Step 4: Peel

It's important that your nail appliques are completely dry for this step. Carefully peel them off the plastic bag with tweezers.
Step 5: Base coat

Apply a base coat to your clean, polish-free nail.
Step 6: Apply your appliques

Before the base coat is dry, press on your new nail applique.
Step 7: File and shape

Trim off the excess parts of the applique with scissors and a file.
Step 8: Finish with a top coat

Once your nail applique has been applied, finish off with a single coat of top coat. Make sure you wrap the brush over the edges to secure the applique in place.
More nail ideas
A Popsicle-inspired nail design
Plumage nail art: 2 Feather-inspired designs
The ultimate nail art guide